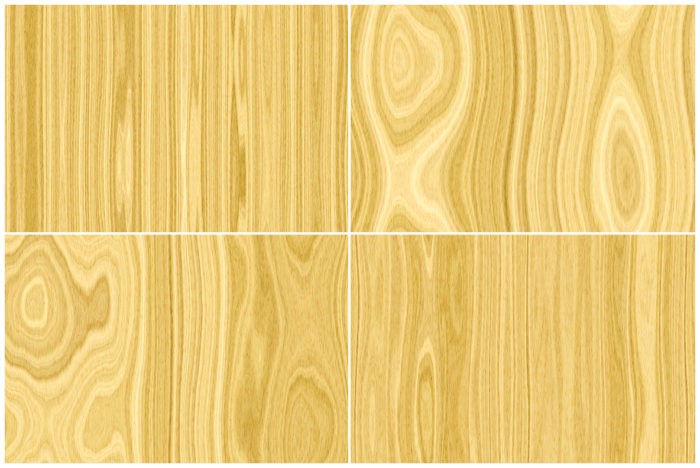
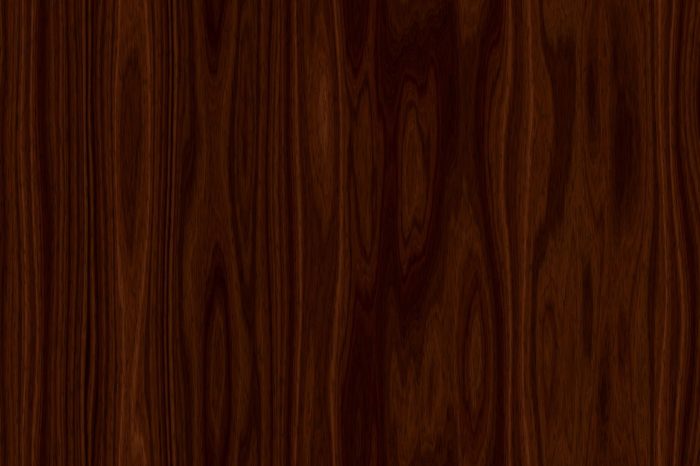
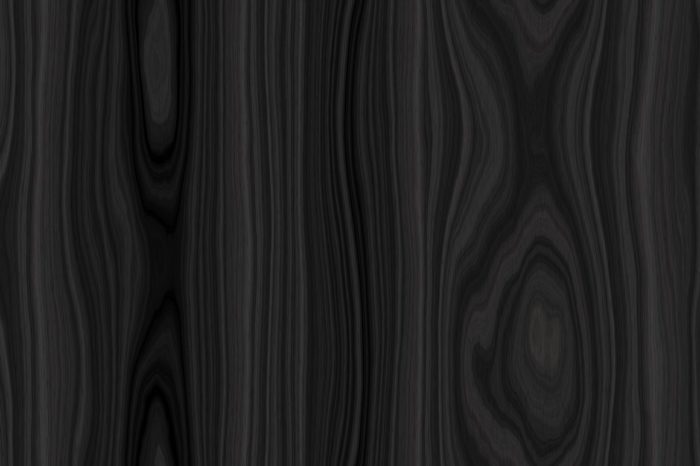
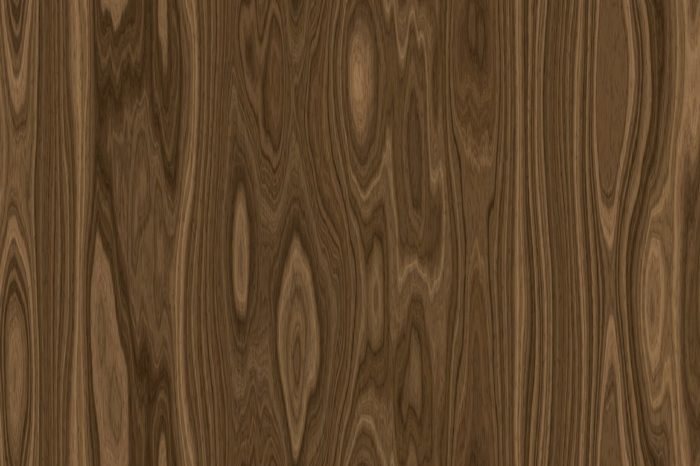
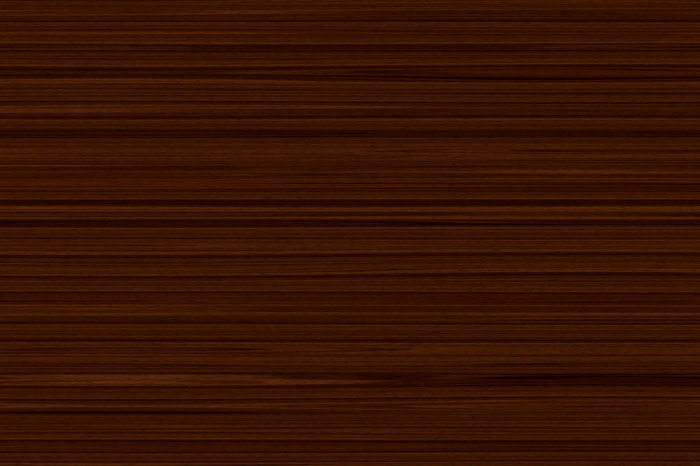
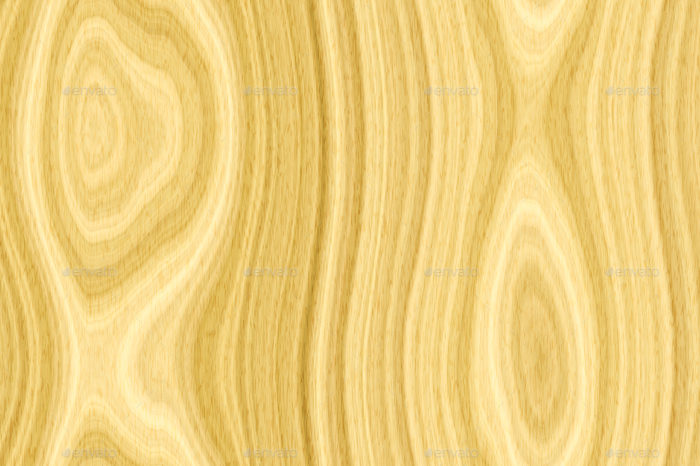
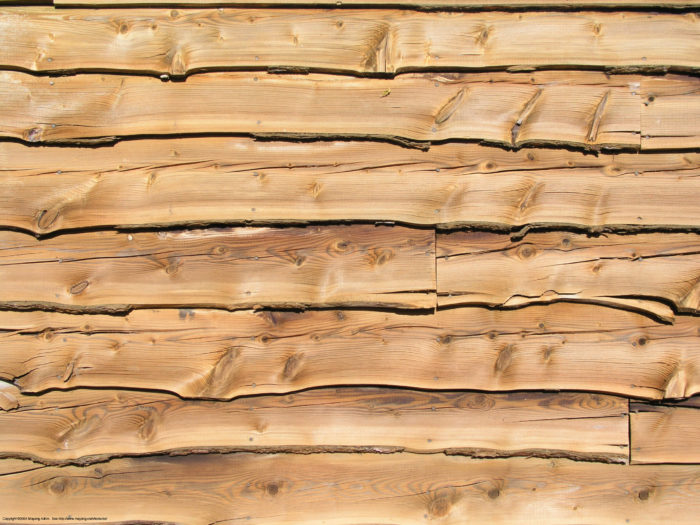
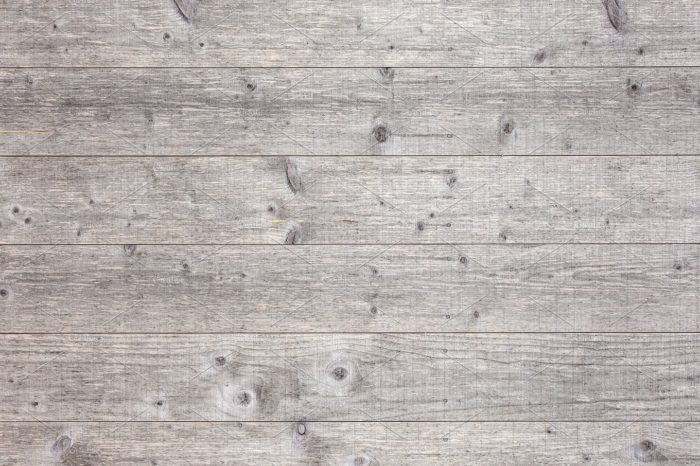
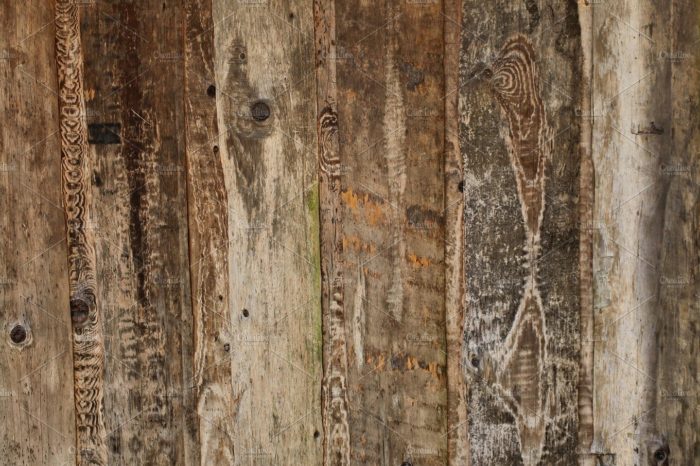
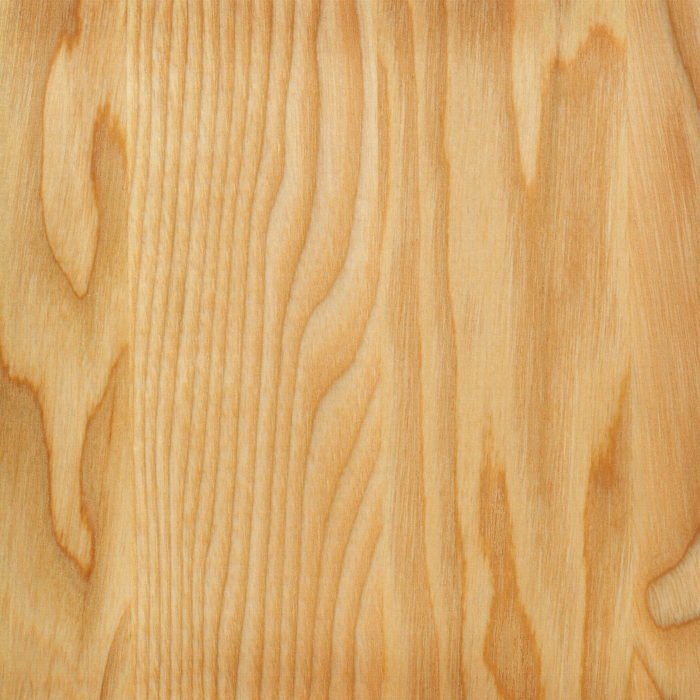
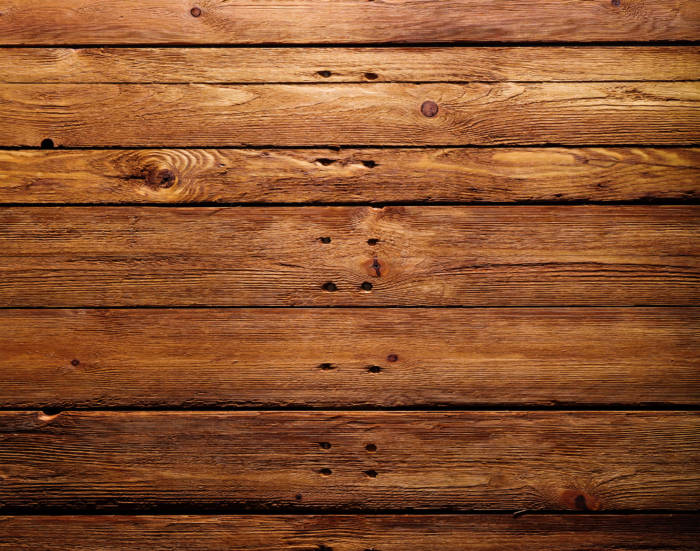
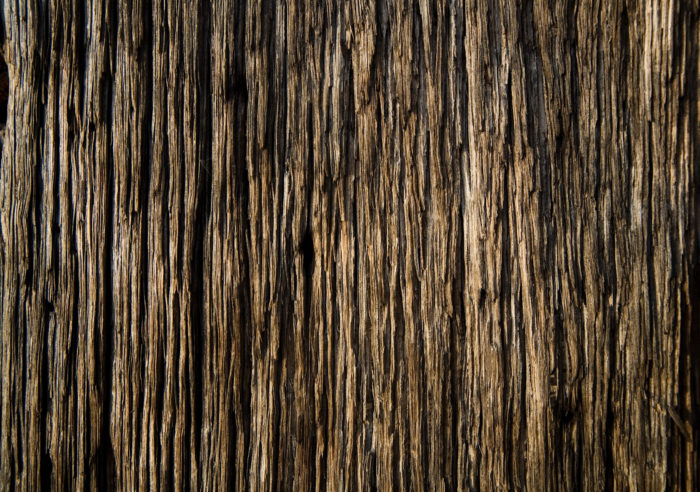
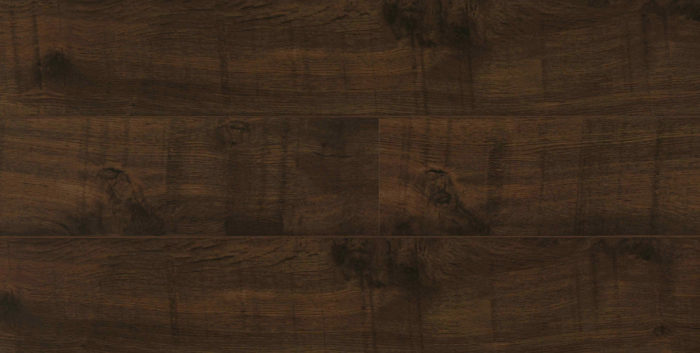
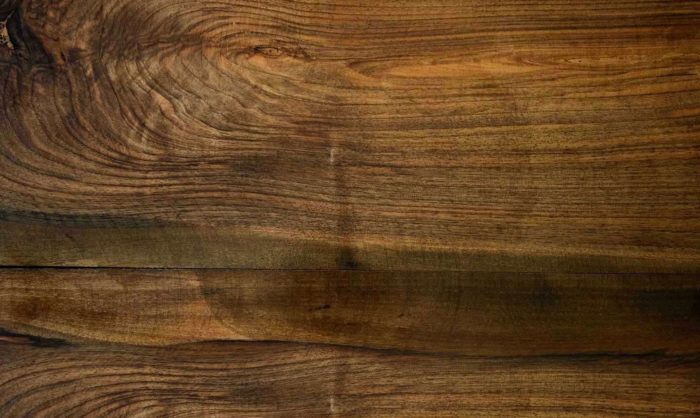
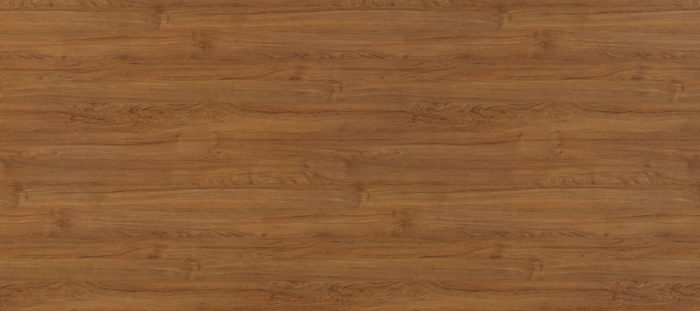
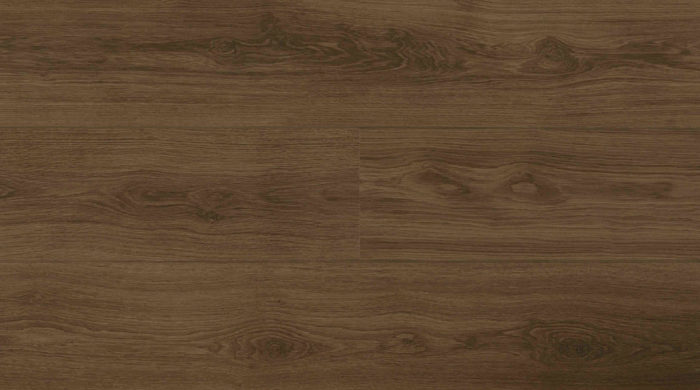
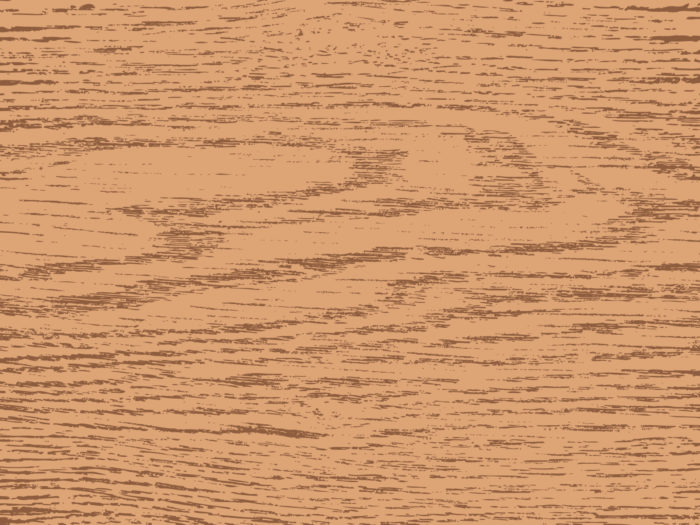
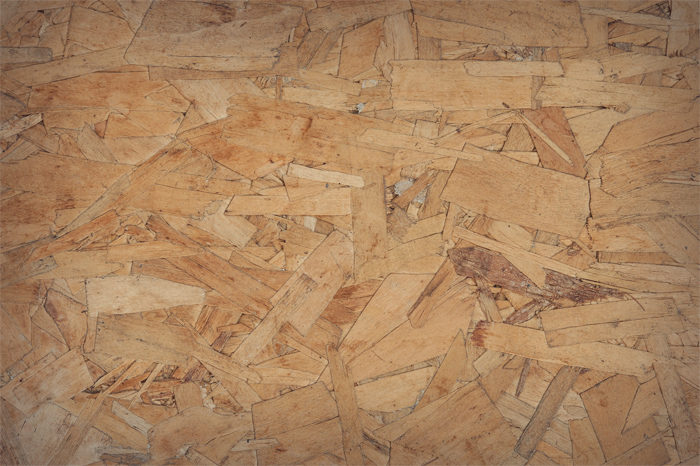
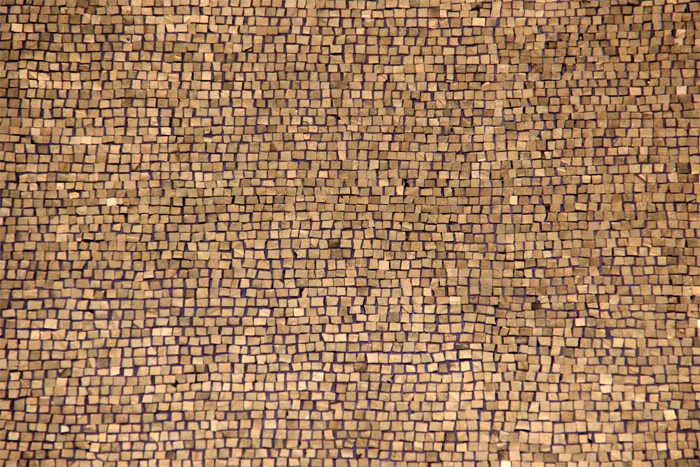
A wood background can do a lot for a website or a poster. Wood texture is intensely evocative.
It has an innate connection to the natural world, and can also call to mind any number of situations or environments depending on its color, visual effect, placement, and more.
Wood texture has been used for websites for a long time. It’s really a very simple texture, but it has proven to effectively add depth and has helped to highlight important elements many times.
A grain texture can be used and designed in a diverse number of ways. While many designers have come to prefer lightweight patterns over textures, wood backgrounds and wood textures have remained a staple of design over the years.
This is thanks to several traits unique to wood textures. Wood grain texture adds a dimensional feel to anything it is used on and can help clearly separate the background from the content of a webpage.
It also helps to build brand identity and help increase the sense of the personality of the business or web page by creating a good sense of atmosphere. It is a good way to catch the eyes of viewers, so a wood background is a good way to create a solid information architecture.
As useful as wood textures are, be cautious when using them. It can be quite tricky.
Use wood textures sparingly and smartly, usually as either the main background and only the main background, or as a background for important sections like headers, sidebars, sliders, and footers.
Sourcing Wood Textures
If you want to create a design with a wood texture, there are some ways to get one you can use. A few of them are:
- Use your camera to shoot and scan images of wood surfaces
- Source your texture in a stock imagery library
- Create your own with Adobe Illustrator
The first two are certainly a good option on their own right. Of course, you need to have a good camera to take good pictures of wood surfaces.
You’ll also need to make sure that they are in the right resolution and of good quality otherwise. With stock photos of wood grain textures, you will likely have to pay to get good ones you can use without watermarks or noting the source.
However, if you want to create your own wood texture background, it’s actually pretty simple and will only cost you time!
Creating a Wood Texture in Adobe Illustrator
Once you master these techniques, you can use them to create wood textures on your own!
Also, this tutorial was designed for Adobe Illustrator CS3.
Create Rectangles
Create a 5 inch by 5-inch rectangle using the Rectangle Tool (m). An easy way to do this is to click on the artboard with the Rectangle Tool (m) to bring up the Rectangle dialog to enter dimensions. Fill the rectangle with a light brown and take off the stroke.
Then, Copy (c) the rectangle and Paste In Front (f). With the copied rectangle selected, change the dimensions for the width to 2.5 inches and the height to .25 inches in the Transform Panel. Fill the rectangle with a 40% black.
Create the Texture
Select the smaller rectangle and go Effect > Sketch > Graphic Pen. When the Graphic Pen Effect dialog appears, change it to the following settings:
- Stroke Length = 15
- Light/Dark Balance = 2
- Stroke Direction = Vertical
Trace and Expand
With the texture selected, click Object > Expand Appearance. With the texture still selected, the Control Panel will default to the Live Trace options. Click the arrow beside the Live Trace Button and click Tracing Options. You can also select Object > Live Trace > Tracing Options. Change the options to the ones below:
- Mode: Black and White
- Path Fitting: 1px
- Minimum Area: 1px
- Corner Angle: 1
- Ignore White: Check this box
These are not all the options on the list, only the ones you need to change.
Transform and Color
With the texture selected, change the width to 5 inches and the height to 5 inches in the Transform Panel. Then change the color of the texture to a darker brown than the first rectangle.
Warp
Double click on the Warp Tool (shift r) in the Tools Panel to bring up the Warp Tools Options dialog. They are likely on the default settings, but if they are not, press the reset button on the right. Once the settings are back to default, change the Intensity to 10% and click OK.
Select just the texture and click and drag with the Warp Tool (shift r). Going up and down and slightly back and forth is a good option that will produce a wood grain effect. You can do as much as you want.
Twirl
Click and hold down on the Warp Tool (shift r) in the Tools Panel to bring up the other transform tools. Click on the Twirl Tool. Use this tool to add some knots to your wood texture if you would like. Double click on the Twirl Tool in the Tools Panel to bring up the Twirl Tool Options dialog. Below are the settings to use:
- Width =.69 (50pts)
- Height =.97 (70pts)
- Twirl Rate =10°
- Simplify = 20
With your texture selected, click and hold on the texture until you the knot looks right. The Twirl Rate is slow so it will be easy to see when you need to let go.
Feel free to experiment with the look of your wood texture!
Using Wood Textures in Web Design
Wood textures are not new in web design. They were actually very trendy in the late 19190s and early 2000s, though they fell out of style after that.
They’ve begun to make a comeback. Wood is an earthy material closely associated with all sorts of experiences, from picnics to boardroom tables. You can use it to your benefit and bring in a classical and interesting touch to any website.
Ending thoughts on Wood background
Wood background has a lot of advantages. While it has not been popular for many years, wood textures have begun to see more use again. You can use a wood background for a number of projects particularly if you create it yourself to your own specifications using Adobe Illustrator.
If you enjoyed reading this article about Wood background, you should read these as well:
- Fall background images that you can use in your designs
- Clouds background images to use in your design
- Cute wallpapers to download for your desktop background
The post Wood background textures that you can add in your designs appeared first on Design your way.
Source: https://ift.tt/2pXOtov












No comments:
Post a Comment