Those among you who’ve never tried black and white photography may have difficulties appreciating its true value.
At the end of the day, isn’t it how it all started – didn’t silent movies on our black and white screens set the basics for today’s high-tech age? Indeed, black and white pics made it all happen!
But is the age of black and white photography techniques officially over? The answer is a definite no, as black and white pictures nowadays have their own art form. For some admirers, monochrome photography is the absolute leader, given its rich history, and even more promising future.
Better yet, there is plenty photographers can learn by doing black and white photos, particularly when speaking of composition.
Colors, on the other hand, are trickier to use, as their absolute dominance takes over important elements alike shape, form, texture, and light.
An expert photographer won’t have troubles identifying these elements on any piece of work, but a laic observer may not. Therefore, we recommend all aspiring photographers to adhere to black and white photography tips at the dawn of their career.
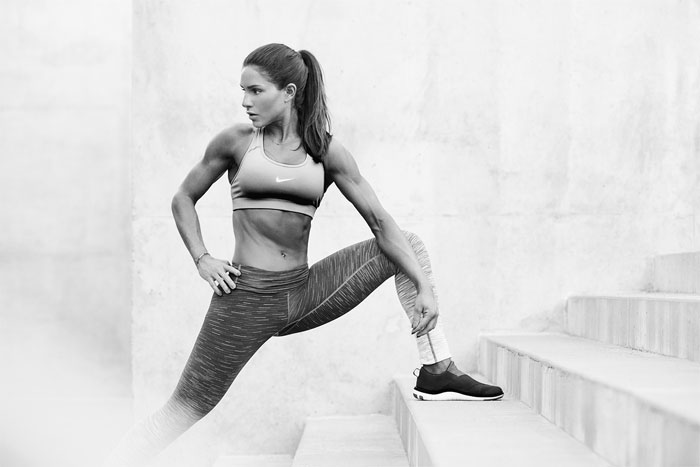
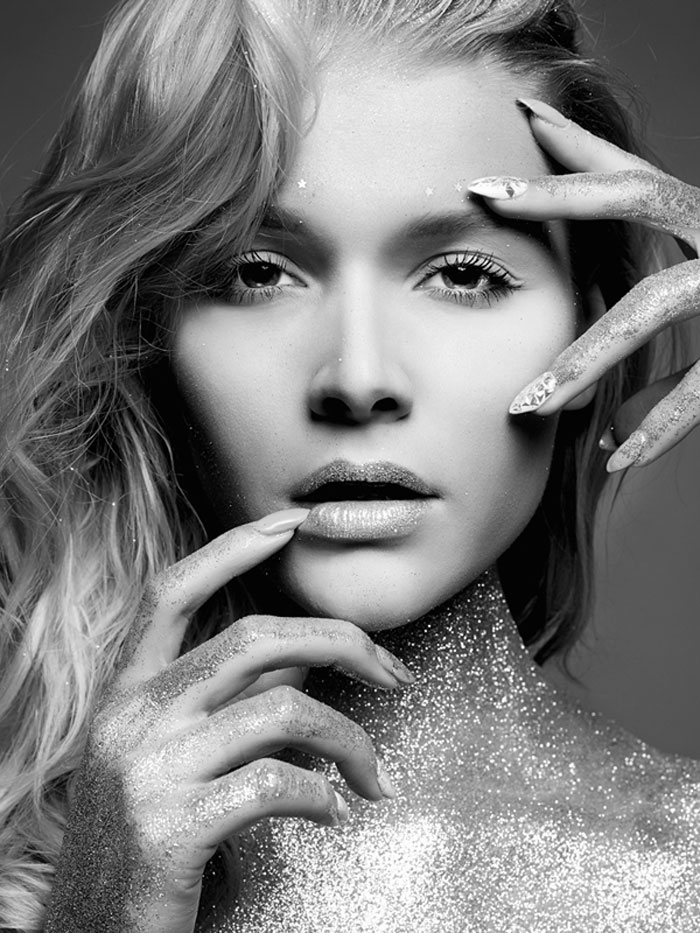
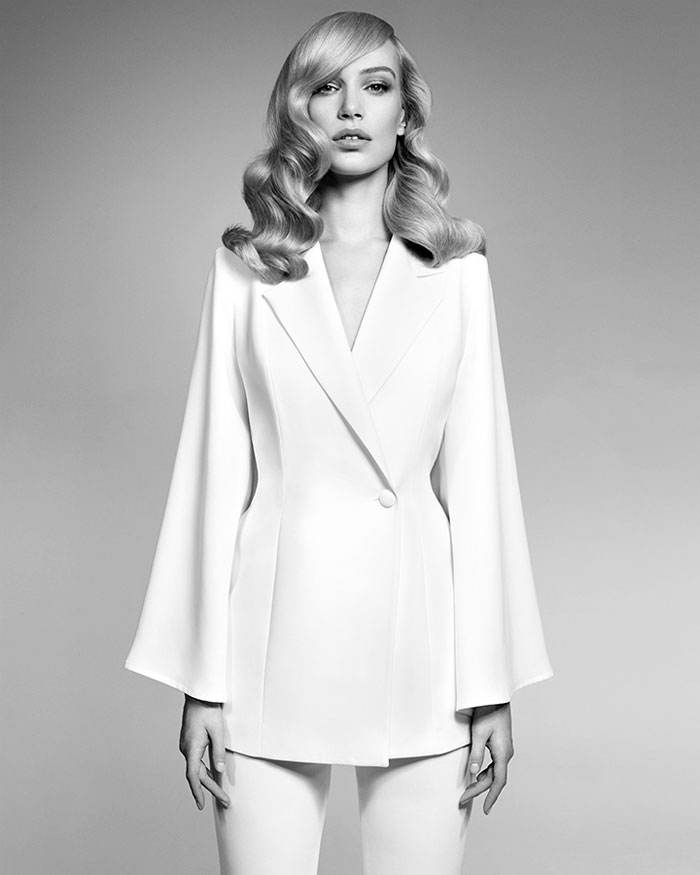
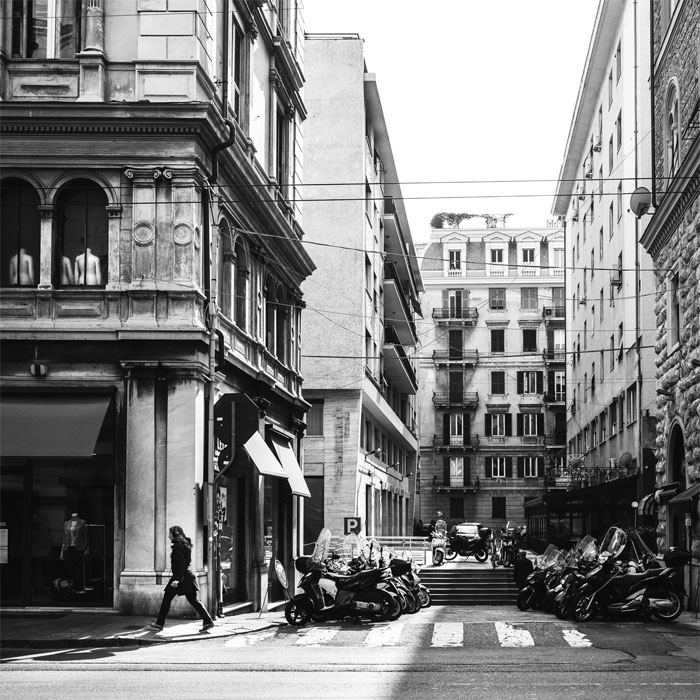
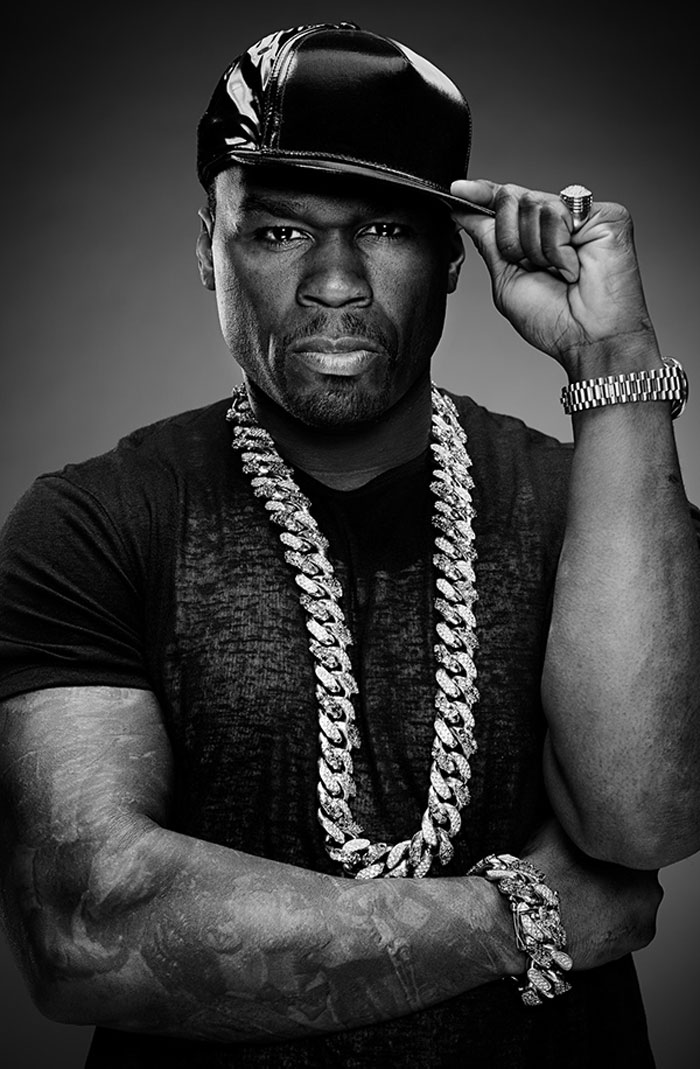
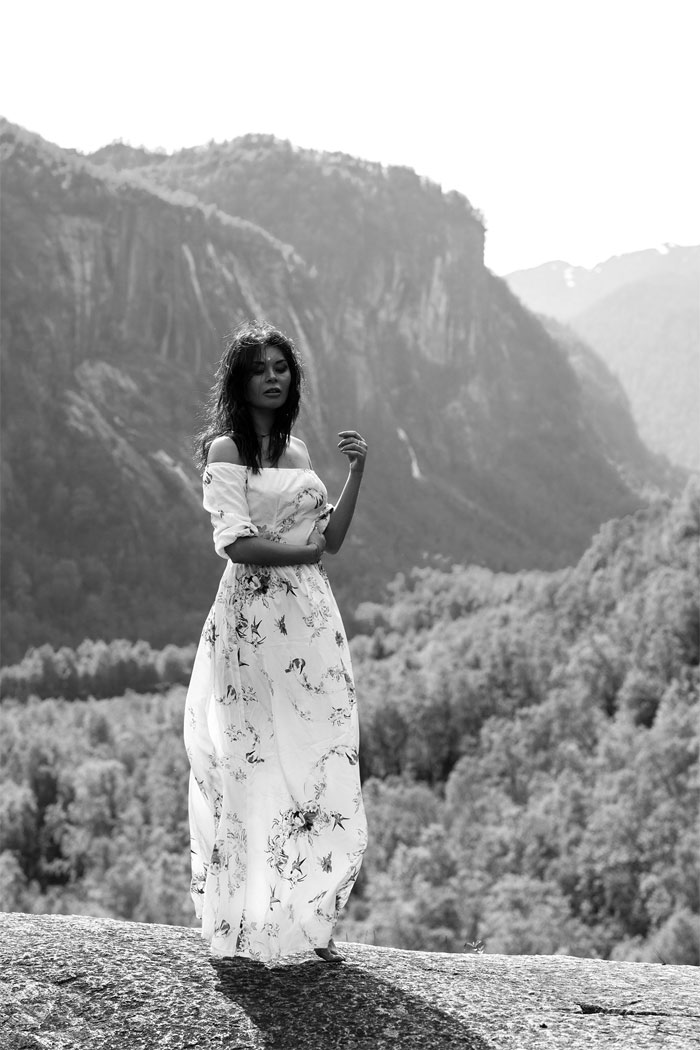
Black and white photography techniques are pretty much applicable in all themes and scenarios, but there are subjects where they’re just ideal. Two specific cases are black and white portrait photography and black and white landscape photography, which is why we often find beginner photographers working on them.
Shooting in black and white with your camera
Prior to the emergence of digital photography, artists had no other choice but using special black-and-white films to produce such photos. Nowadays, it has become way easier to make monochrome masterpieces, as all you need to do is to switch the mode in question on your camera (you should be able to locate it in the Picture Styles menu).
There are also cameras equipped with electronic viewfinders which give you the option to turn any image into a black and white photo, and check it out before you’ve pressed the shutter. A similar effect can be achieved with the Live View on digital SLRs, which will be particularly beneficial when working on a tripod.
The best way to go is to use the Raw format instead of JPEG, as it will preserve the image’s quality. Novice photographers, however, should stick to JPEG only, as it is more beginner-friendly. This is also how we’ve structured the tips and practices in this article.
Shooting in monochrome mode
Set up the monochrome mode, and choose any of the cool options you have available. Depending on the settings, you can improve the results of your work, in particular when you work manually, and you switch between options.
Color filters
The color filters on your camera are actually remains of film photography, when an artist would purchase a colored filter, and use it to change the black and white tones on a photo. For instance, a yellow filter would help them darken a blue sky, and so would orange and red filters.
Green filters are also available, so that they’d highlight green subjects on landscape images. The four basic color filters have preserved their influence in today’s digital photography, and we can still find them in any black-and-white settings menu.
Contrasts
For photographs taken in flat lights (someone’s portrait in the shade, for instance), you may produce a flat (two-dimensional) picture. In this case, you’ll need to increase the contrast to compensate, an operation which is fairly simple using Lightroom or Photoshop.
Square formats and cropping
If you own a modern camera, odds are good you won’t need image manipulation software to adjust the aspect ratio of your images. With most cameras, you’ll be shooting in a square format (the same as with your mobile camera app), but composition will still be easy to adjust with an electronic viewfinder.
Toning the image
Toning the images is another interesting option to consider. Some cameras support toning functions, but they may not be as subtle as you need them to be.
Shooting in color
The reason why so many photographers nowadays choose to shoot in black and white is because their camera allows them to do it directly. As weird as it sounds, beginners should skip this function, and do the heavy lifting themselves. Black and white pictures turn out much better from colored originals, as the standard conversion ensures better quality.
Consider this a rule with no exception – all images shot with the black-and-white present should be in RAW format, so that the colors will be preserved, but the conversion won’t look poor on the display. RAW formats put the photographer in control over the final result, and help him understand whether a black-and-white version is actually an option.
Shooting at the lowest ISO setting
Grainy film is a frequent choice of black-and-white aficionados, but it may not be the best option out there for novice photographers. Instead, we recommend opting for the lowest ISO setting available, and add grainy film only in the post production. This is because ISO settings are actually used to come up with a grainy look, and they can provide the right amount of noise without affecting the quality.
When shooting with the lowest ISO setting, make sure there are no unexpected movements. On the safe side, modern cameras can take up to movement significantly before the noise begins to show, but they won’t guarantee you a clear subject and a sharp shot.
Make the weather work for you
What could be better for a good photographer than a rainy day? Instead of staying in bed and doing nothing, grab the camera and create the perfect black-and-white shot. The softer the light is, the smoother the transition between subjects will be, and you can always polish your masterpiece with some extra contrast.
Get used to seeing things in black and white
Black and white can definitely change how the world looks, and if you learn how to picture this in your head, you will capture perfect situations. Instead of scrolling through your works and deciding which one would look the best, envision it in black and white at the first place. Of course, this won’t happen overnight, but there are few tips that can help you achieve it.
To start with, observe the shapes and not the colors. Even when the lighting conditions make it difficult to distinguish a shape, you can use the shadow over it to define it. Colors fall short in exposing beautiful shapes, and black and white photography brings them back.
Where there is no color, one can also distinguish structures with ease. To point it out, you can add up extra light, as done in black and white photography of people with their skin and hair.
You should be careful when applying contrast on a colored photo, as using too much of it may confuse the viewer, and have a considerable harsh effect. Without color to obstruct your work, you can make contrast more beneficial, and attract attention towards the subject.
Patterns
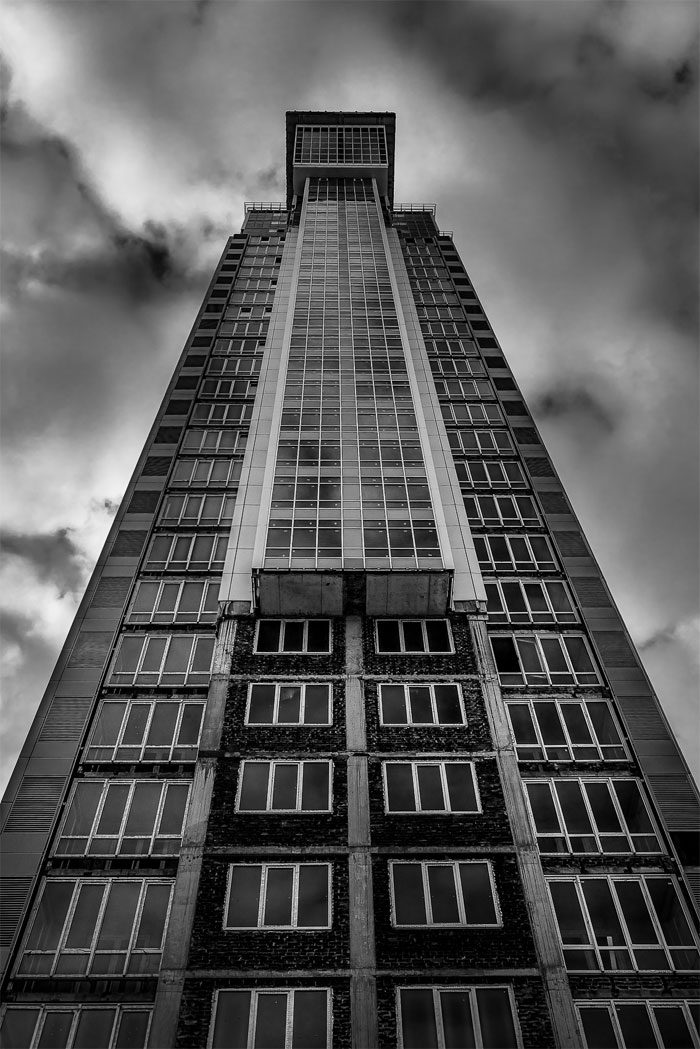
Another side effect of colored photographs is the minimized impact of patterns, as some of them may even go unnoticed with bold shades distracting the viewer. On black and white images, one has the possibility to capture all attractive patterns, as his attention is already focused on discovering shapes and scenes.
Textures
The same as with patterns, textures often get lost on colored photos. When looking at the colors, we use them as indicators that label the main subjects on the image, and we see what we expect, rather than what is already there. As you can guess, this doesn’t help your efforts to convey a message or make an image memorable.
On black and white photographs, the mind is free from interpreting color information, and focuses on texture first. If you want to expose a prominent texture, there is no better way to do it.
Adequate lighting
Every experienced black-and-white photograph will agree that the key aspect of his work is lighting. Good lights are decisive when it comes to exposing shapes, patterns, textures, and contrasts.
You need to take the influence of each factor in consideration before you make lighting decisions. Ideally, you should opt for a setup that enhances as many of them as possible.
RAW shots
There are many DPS readers that are unable to shoot in RAW (there is no such function on their camera), as well as those who prefer not to do so because they don’t like the final effect. Yet, shooting in RAW formats on cameras that allow it is a highly recommended practice, as it facilitates turning an image to black-and-white in the post production phase. You can also shoot black-and-white in JPEG formats, but it may still be a good idea to let RAW surprise you.
Color shots
If RAW is not an option, create the image in color, and convert it to black and white using an image manipulation programs. This puts you in control of the image data way more than working with an original black-and-white image.
Low ISO shots
When shooting, set the lowest possible ISO. As most of us know, this option matters to colored photographs, but it is even more important in black-and-white shooting to reduce the noise. If noise is what you’re after, there is the option to add grain in the post-production stage. Taking it out, on the other hand, is quite difficult.
Composition
When it comes to frames and compositions, the rules for colored and black and white photography are almost identical. Nevertheless, there is one difference you should know about – without color, it becomes more difficult to lead the eye towards the desired object, and you need proper lighting to make it stand out.
Long exposure and why you should try it
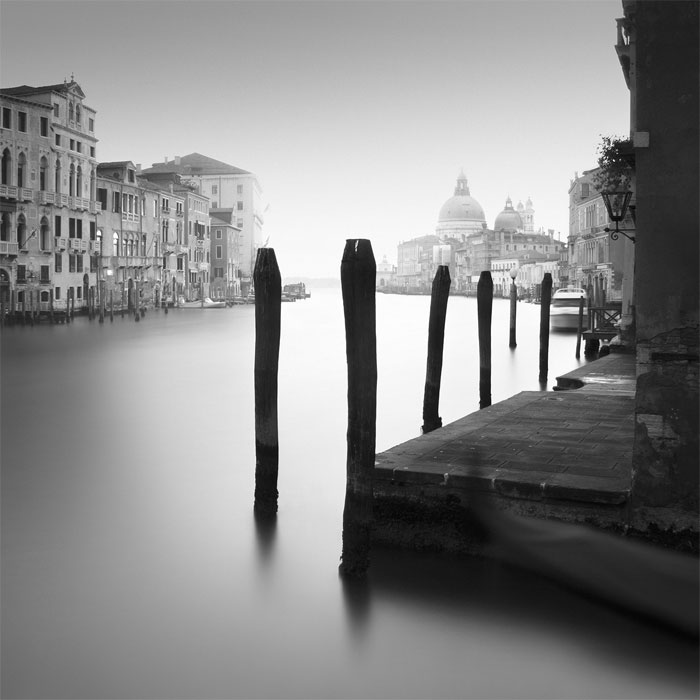
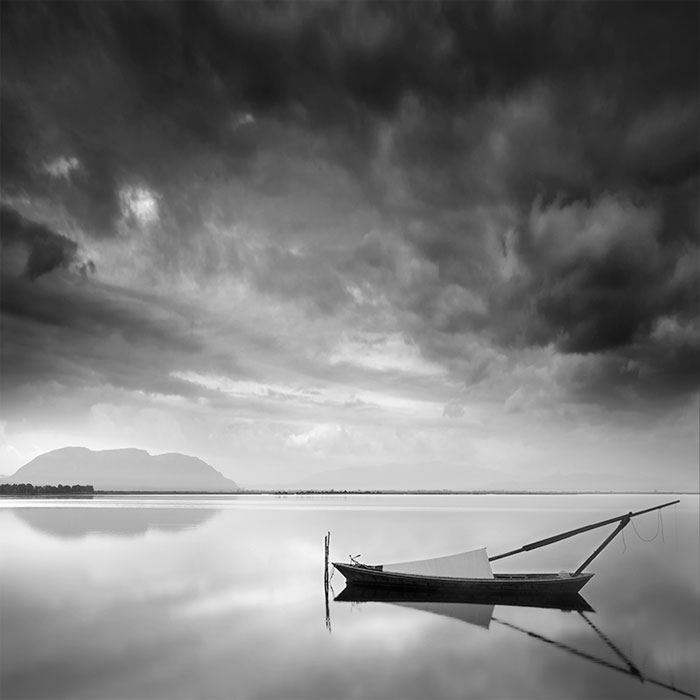
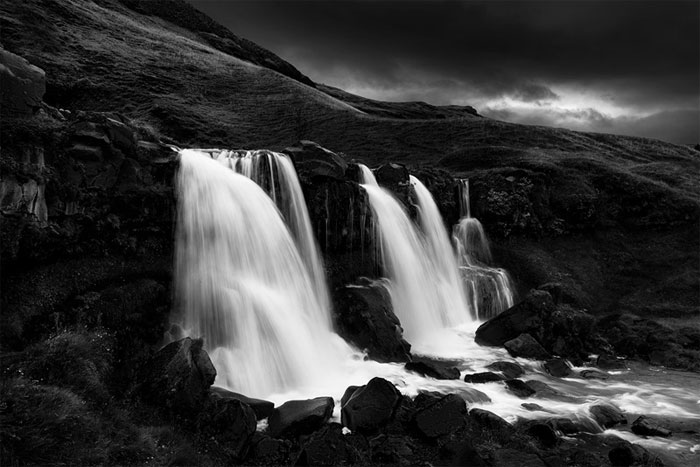
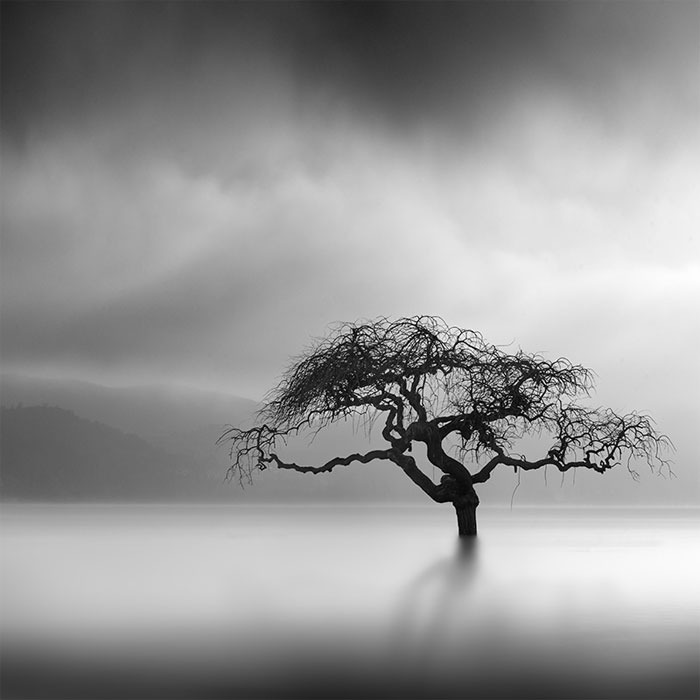
Monochrome photography relies heavily on long exposures, especially when shooting clouds or moving water. Long exposures help record a wider area of water and enhance its contrasts, and highlight the important moments on the image.
The textual contrast on solid frame objects is further enhanced by the blurring movement. To achieve an even stronger effect, you can use neutral density filters alike Little or Big Stopper by Lee Filters. These filters extend the shutter speed (10 or 4 stops) and reduce the exposure.
Extending the exposure more than 1/60 second may cause blurring, which is why we recommend you to use a tripod so that the camera won’t move. If possible, use also a mirror lock-up and a remote release to ensure there is no vibration. With these tips in mind, you will produce stunningly sharp photographs.
Using filters
Another useful practice from color photography that proved useful in its monochrome counterpart is the use of filters. Particularly important are the polarizing and the graduated neutral density (ND grad) ones that help manipulate contrast on your images.
ND grad, for instance, will be of great use to accentuate details on light sky images, while the polarizing filter can boost the contrast and reduce the reflection. You can also change the exposure and make several photos at once, so that you will get high-dynamic-range (HDR) composites.
On long exposure shots where the sky looks brighter than the foreground, feel free to use the ND grad filter with standard density.
Contrast, on the other hand, can be manipulated with the same filters used for colored photography. These filters darken the objects that have the opposite color of theirs, and lighten their own objects. For instance, applying an orange filter on a blue sky image will make it look darker.
Stay in control
There are two ways to manipulate contrast in monochrome photography – to use colored filters while shooting your image, or to save the image as such and process it later.
For many years in a row, photographers used Channel Mixer by Photoshop to tune colored images to monochrome ones, but Adobe came up with a much more powerful tool this year. The tool is called Camera Raw, and it lets users work with even 8 separate colors to adjust the brightness of their image.
A dedicated sliding control lets you adjust any of these colors in all nuances from while to absolute black. Yet, you should check how the graduation of a particular color affects the image, as you may achieve an unnaturally-looking result.
To give you an example, using the red slider to change the brightness of a pink or red shirt can change also the color of the model’s lips or skin. Tones and contrasts can then be manipulated with Curves and Levels controls, while the Grayscale/HSL controls help achieve complete separation between objects with varying colors.
Burn and Dodge
Burning and dodging are two very useful techniques inherited from the darkroom period, and used primarily to manage highlights and to hold shadows back. Photoshop offers a Dodge and Burn Tool with an incredible level of control that allows you to target shadows, highlights, or both.
Basically, you will have a burning tool that darkens highlights that are too bright, and a dodging tool that does the exact opposite to strengthen the contrast. This means you can easily enhance beautiful textures and obtain more sharpness. Since you can set the opacity of your tools, you can easily change their effect and subtle the edges of your objects.
Suitable subjects for monochrome photography
Editing colored photos to turn them into black-and-white ones is a two-way street, as you’re automatically eliminating the only element viewers use to interpret the photograph. Therefore, you need to find an alternative way to guide them, and to give other elements a central role.
How to identify suitable subjects for your black-and-white photo? There are several elements you should consider, all of which can be used separately. Yet, we recommend you to combine them in different ways, and to create amazing mono photos with clout.
Tones
There is a large range of grey tones appearing on any black-and-white photo, and their role is to make your image look subtler. The human eye is normally attracted to subjects translating to black and white tones, but that doesn’t mean that lighter and darker subjects won’t have a good effect.
Subjects to avoid in monochrome photography
While there is no universal rules to as which subjects you should/shouldn’t use on monochrome photographs, there are scenes and settings whose impact is simply not good without color. Similarly, not every lighting condition allows the creation of a good black-and-white image.
These are the subjects you should avoid in black and white photography:
An empty sky
With a limited number of subjects on an image, black-and-white photography comes somehow intuitively. Yet, it’d be a bit naïve to assume that the weather or lighting conditions won’t affect it.
Photoshop will without doubt provide skillful adjustments and conversions that can solve the drama issue in the post production phase, but it is way easier to launch your project on solid grounds. Instead of rushing, you should take some time and wait for the ideal lighting conditions.
Images whose impact relies heavily on mood
Images supposed to invoke a particular mood look much better with color, excluding certain exceptions alike black and white animal photography. Sunset or sunrise shots, for instance, are all about color, and making their hues subtler can have the opposite effect.
Tips on using filters
Digital cameras can’t work with traditional color filters intended for black and white films. Therefore, you can only boost the contrast with a polarizer, and rotate the filter to make objects lighter or darker. Another important role of a polarizer is to reduce the reflection from water, glass, and similar non-metallic objects.
Infrared effects and why you should try them
To create an even more dramatic image of a black sky with lots of grain and glowing foliage, you should try to replicate the effect of infrared films. To do so, you can use a dedicated filter and attach it directly to the lens, so that it will transmit the infrared light.
Modern cameras can also be set to produce infrared images, but the quality may not be the best one. To achieve an infrared effect, you can also use the black-and-white conversion features available in CS and Elements.
To learn how to see things in black-and-white, look for shapes, lines, and shadows. Experienced photographers rely on this trick to create the most astonishing black and white images.
Keep noise under control.
Modern DSLR cameras have a surprisingly good low light performance, and offer a number of noise removal programs like those used for professional black and white street photography.
Work with gray tones.
On a monochrome photography, black and white tones are only use to attract interest towards a particular object, while all other areas are handled with a wide range of gray tones.
Get your polarizer.
A polarizer can be very useful when capturing reflective surfaces on an image, including excess sunlight. Reflection is even stronger on black and white photos, and can distract attention from the main composition.
Pay attention to texture.
Contrast is the best mean to expose the beautiful details of textures, which is why black and white fashion photography is so popular. We can also find many amazing monochrome images of antiques and old barns, and other items with weathered textures.
Learn to distinguish between black and white, monochrome, and grayscale photography.
Monochrome refers to images where a color is applied on a neutral background (a black object on a white background, for instance). By ‘grayscale’, we refer to displaying black and white photos on a computer screen, and using a limited set of gray tones to preserve their effect.
Black and white is perfect for long exposures.
Many digital photography experts agree that black and white is the ideal approach for long exposure images.
Limited colors don’t always create the ideal setting for black and white.
You will for sure be tempted to transform a colorblind photo into a black and white one, as for instance a night sky photo, or a penguin image. The less color there is on the original image, the less able you will be to transform it into a perfect black and white image.
The mysterious ingredient is HSL.
Despite of appearing last on this list, the HSL trick may be the most important thing about black and white photography that you will ever learn. In order to post-process an image and turn it into black and white, you should first tweak its colors in Lightroom’s or Photoshop’s color panel. You should be able to find many tutorials on how to do this to improve the looks of your images, so don’t lose time!
Ending thoughts on black and white photography
Black and white may be the best photography medium to excel in, and one that certainly has the potential of making you appreciate your work even more. Learning how to produce beautiful black and white pictures is also an enjoyable process, so take your time!
If you liked this article about black and white photography, you should check out these as well:
- Amazing Photography Shots Of Our World (44 Amazing Pictures)
- 52 Great Examples Of Urban (Street) Photography
- Photography Cheat Sheet Examples: The Best For Photographers
- Bokeh Photography: Definition And How To Shoot (45 Pictures)
The post Black and White Photography: Monochrome Pictures That You’ll Love appeared first on Design your way.
Source: http://ift.tt/2FHIsWa







No comments:
Post a Comment