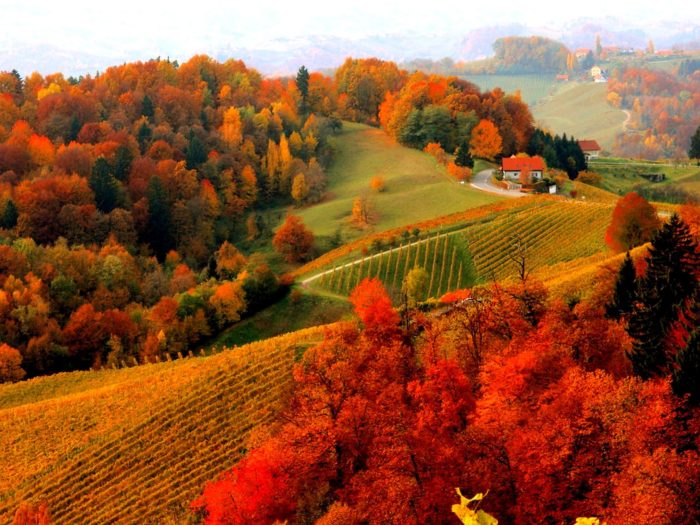
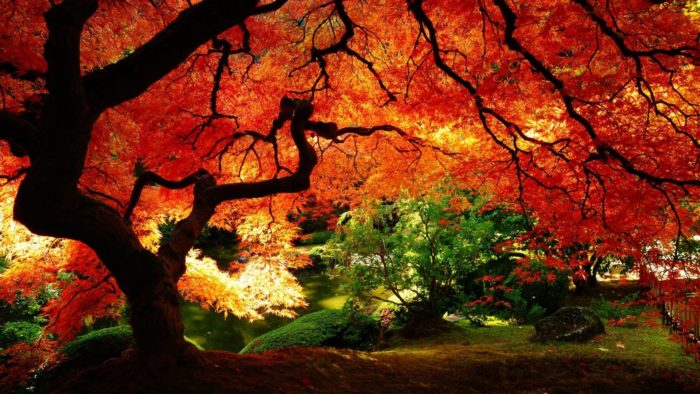
Autumn colors are some of the most beautiful things in nature.
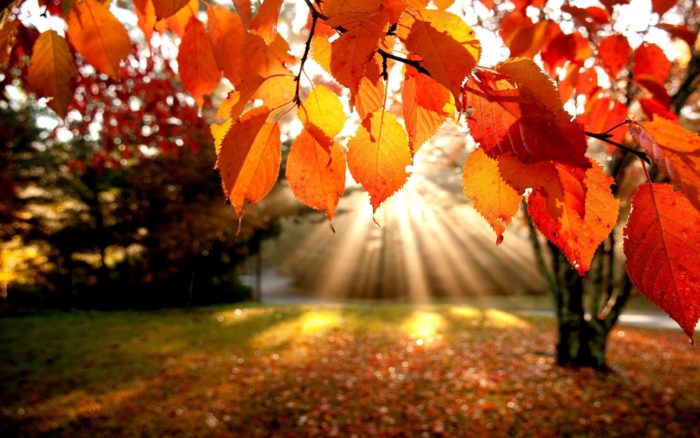
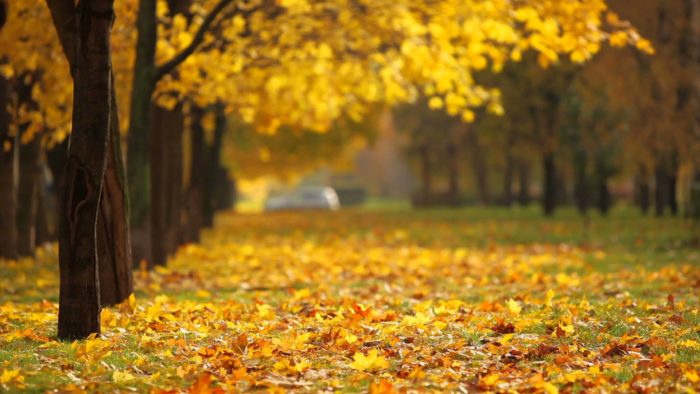
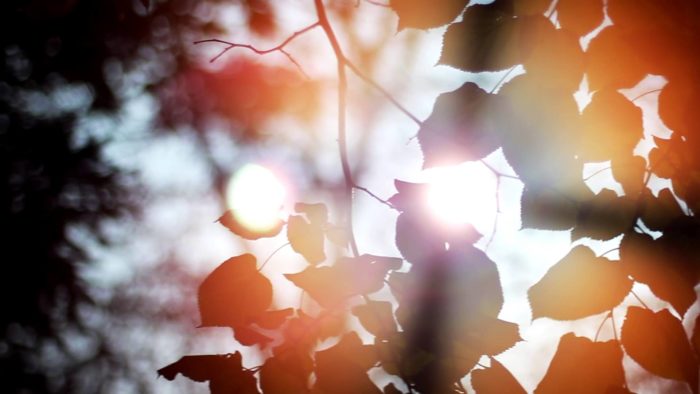
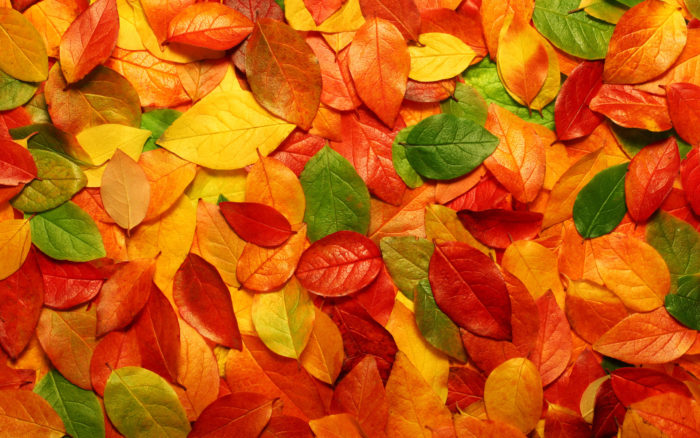
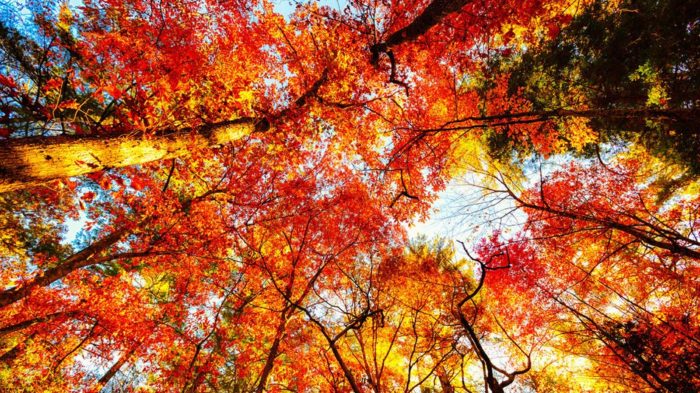
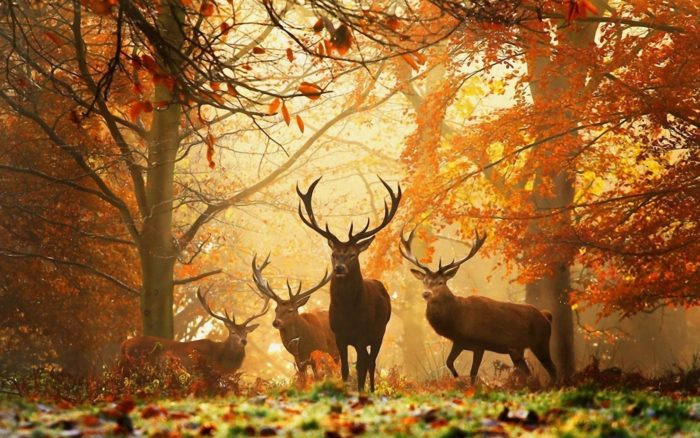
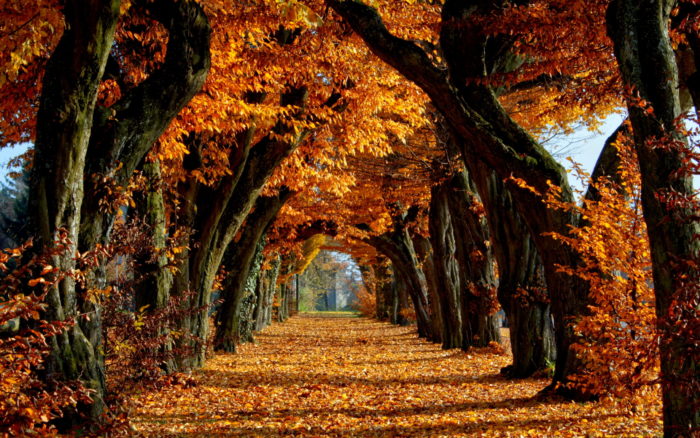
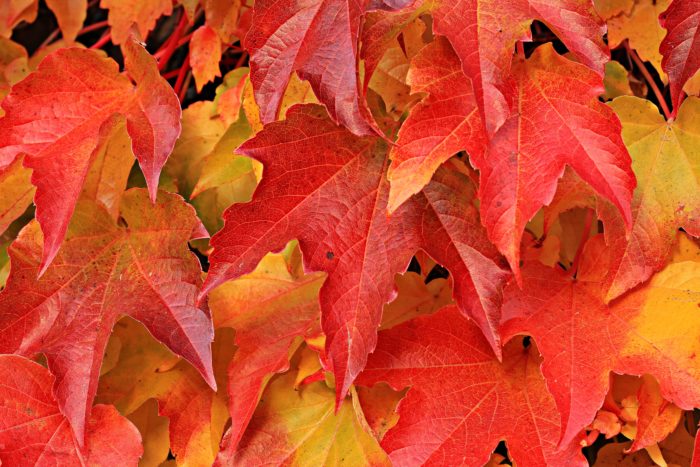
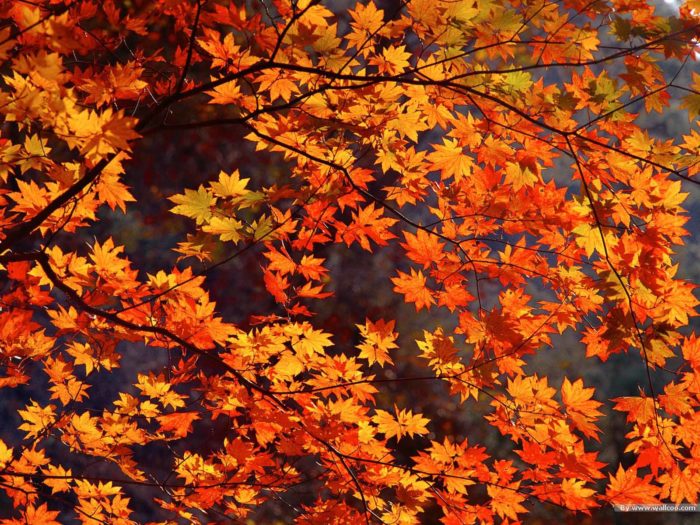
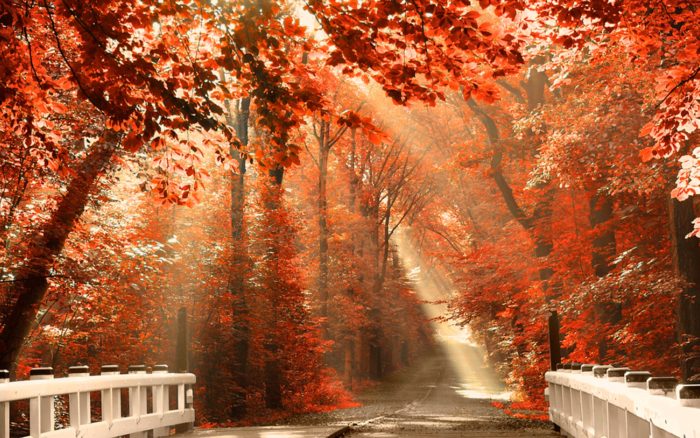
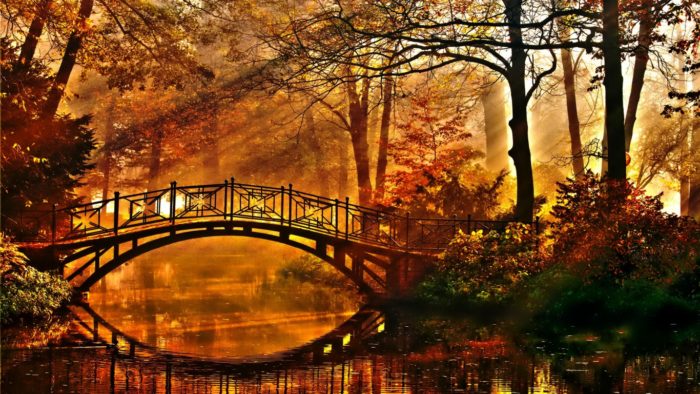
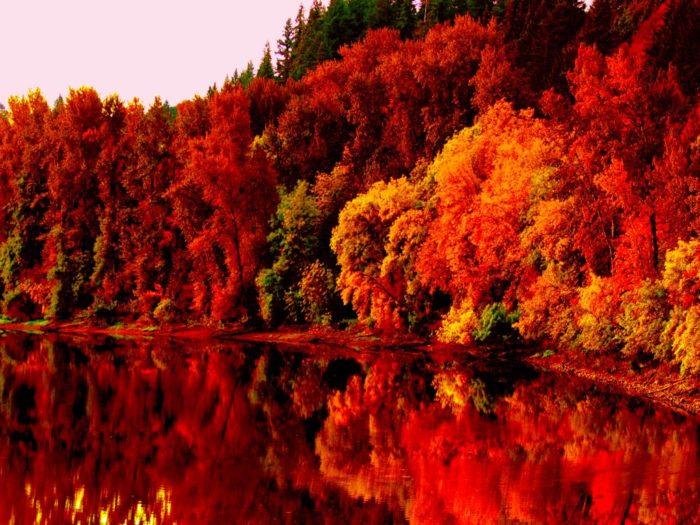
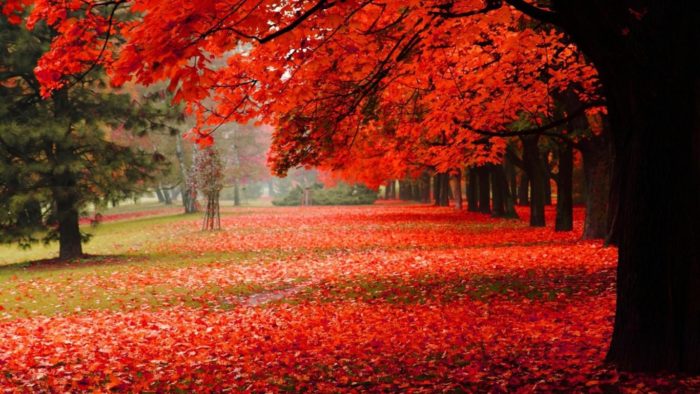
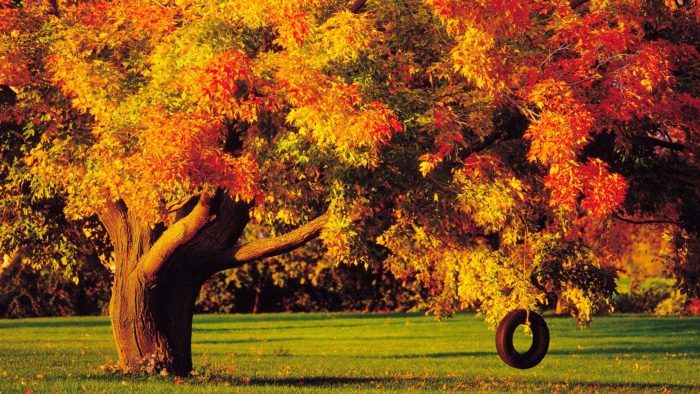
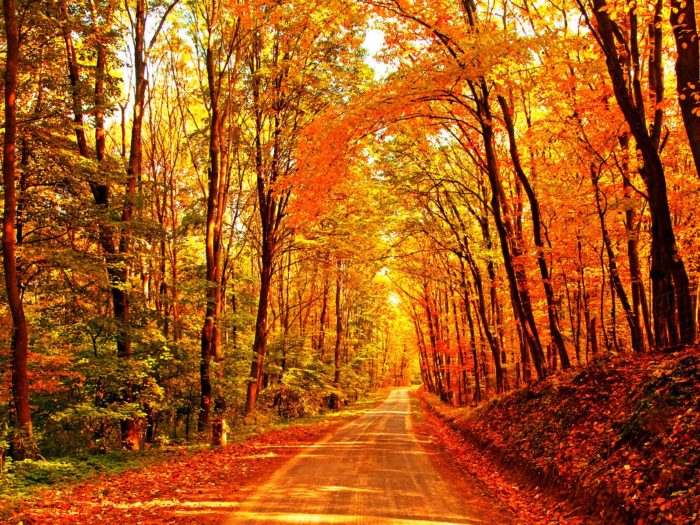
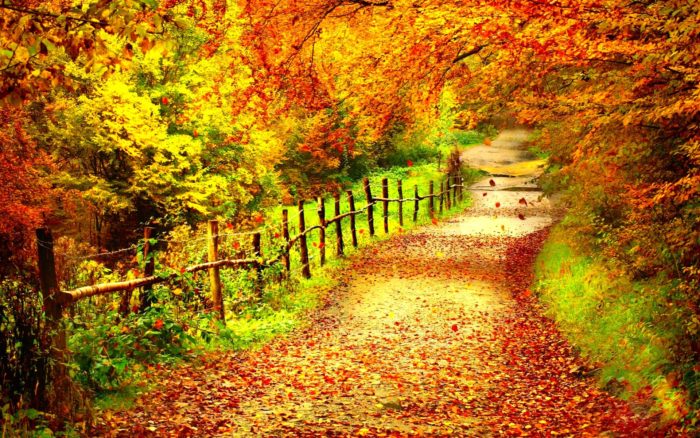
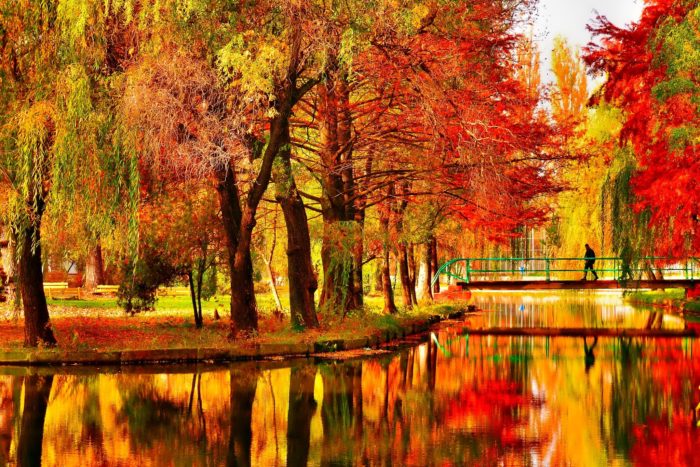
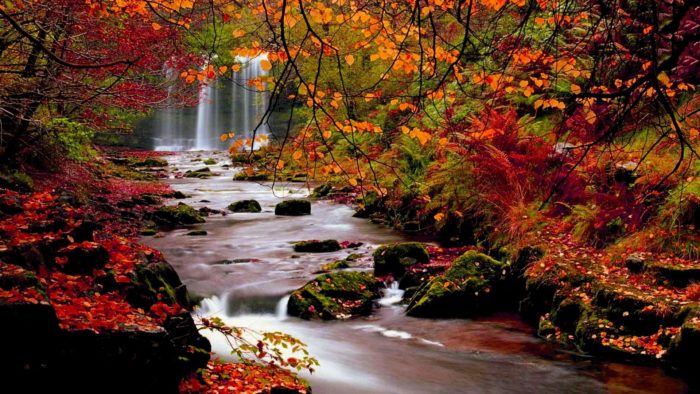
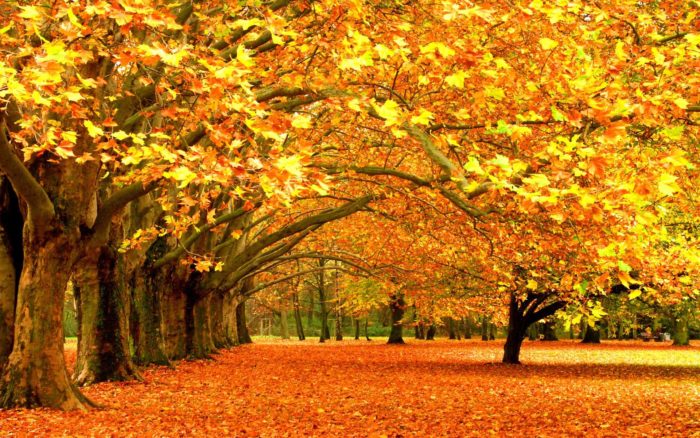
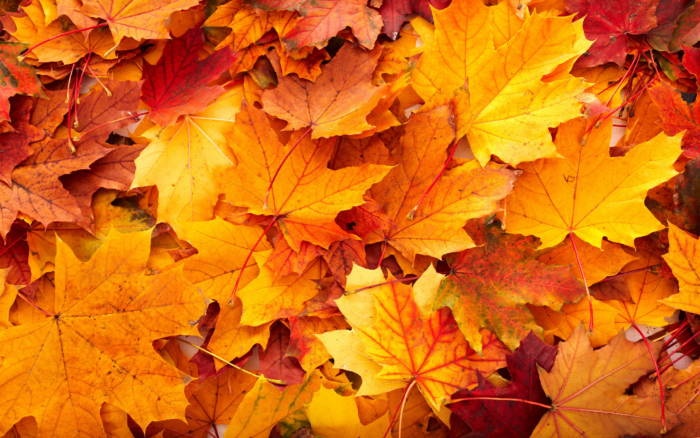
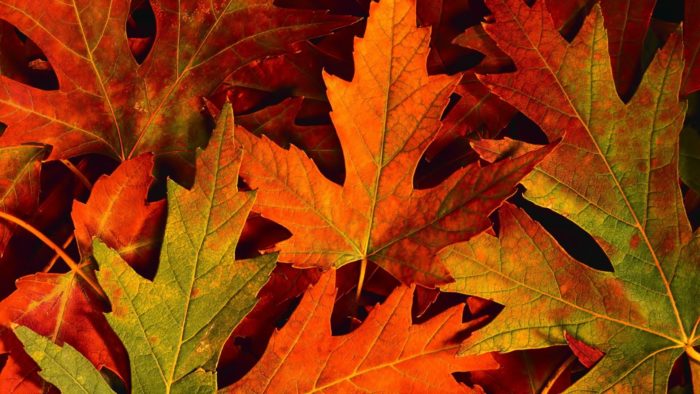
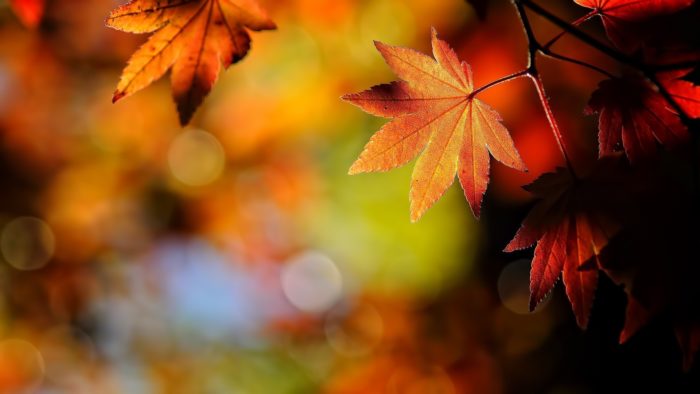
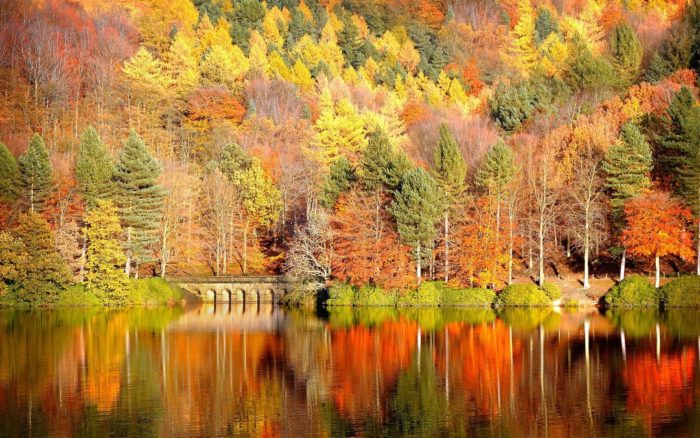
They are some of nature’s best design work! This makes fall backgrounds some of the best you can use for your computer, website, tablet or phone. A fall leaves background will have a back to nature feeling while still having vivid and eye-catching colors.
If you want a fall leaves background with a custom look and set of colors, you can actually quite easily make one yourself in Adobe Photoshop. This will allow you to make sure your fall leaf background is the right dimensions, resolution, and aesthetics for you!
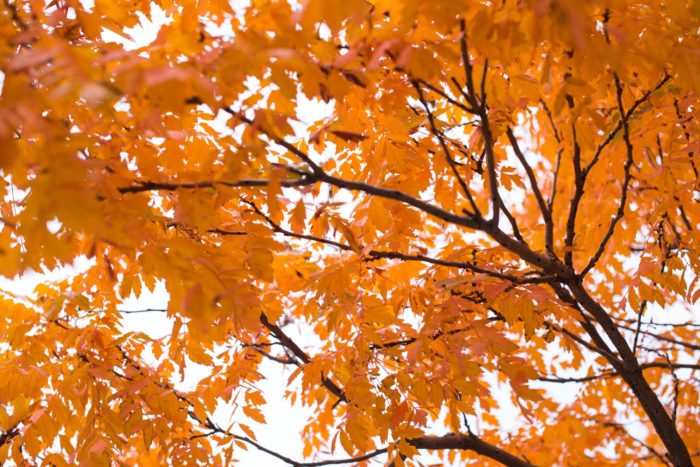
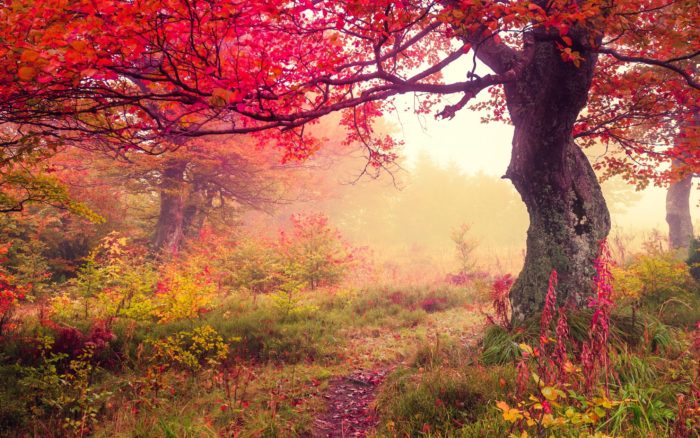
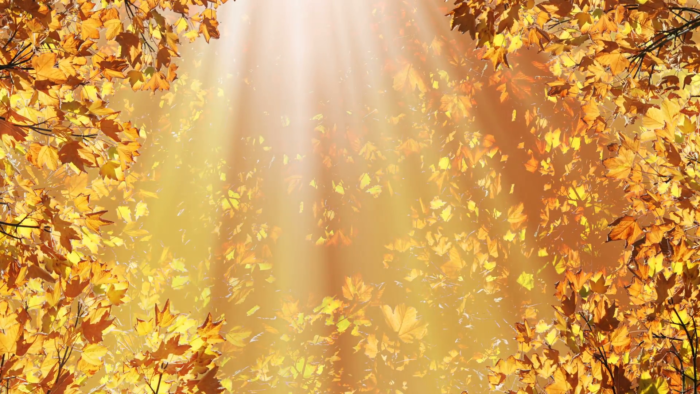
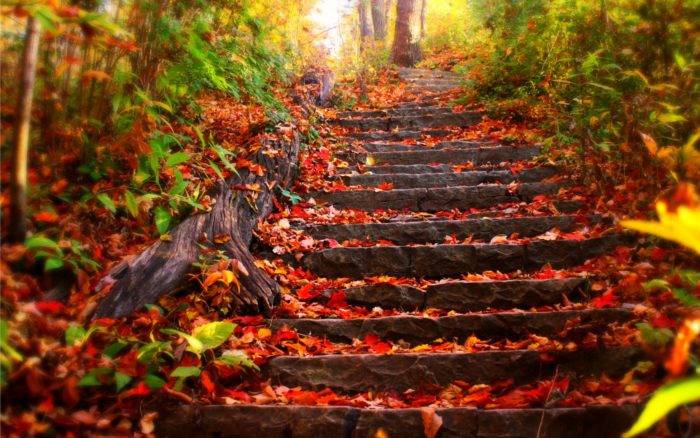
Fall background images
How to Create a Realistic Fall Background in Adobe Photoshop
Follow along with this tutorial to learn how to use a few leaf images, textures, adjustment layers, and lighting effect to create an amazing autumn leaf effect for a fall leaves background.
Assets Used For Creating a Fall Desktop Background
- Asphalt 02 by Limited-Vision-Stock.
- SoilMud0041 Image 1 – Medium.
- Grunge texture 4 by darkrose42-stock.
- You can choose any of the Leaf Images available on the web. The ones used here are from the Leaves0060, Leaves0132, and Leaves0233 sets from Textures.com.
- Water 02 by DH-Textures.
- Free Pack 6000 photoshop gradients by Supertuts007 (load the CSP True Sky Gradients.grd file).
1. Create the Background of the Fall Background
- Step 1
For your initial fall leaves desktop background, make a new 1600 x 1031 px document. Add the Asphalt 02 image on top of the Background layer, then rename the layer to Background Texture. Resize it as needed.
- Step 2
Double-click on the Background Texture layer to apply a Color Overlay effect with these settings:
- Color: #5f4f31
- Blend Mode: Multiply
- Opacity: 50%
This will darken the texture and help enhance its coloration.
- Step 3
Place the SoilMud0041 image on top of your Background Texture layer. Resize it as needed and then rename its layer to Background Texture Overlay. Change the Blend Mode to Multiply and adjust the Opacity to around 30%.
This is also the point where you would add in any text you want if you are interested in having an autumn leaf overlay. The same techniques generally apply with just a few extra adjustments needed. We’ll mention any further steps for turning your fall background into a fall leaves text effect throughout the tutorial.
3. Add the Leaves to the Fall Background
- Step 1
After you choose the leaf images you will be using for the fall desktop background, you need to add them to the Photoshop file.
Be sure to place the leaves (File > Place) rather than duplicating them. After you have placed them in the file, resize each leaf as you like. Feel free to have fun with the size and placement of the leaves. The leaves can be as cluttered or as loosely grouped as you like.
- Step 2
Double-click on a leaf layer to apply a Drop Shadow effect using these settings:
- Color: #3d2d0b
- Opacity: 35%
- Distance: 6
- Size: 3
This effect will apply a simple shadow to the leaf, helping to make it more realistic.
- Step 3
Right-click the leaf layer with the Drop Shadow effect and choose Copy Layer Style.
- Step 4
Right-click the layers of the other leaves, then select Paste Layer Style in order to apply the Drop Shadow effect to every one of the leaf layers.
4. Duplicate the Leaves on the Fall Background
- Step 1
Choose the Move Tool and check the Auto-Select box in the Options bar.
Press and hold the Option key, then click and drag the leaf you want to duplicate and release.
After you have duplicated every leaf, press Command-T to enter the Free Transform Mode. You can now resize, rotate, and position the duplicated leaf.
Alternatively, you can use the Edit > Transform > Flip options to create even more variations on the leaves.
Repeat this process until you cover the whole fall background with a number of different leaves. For a fall leaf text effect, just cover the text area over with leaves. This whole process can be very time consuming, but it gets faster the more leaves you have on the fall background.
- Step 2
When you are happy with the look of your fall background as far as leaf placement goes, group all of your leaf layers in a group (probably named ‘Leaves). If you are trying to create a fall leaf text effect, make your text layer invisible by clicking the eye icon next to it.
- Step 3
Feel free to change the order of the leaf layers in order to get a more dynamic look.
5. Add the Leaves Texture
- Step 1
Duplicate your Background Texture Overlay layer. Place the resulting copy on top of the Leaves group. Then change the layer’s Blend Mode to Linear Burn and adjust its Opacity to around 5%. This will create some subtle texturing to the fall leaves.
- Step 2
Click the Create new fill or the adjustment layer icon at the bottom of the Layers panel. Select Hue/Saturation.
- Step 3
Adjust the Saturation value to -10.
6. Add the Vignette Texture and the Gradient Map
- Step 1
Place the Grunge texture 4 on top of all layers. Rename the Grunge texture 4 layer to Vignette Texture, resize it as you need, then change its Blend Mode to Multiply.
- Step 2
Create another Hue/Saturation adjustment layer. Click on the Clip to layer icon, then adjust the Hue value to -37.
- Step 3
Create a Gradient Map adjustment layer. Use a gradient, click the Dither box, and then change the layer’s Blend Mode to Soft Light and adjust its Opacity to around 50%.
7. Create the Smart Object
- Step 1
Go to Select > All, then Edit > Copy Merged, and Edit > Paste.
- Step 2
Place this pasted image on top of all layers. Rename the layer to Lighting Effects, then go to Filter > Convert for Smart Filters.
8. Apply the Lighting Effects Filter
- Step 1
Go to Filter > Render > Lighting Effects, then add a Spot Light.
Adjust the ellipses. You want to have the light come from the top left corner to the bottom right one.
- Step 2
Use the settings below in the Properties panel to the right:
- Color: RGB (255, 251, 235)
- Intensity: 23
- Hotspot: 60
- Colorize: RGB (255, 249, 231)
- Exposure: 0
- Gloss: -17
- Metallic: -50
- Ambiance: 19
- Texture Height (for each channel): 1
These settings will add some pleasant lighting and a nice piece of detailing to the effect.
9. Add the Water Overlay Texture
- Step 1
Place the Water 02 image on top of all layers. Rename this layer to Water Texture. Change its Blend Mode to Soft Light and its Opacity to 50%.
- Step 2
Add a Hue/Saturation adjustment layer on top of all layers. Click on the Clip to layer icon and change the Saturation value to -31.
This will create a nice rainy or wet feel to the final fall background, really capturing an autumn feel and creating a naturistic look. Feel free to play around with the different textures and settings to get different final results.
Ending thoughts on creating fall background images
Using this basic technique, you can create all kinds of fall background images. Mess around with different backgrounds for the image and try out different kinds of leaves. Include text or see if you can create interesting things for the leaves to be covering. There’s so much you can do by using this technique!
If you enjoyed reading this article about fall background images, you should read these as well:
- Clouds background images to use in your designs
- Brick texture examples to download and use for design projects
- Background pattern examples that you should check out
- Free grunge texture examples to download for your designs
The post Fall background images that you can use in your designs appeared first on Design your way.
Source: https://ift.tt/2NcdJoJ


No comments:
Post a Comment