Manga and comic fans have Clip Studio Paint at their disposal to turn any graphic story they can think of into reality. Developed by the Japanese company Celsys, this raster graphics editor offers unique tools that facilitate the digital creation of comics, but it also has traditional options to design any type of drawing. Among them is the option to add texts, but its default collection could be very limited for many artists. That is why today we will teach you how to add fonts to Clip Studio Paint.
The program started as an illustration application for Mac OS X, but nowadays has versions for Windows and iPad. Among the most notable tools in Clip Studio Paint are the creation of speech bubbles, inking drawings, managing multiple pages, applying textures, 2D animation, and many other options.
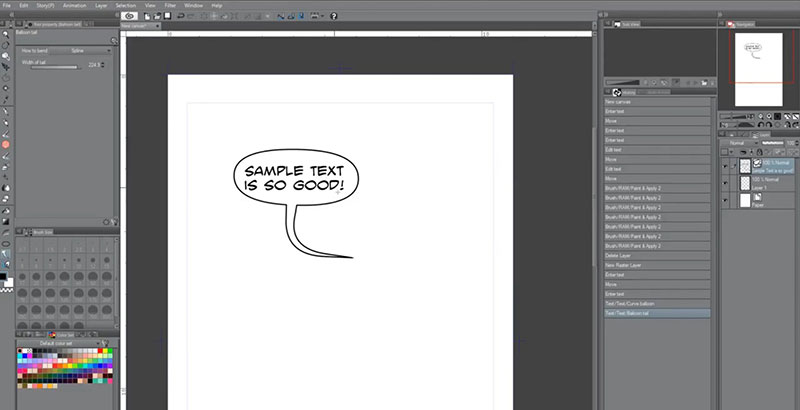
Of course, if the software allows the creation of speech bubbles, it means that it must have the option of adding text to them, otherwise, the comics would be incomplete. The problem is that some works don’t get the necessary character using the default Clip Studio Paint fonts.
If you have found yourself in this predicament, you should know that you can update its font gallery, and the process is very easy. It will even work for other programs.
What is a font?
Fonts on a computer are graphic representations of characters, which help the user to read or print documents. Typically, fonts can be manipulated.
In graphic design, a font can make the difference between striking text and expressionless text. Moreover, when it comes to creating expressive characters, texts are necessary.
What fonts can I install?
Operating systems support a wide variety of font files, so you shouldn’t be concerned about the type of file you download.
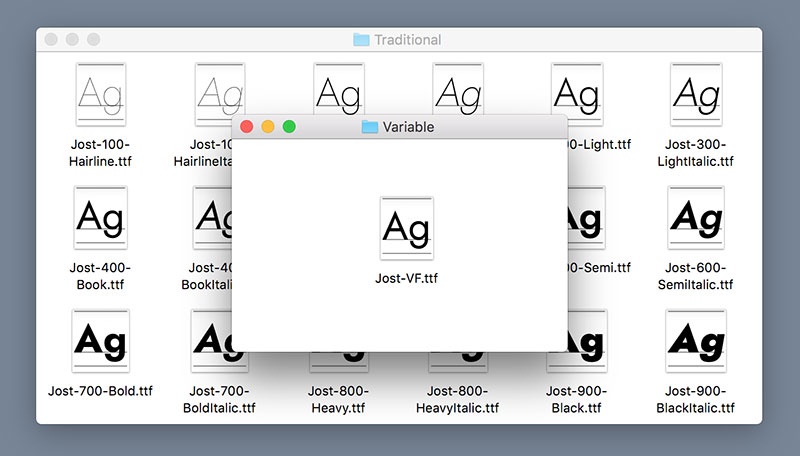
Among the file types you can get are OpenType (OTF), OpenType SVG (SVG), True Type (TTF), Variable Fonts, Multiple Master, Composite, and Adobe Fonts.
The magic of Clip Studio fonts
Animation and comics require a special approach regarding texts. In traditional advertising jobs, the fonts must be eye-catching, while in academic or business presentations, the font must be legible. In comics, this too is important, but you should also use glyphs that show emotion.
Artists generally prefer to use comic fonts that help them express emotions. Irregularly patterned letters that keep the comic looking lively despite being static images.
Although many designers hate such irregular fonts, the most innocent, cartoonish, or expressive projects could not live without them.
How to add fonts to Clip Studio Paint – Windows
Manual method
The installation of your new font will be done directly on the computer and not inside Clip Studio Paint. This means that you can even use them in other programs once they are installed.
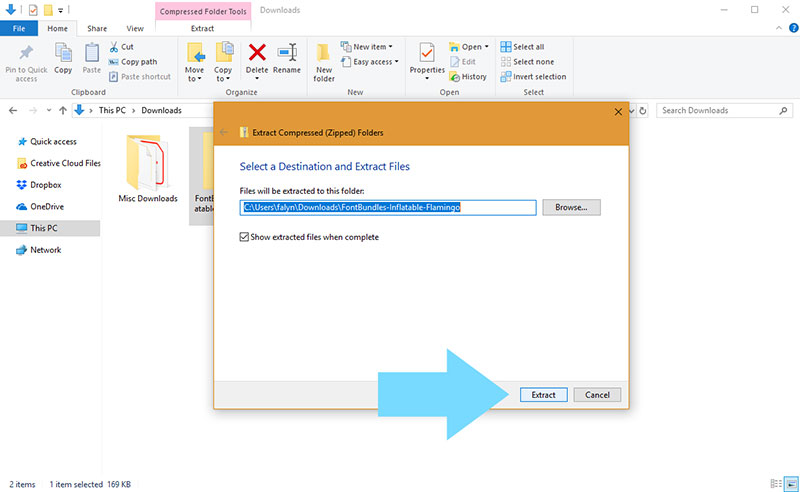
- The first step is to download the font you want to install. You can find many options online with a simple search, or you can even download them from the Adobe library. Please note that these files will probably come compressed into a RAR or ZIP that you will need to unzip.
- The unzipped file should have some OTF, TTF, SVG, TFF, EOT extension.
- Proceed to close all the programs that are running so that the installation is done without errors.
- Keep at hand the file you want to install to find it easily. Now you must open the Control Panel to find the Operating system’s Fonts folder.
- In Windows XP, the Control Panel is located within “MY Computer”, while in Windows Vista and later versions you will find it in the Start menu, in the Windows symbol in the lower-left corner
- Find the “Appearance and Personalization” menu. In it, you should find a sub-menu called “Fonts”. You will recognize that it is the right folder because you will see many font files.
- Drag, or Copy and Paste, your new font into the Fonts folder, and it should install automatically.
Automatic method
You can add a font to Clip Studio Paint or your PC in an even simpler way. Just right-click the TTF files and you should see an “Install” option in the drop-down menu.
Remember that before doing this process, you must close all the running programs. Once finished, you can restart them to check if your new font has been installed.
With this technique, you can also install multiple fonts at the same time, you just have to select them all and then right-click on one to press the “Install” option.
It is best to do these processes using administrator permissions so that the changes apply to all users. If you see a shield next to the “Install” option, the process will be done with administrator privileges.
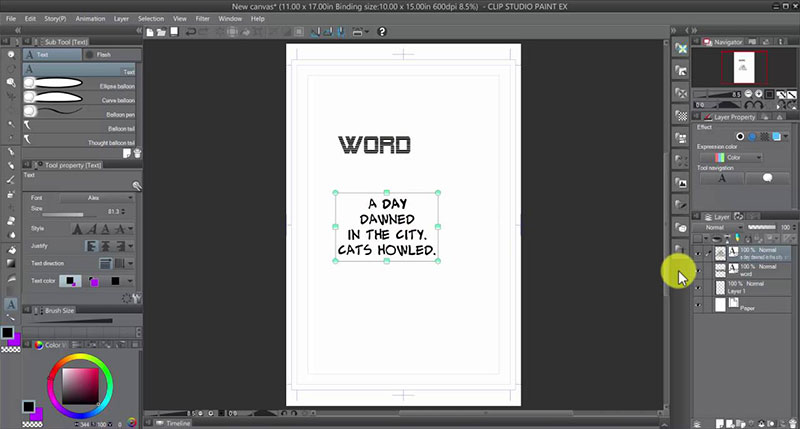
After finishing any of the methods, you can open Clip Studio Paint or any other program that allows you to enter texts to check if the font was installed. Once you check it, you can delete the file you downloaded.
How to add fonts to Clip Studio Paint – Mac
Automatic method
- Close all running programs. It is recommended to restart the computer at the end of the process, so you should save any project you are doing
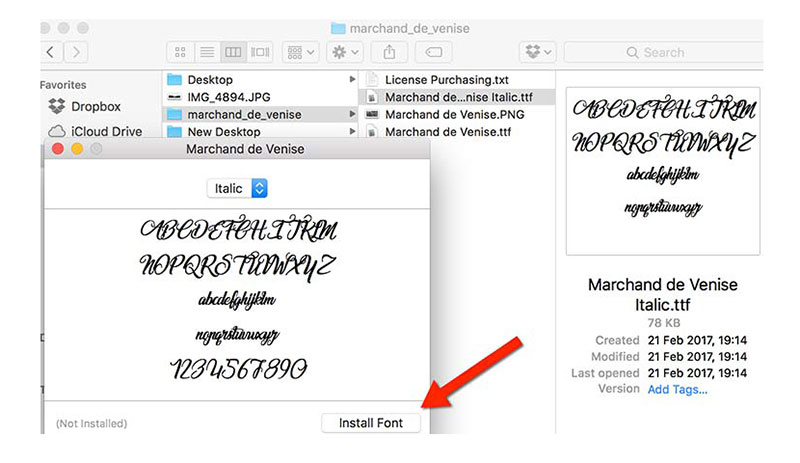
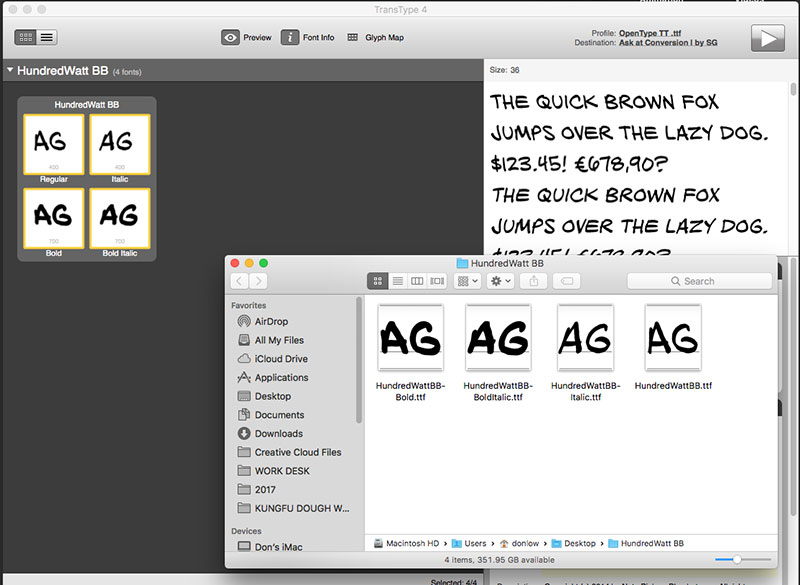
- With the font downloaded and unzipped, double-click it. If the font is compatible with Mac OS X, the Font Book application should open.
- Font Book will show you a preview of the font to be installed. You can change some options, as well as allow other users to use the font. When you are done, press the blue “Install” button.
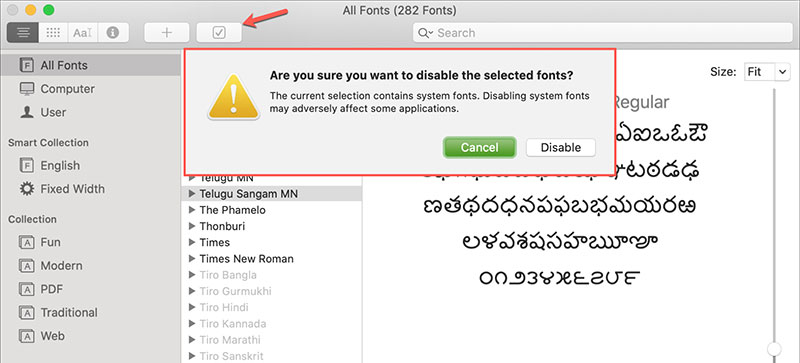
- From Font Book, you can also disable fonts that you don’t want to use. Just select it, click the “Edit” button and then “Disable”. This will hide the glyphs without removing them from your system.
Manual way
Alternatively, you can install the font on Mac manually.
- Select a Volume from your hard drive. You can do this with the Finder browser (the smiley face icon).
- Look for the “Library” folder, and then the “Fonts” directory. Just copy and paste the font file you downloaded in it.
Remember to close the running programs and restart the computer when finished. Now you can check in Clip Studio Paint if the font has been installed.
How to add fonts to Clip Studio Paint – iPad
Adding fonts to Clip Studio Paint is so easy that it can even be done in the iPad app. For this, you only need to synchronize the application with your Clip Studio Cloud account, and the fonts you have stored in the cloud will be installed.
You can also do this manually by synchronizing the iPad from iTunes. When you select Clip Studio Paint in the applications list, you will see a box called “Clip Studio Documents” where you can install the fonts.
Now you know how to add fonts to Clip Studio Paint in any of its versions. We do not recommend that you install many fonts at the same time, as they could end up slowing your work.
How to find the installed fonts in Clip Studio Paint
Clip Studio Paint has three different ways to find a font, adapting to any user.
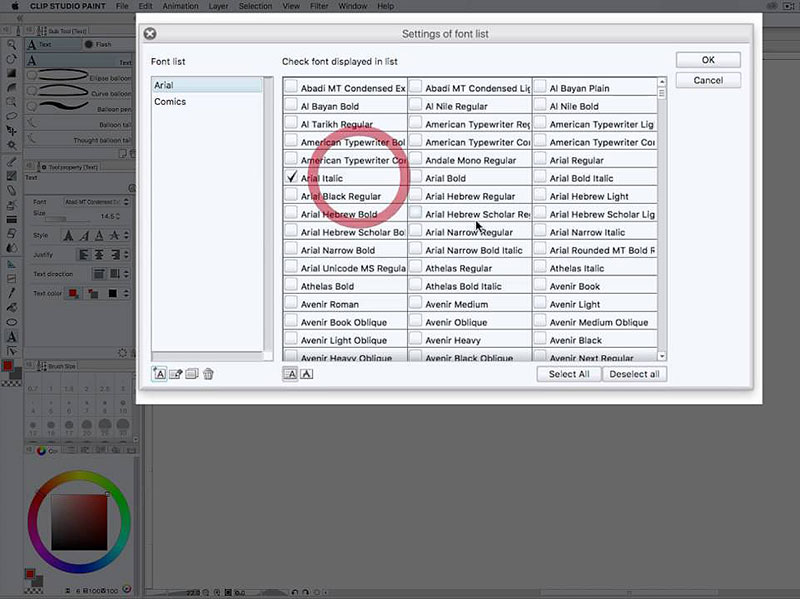
- The first option is very similar to the one used in Office programs. You can find it on the left side with an A icon with horizontal lines. Clicking it will display a list without a preview of available fonts.
- The second option, located in the center, will display the same list, but in this case, it will do so with a preview of the font.
- The third option, located on the right, serves to preview the text that you highlight with the new font. This last alternative is not so useful on small screens.
You can resize the font panel in Clip Studio Paint, but there is no way to save these changes for future sessions.
If you enjoyed reading this article on how to add fonts to Clip Studio Paint, you should read these as well:
- Star Wars Font Examples to Create Designs from A Galaxy Far, Far Away
- Check out these Abril Fatface font pairing examples
- How to Add Fonts to Photoshop In A Few Easy Steps
The post How to add fonts to Clip Studio Paint (Font importing guide) appeared first on Design your way.
Source: https://ift.tt/2ABxXTP





No comments:
Post a Comment