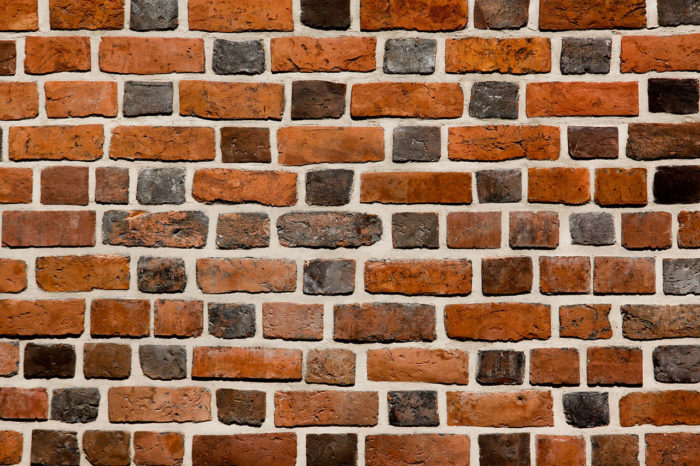
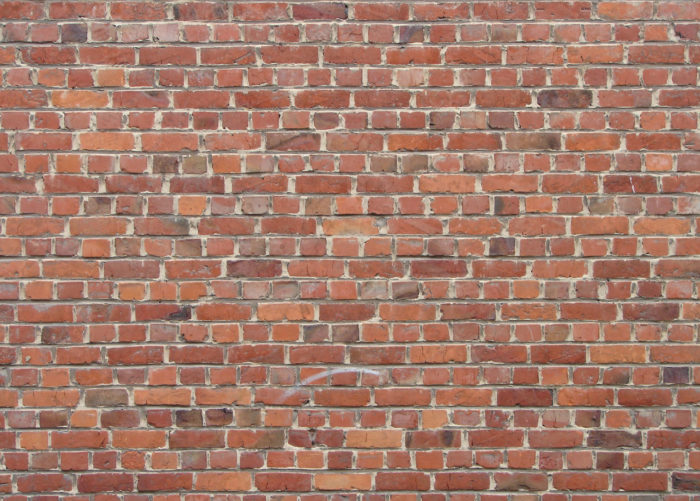
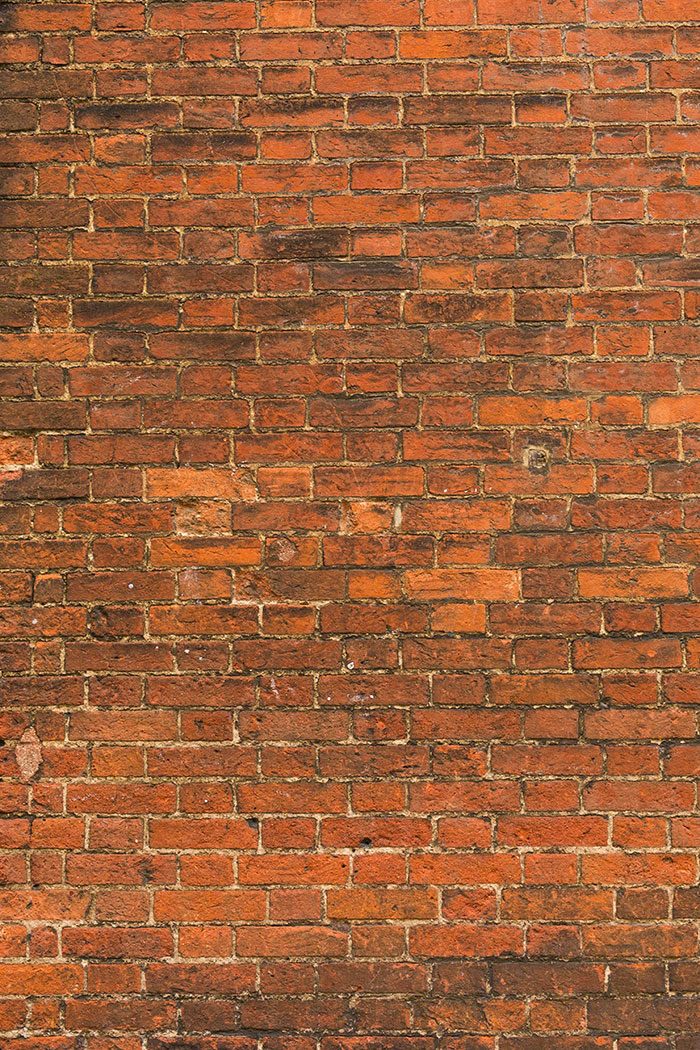
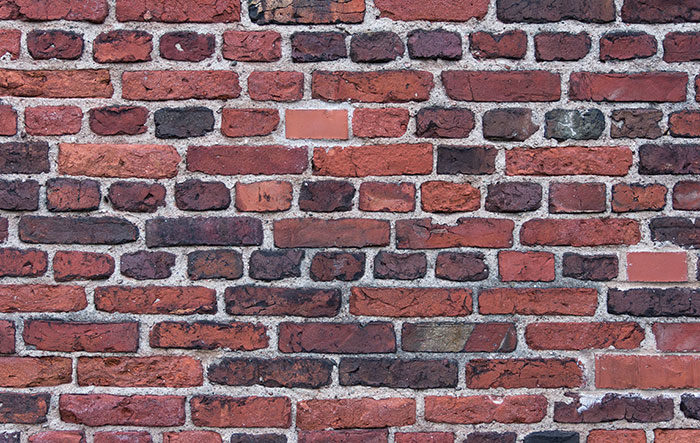
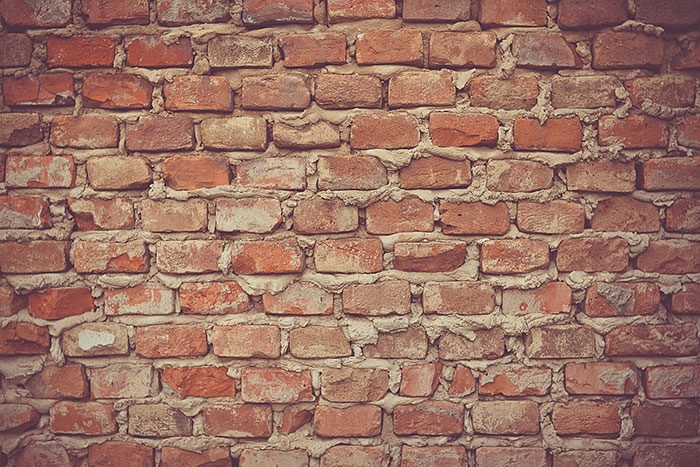
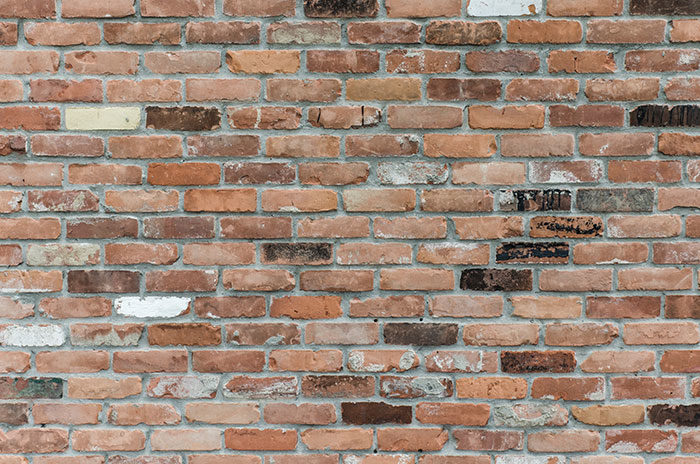
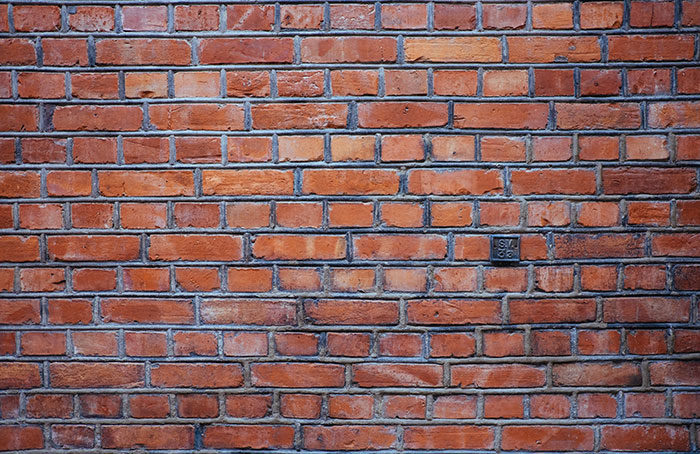
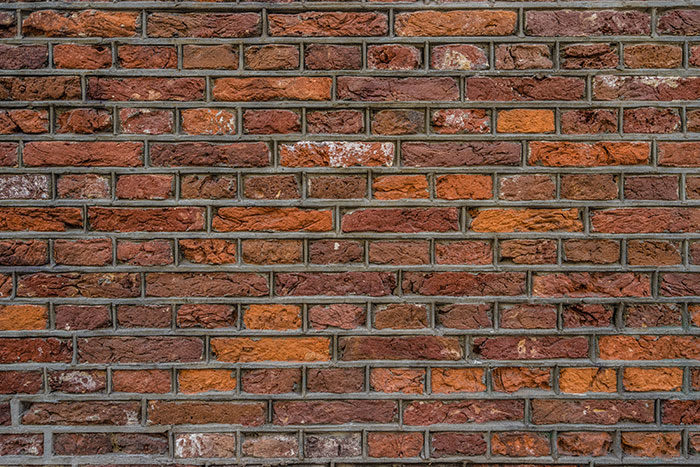
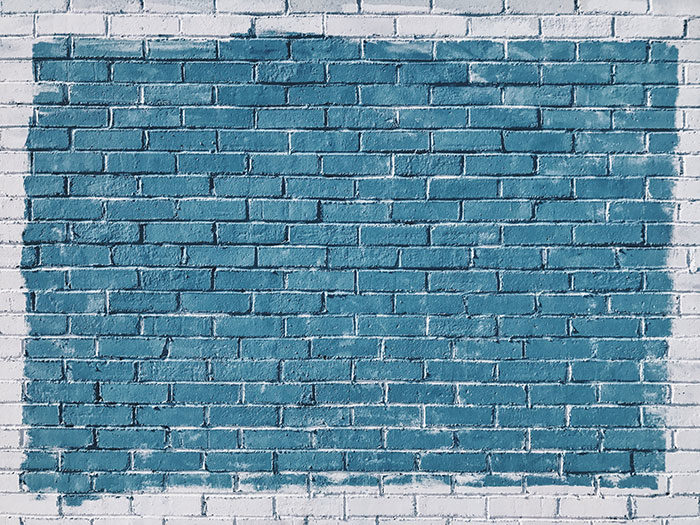
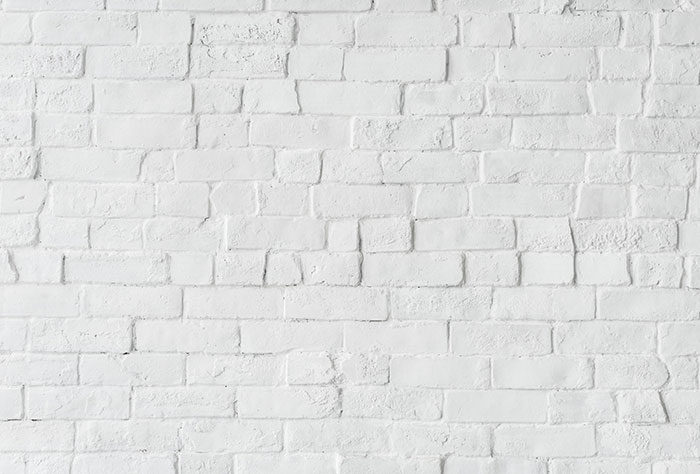
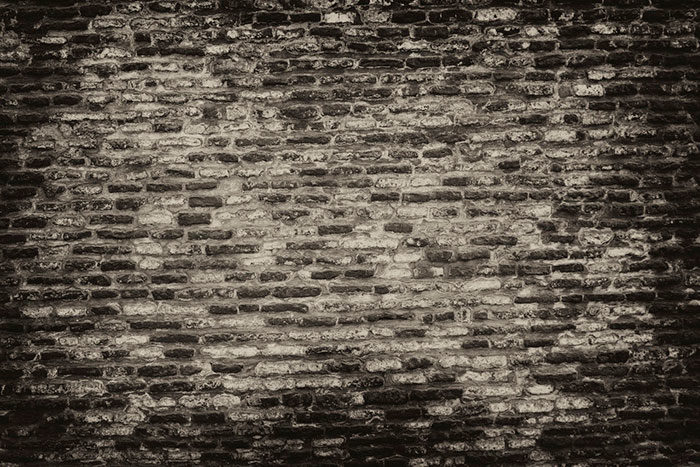
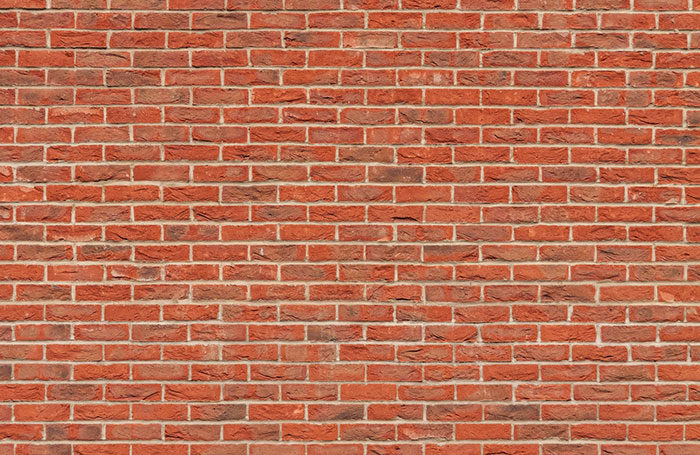
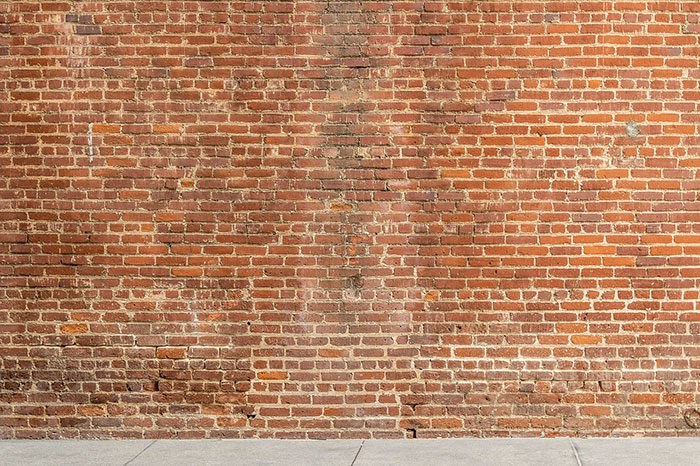
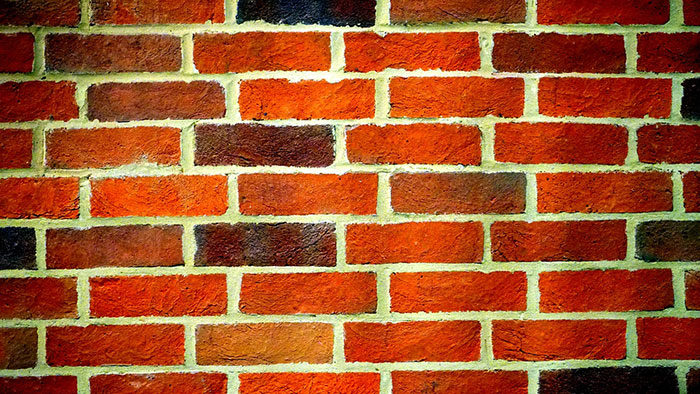
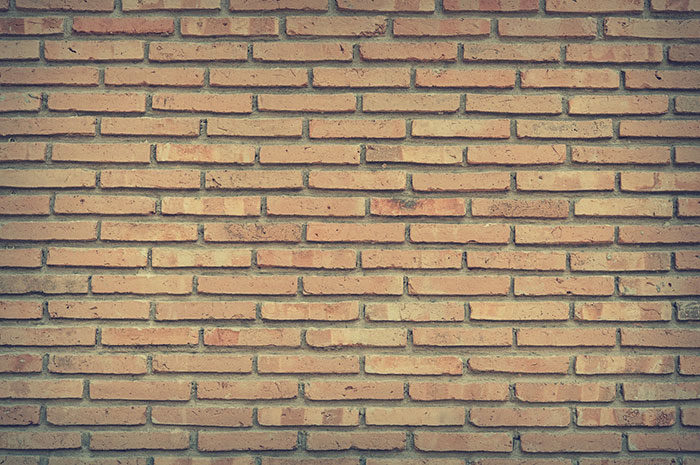
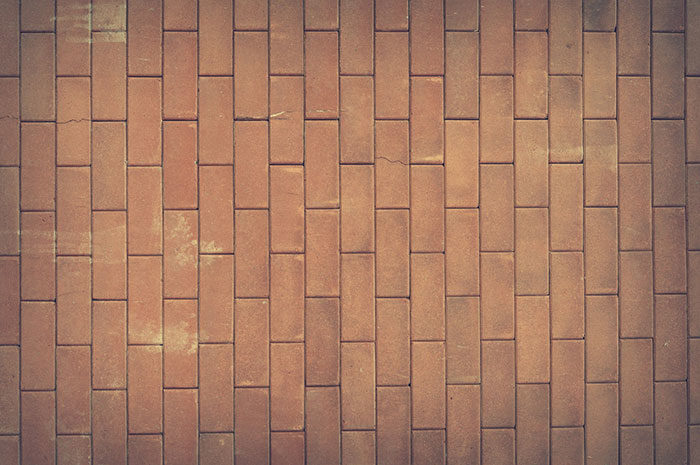
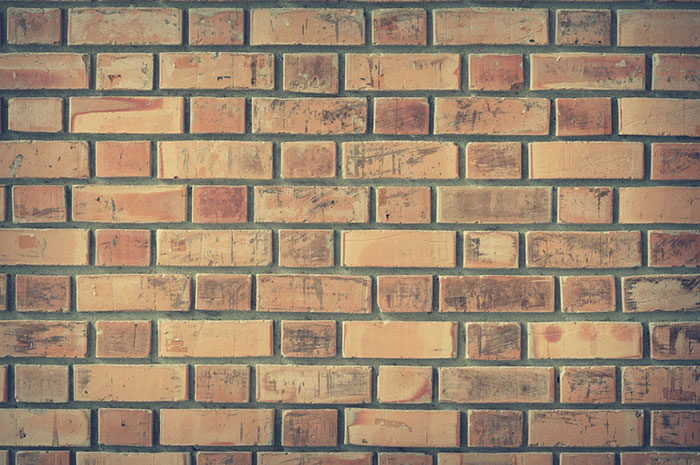
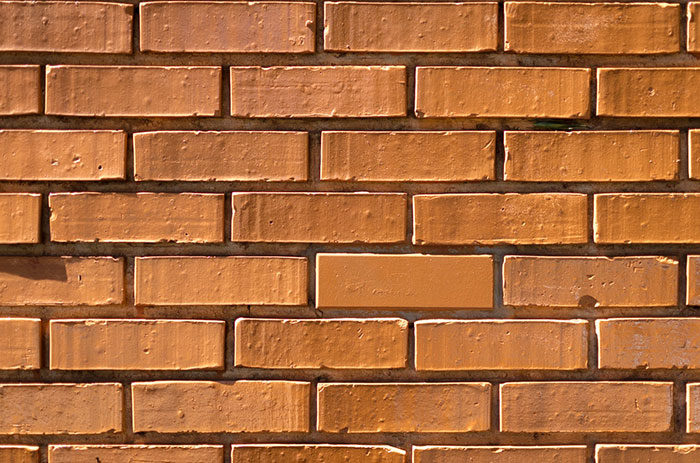
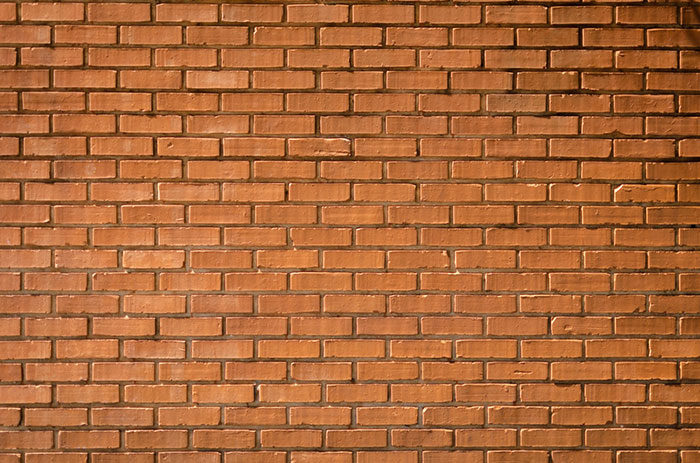
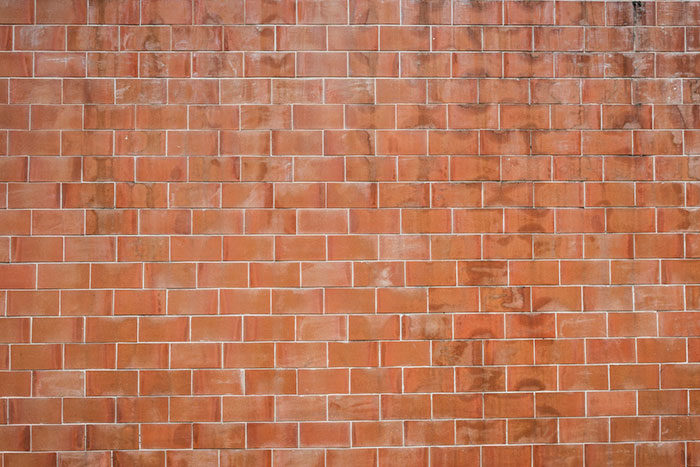
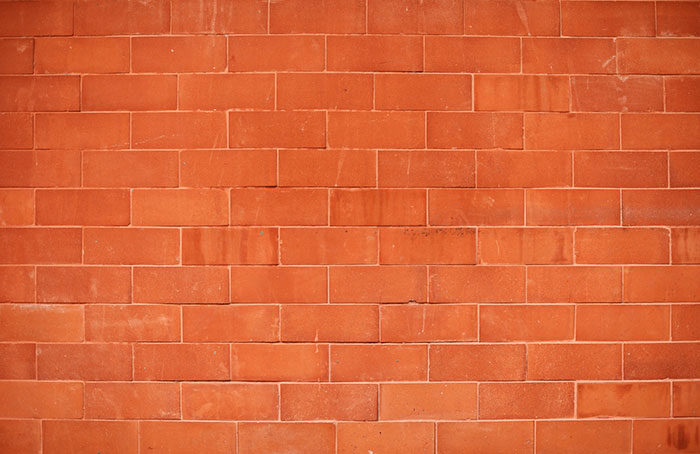
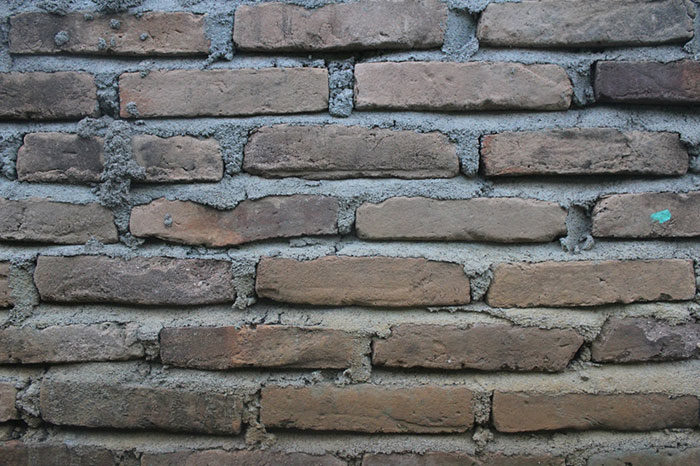
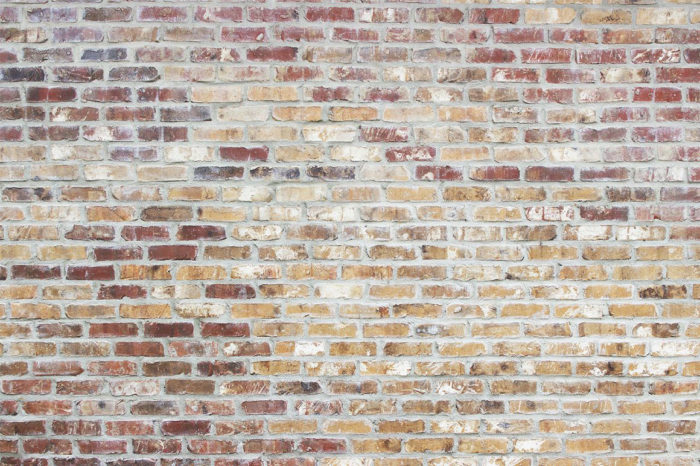
A brick wall background has a lot of versatility. They often are used as bases or are used to draw a contrast to the elements in the foreground.
You can use them for any number of events and themes, from representations of wall graffiti, art event flyers or websites, or even just for event announcements. A pre-made brick background is an incredibly useful thing to have around and will see a lot of use in many different projects.
There are various brick texture background available online, which frees up time for a designer to deal with major issues in the design.
No matter what kind of project you’re working on, keeping a high-quality brick texture on hand is a good idea. A quick web search will reveal that there are a ton of brick wall backgrounds on the web and a lot of them have a very high quality.
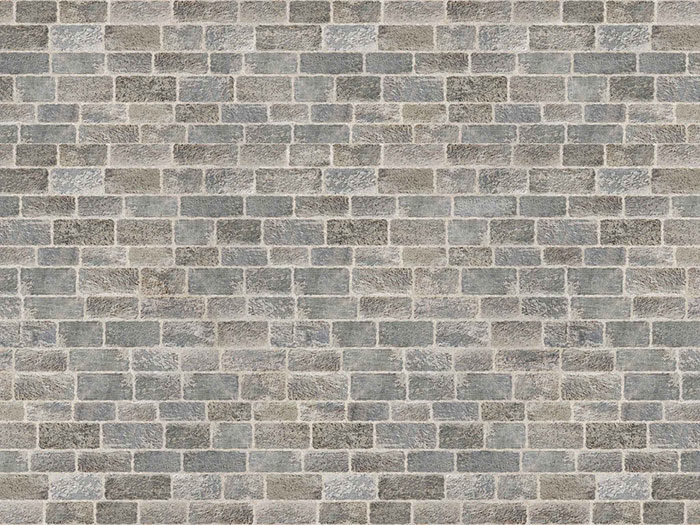
Many of them are photos, while others have been generated via design software.
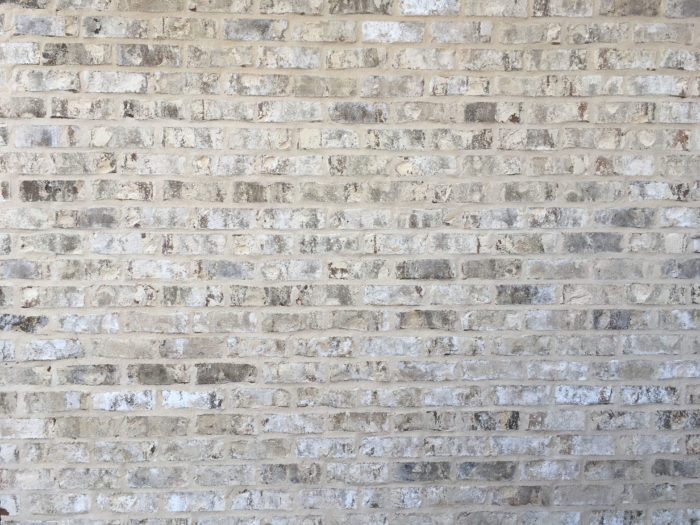
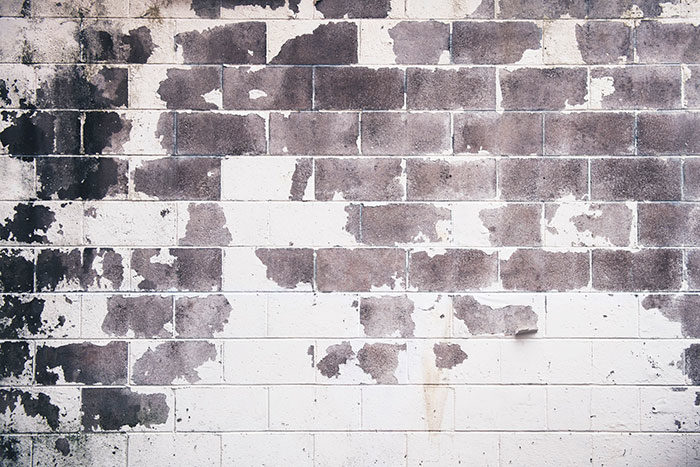
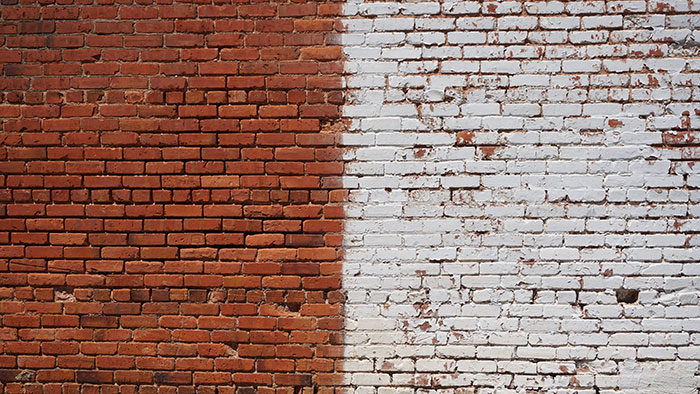
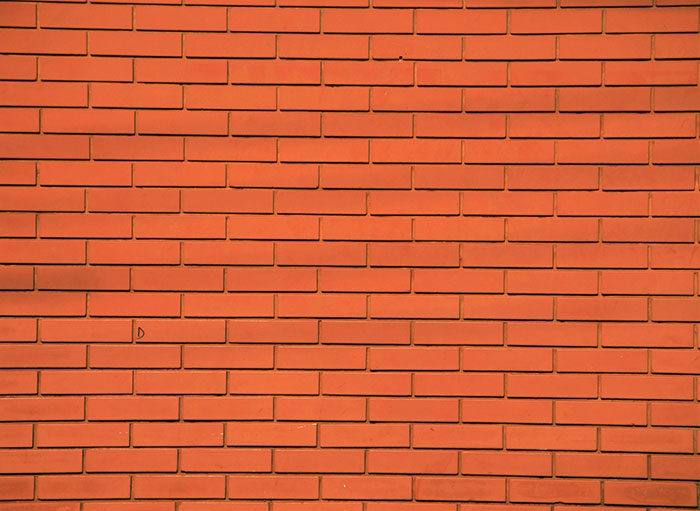
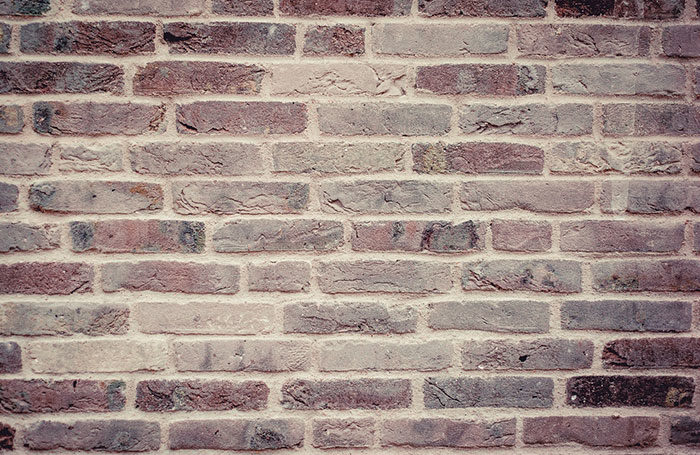
A good place to look for a good brick wall background is on free stock photo websites. The brick textures found on these websites are often photographed, sized, and otherwise touched up specifically to be used as textures or brick wall backgrounds for any number of projects.
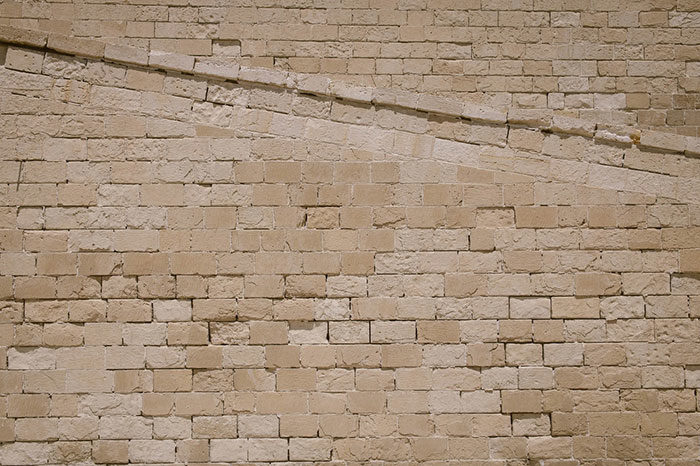
They are also generally very good for any architectural projects you have. You can find a diverse array of brick textures at these sites, ranging from sandstone walls to red brick walls. The textures in these galleries may have other figures attached to the brick wall background, like ivy, pipes, graffiti, or patterns.
While these pre-made brick wall backgrounds may do the trick, they also might be just too generic for your needs. It is actually surprisingly easy to make your brick background in Adobe Illustrator (or a similar program).
Using the technique described below, you can make your own custom brick background that will fit perfectly with your project!
How to Make a Seamless Brick Background using Adobe Illustrator
By following along with the steps in this tutorial, you can create a seamless brick background by using the Pattern Editing feature in Adobe Illustrator. Pattern Editing is available in Adobe Illustrator CS6 and above. We are also going to sue some manual techniques as well to help create a more realistic effect.
Resources You Will Need
- Hi-Res Concrete Texture
Step 1
Create a new document (File > New…). Select the Basic RGB profile.
Step 2
Use the Rectangle Tool (M) and click on the artboard. Enter the width and the height of the rectangle; for the purposes of this tutorial, it will be 150x100px. Fill the object with dark-orange (R = 179; G = 89; B = 36)
Step 3
Keep the rectangle selected. Go to the Effect > Distort & Transform > Transform to set the value of the horizontal shift and the number of copies, then click OK.
Repeat this effect, but with different values. Go to the Effect > Distort & Transform > Transform, set the value of the horizontal and vertical shift, the number of copies, and select the Reflect X option.
Step 4
So that you can work with each rectangle, go to the Object > Expand Appearance. Recolor some of the bricks in the brick background a darker shade of the main color and recolor others a lighter shadows of the main color. To switch around the shades of the main color quickly, switch to the HSB color mode in the Color panel. Adjust colors by moving the Saturation and the Brightness sliders back and forth as needed.
Step 5
Select all the bricks. Go to the Effect > Stylize > Round Corners and set the corner to a 5px radius. Then go to the Object > Expand Appearance. Delete the lower row of the bricks. It isn’t needed for seamless brick background creation.
Step 6
Select all the created objects. Go to the Object > Pattern > Make,. This will switch to the Pattern Editing mode. Set new values for the width and height of a tile; for this tutorial, it will be 775x440px. This removes extra space and arranges the bricks of our seamless background int the right way.
Step 7
Create a rectangle with dark-brown fill. Place it underneath all the bricks, by going to the Object > Arrange > Send to Back or use the Command/Ctrl + Shift +] shortcut. Change the size of the rectangle so it fills the gaps between the bricks.
Step 8
Add some details to help the brick wall background look more realistic. Reduce the height and the width of some of the bricks. Do so by selecting points on one side of the brick with the Direct Selection Tool (A), then move them with the arrow keys. The edges of some bricks might look uneven. To change the form of a brick, use the Pencil Tool (N).
Step 9
In the big cracks, add some brick fragments with the Pencil Tool (N). This makes it look as if some bricks are pressed into the wall harder than others, which is more natural. It will make it look like there some shadow from the upper row on these bricks. Draw the form of these shadows using the Pencil Tool (N). The color of the shadow should be darker than the color of the brick. Remove the part of the shadow that extends the brick’s borders.
Step 10
Copy the brick, then paste it to the front (Command/Ctrl + C; Command/Ctrl + F). Select the shadow and the upper form of the brick, then select the Intersect icon in the Pathfinder panel.
Use this technique create some shadows on other bricks.
Step 11
Make some highlights on a few bricks. This is similar to shadow creation. The difference is that the color of the highlight should be lighter than the brick’s color.
Step 12
Usually, bricks have a rough surface, which can be illustrated by a vector texture. Use the bitmap image from Hi-Res Concrete Texture Pack by Lilshadow. Create a new document, then paste one of the textures to it (File > Place).
Open the Live Trace panel (Window > Live Trace panel), select Black and White model, and reduce the Threshold value. Select the Ignore White option. Click on the Expand button in the Control panel.
Step 13
With the Lasso Tool (Q) select the part of the vector texture that looks best. Copy these vector objects, then paste them into the document with the brick wall background. In order to create a dark texture, fill the objects with gray and then set the Multiply blending mode in the Transparency panel. Adjust the intensity of texture by changing gray in the Color panel or by reducing Opacity in the Transparency panel.
Step 14
To create a light texture, apply the Soft Light blending mode to the objects of the concrete texture.
Step 15
Save the seamless brick background in the Swatches panel and click on ‘Done’ in the upper part of our working space.
Ending thoughts on using a brick wall background
By following these steps, you now have your own custom brick background. Once you master this process, you can modify a brick texture into any color or dimensions that you need.
If you enjoyed reading this article about brick wall background textures, you should read these as well:
- Gold Texture Examples: 34 Golden Backgrounds
- Pastel background textures and images to download and design with
- Wood background textures that you can add in your designs
- Blue background textures and images to use in your design projects
The post Brick wall background textures that you can use in your designs appeared first on Design your way.
Source: https://ift.tt/2Tw7SdF

No comments:
Post a Comment