Nowadays it is easy to get online programs on the internet that do not need a previous download on our computer to work. You can even find image editors that almost perfectly emulate programs like Photoshop or Illustrator. Pixlr is one of the best tools in this category since, in addition to being easy to use, it offers customization options similar to the big programs. You can even install new fonts even though it is an online tool. Keep reading on to find out how to add fonts to Pixlr.
Sometimes you need to use an image editing software that offers complex tools such as Magic Wand, Layers, and much more, but you do not want or cannot install big editors on your computer. It is in these situations that Pixlr stands out.
The free program was developed to run from a web browser on any computer and offers semi-professional tools to quickly create projects. It even has a series of quick edits called Pixlr Express, which offers preset patterns for editing photos in a couple of clicks.
Although it has some limitations, it is perfect for beginners and simple editions, and it works as a guide for those who want to learn programs that are more complex.
Some limitations, such as the number of fonts it has, can be overcome. You should not stick with Pixlr fonts if you want something different, and the best thing is that the installation process is no different from other programs, even though it runs in a web browser. To add new glyphs, just follow the guide below.
Find and download fonts for Pixlr
The first step is simply downloading the font you want to install onto your computer. Pixlr supports TTF, OTF, TFF, and PFP type fonts, making it very difficult for you to experience compatibility issues.
There are many pages on the internet dedicated to gathering the best fonts. The best thing is that most are free. Some, however, will be limited in the number of glyphs included.
You can also choose to download fonts directly from the Adobe library, but be aware that many options will be Premium.
Unzip the fonts for Pixlr
Fonts will rarely come in their original format when downloaded but will be compressed to include additional files, such as installation instructions. These will be in RAR or ZIP formats, and you will need a program like WinRAR or 7-Zip to extract the files.
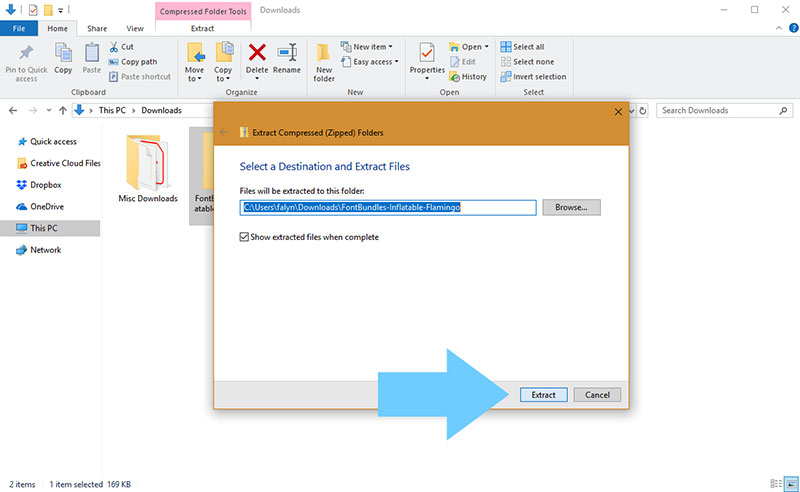
Unzipping a file is simple, just click on it with the right mouse button and select the “Extract” option, or you can select “Extract to specific folder” to decide where the files will be saved.
You can also open the compressed file to view its contents and extract it directly from there. You can even select the files you want to extract, ignoring those you don’t need. You can identify which are the font files by the extensions TTF, TFF, OTF, or PFP.
How to add fonts to Pixlr – Windows
First Method
- Now that you have the unzipped file, you will need to close all running programs to ensure proper installation.
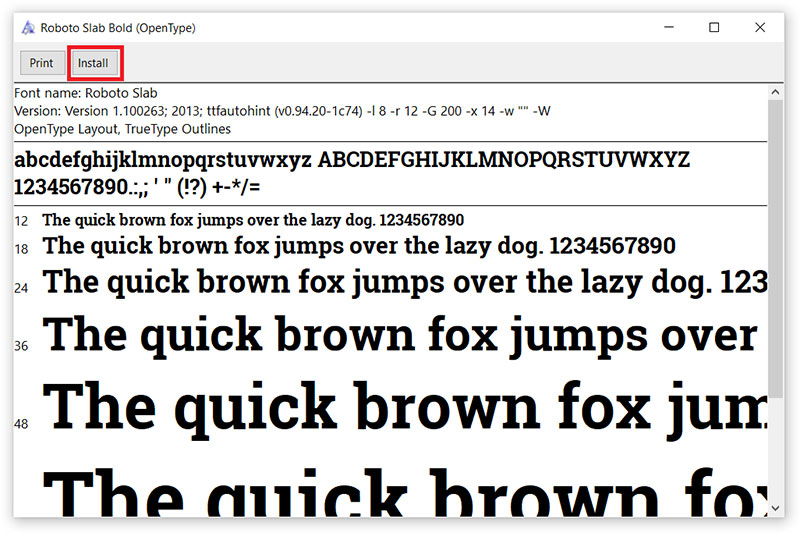
- Windows recognizes font files, so right-clicking on them should show an option to install them. By selecting multiple fonts, you can install them all at the same time without having to repeat the process multiple times. Make sure that the “Install” option has the image of a shield on one side, which means that it will perform the process with administrator rights.
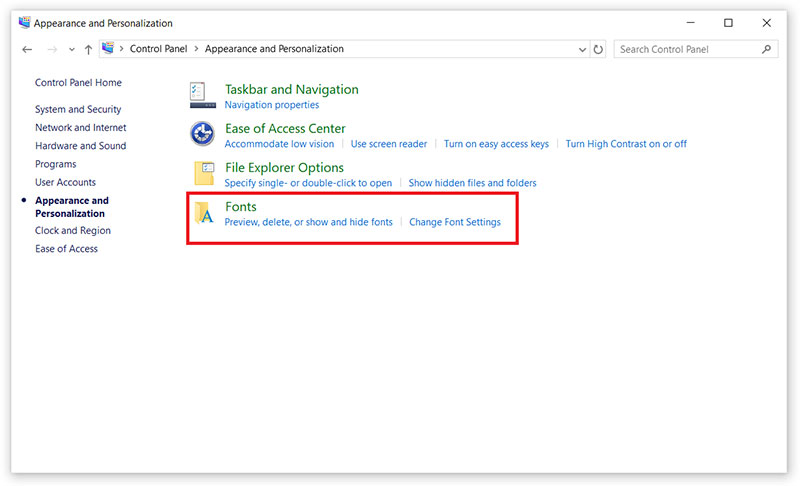
- Alternatively, if you do not find the install option in the drop-down menu, you can manually do the process from the Control Panel.
Depending on your operating system, this last step may be different. In Windows XP, the Control Panel is found inside the “My Computer” menu. There you will find an icon called “Fonts” from which you can install new files.
In Windows Vista and later the Control Panel is located in the Start menu (the Windows icon in the lower-left corner). Inside you should look for the Appearance and Personalization sub-menu, and finally you will find a folder called Fonts from where to install them.
Second Method
In case the automatic installation did not work or was not available, you can try the manual procedure.
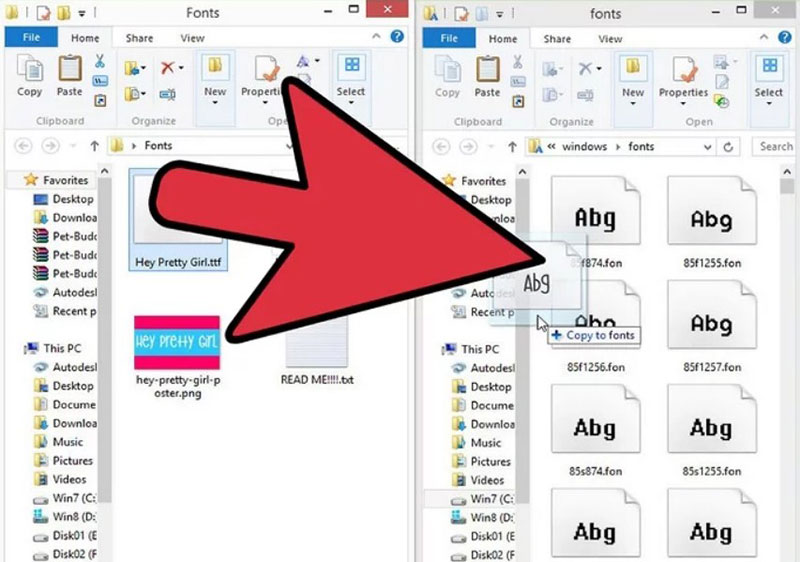
- Have at hand the font file you want to install. You should find the folder where your Windows operating system is installed, which will be in one of your hard disk’s partitions.
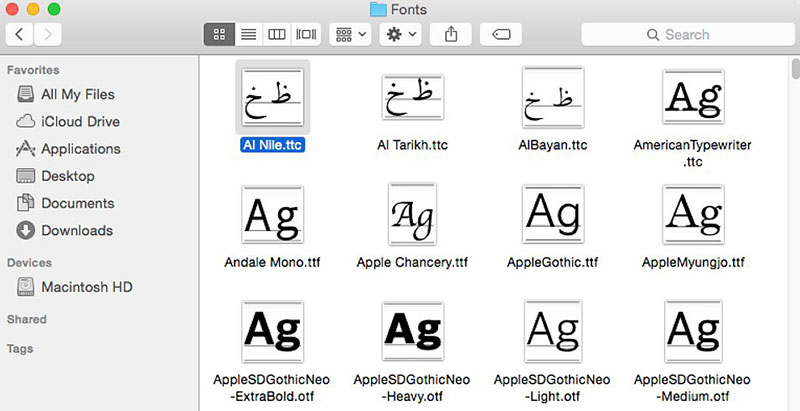
- Open the “Windows” folder and find the “Fonts” folder. Now copy and paste the file you downloaded into this directory. You should already have the font installed.
It is always recommended to install OTF files instead of the TTF files because they offer more glyphs.
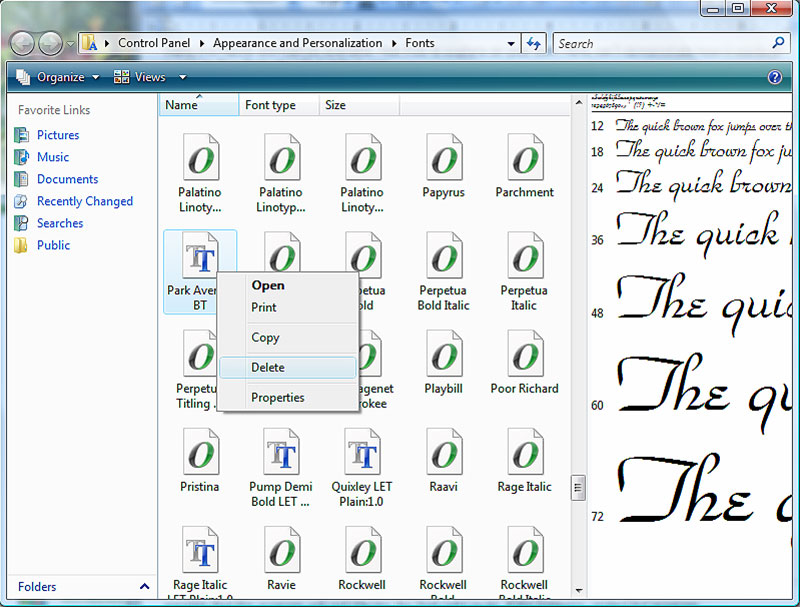
If at any time you want to uninstall any font, you will have to go to the installer of the first method, which will give you the option to remove them.
One trick that many people don’t know about is that you can restore the corrupted or deleted fonts that come with Windows using the operating system install wizard. This will automatically repair and replace the default files.
How to add fonts to Pixlr – Mac
The process on Mac is very similar to that of Windows, but Apple’s operating system also offers the alternative of disabling fonts that we don’t want to use without having to uninstall them.
Installation with a few clicks
- Remember to close all the programs that are running or the installation could fail. Additionally, at the end of the process, you must restart the computer, so it is suggested that you save everything you are doing before continuing.
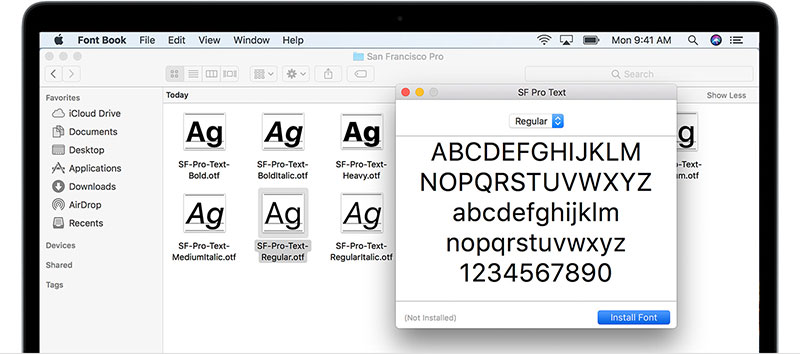
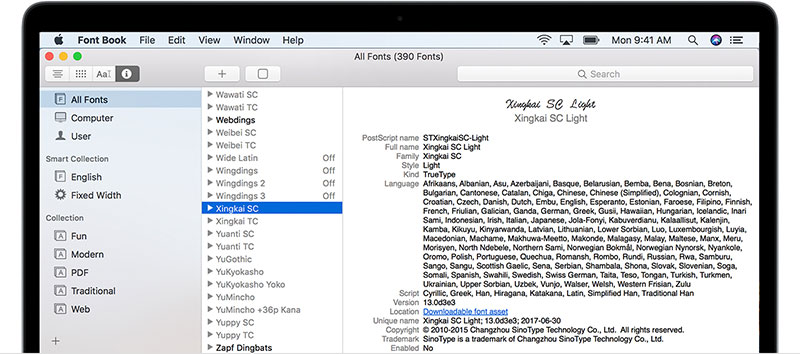
- Double click on the unzipped font to open the Font Book application. This will give you a preview of the font and will check if the file is compatible with the operating system.
- Before pressing the blue button that says “Install”, you can change the settings in the wizard so that the font is installed for all users and not just the current one. When done, restart the computer.
Disable fonts you do not want
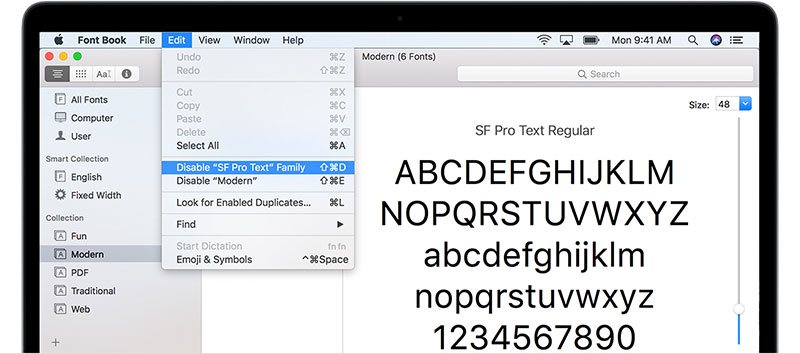
The Font Book application also offers the option to disable fonts so that they do not appear in applications. Simply select it, press the “Edit” option and click “Disable”.
All disabled fonts will be displayed in a faint color and will show an “Off” label on one side.
Test the font
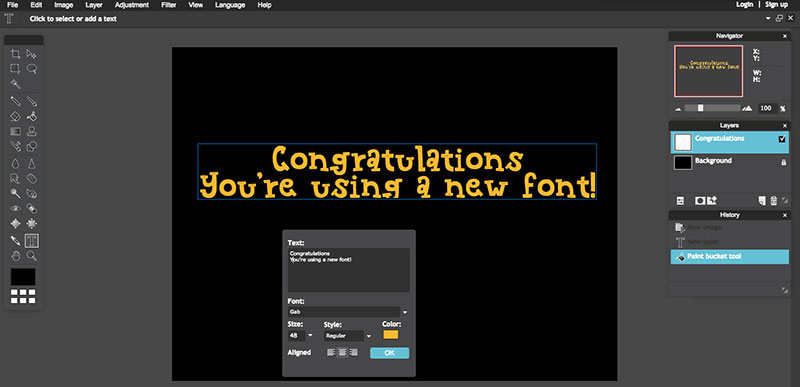
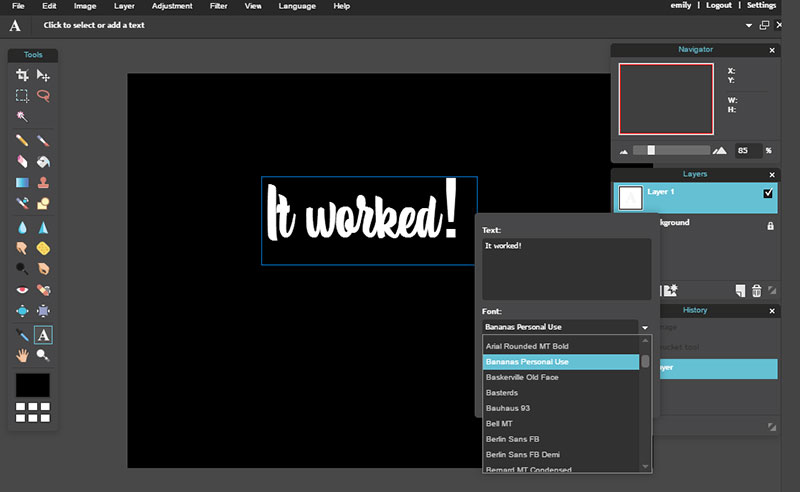
You can test if the font was correctly installed with any application that allows adding texts. In the case of Pixlr, this is done with the text tool. You will need to create a box to write and select the font that you installed, which should be located in alphabetical order.
If you can see it in the list, then you already know how to add fonts to Pixlr and to any other image editing or business work programs.
Additional tips on how to add fonts to Pixlr
- Do not install unnecessary fonts. Operating systems already include a large amount, and it can be difficult to find the one you need among so many options. If you do not need a font, and it is not a system font, it is best to disable or uninstall it.
- If you work with many fonts downloaded from the internet, it is recommended that you create folders to keep them ordered and categorized. This way you can quickly find them for installation.
- Any special font you use must be stored next to the original project file. This is a way to guarantee that if you share your work with other users, you will be able to provide them with the font they need for editing.
If you enjoyed reading this article on how to add fonts to Pixlr, you should read these as well:
- Gotham font pairing options that you must know
- Fonts similar to Futura (Alternatives to use in your designs)
- A great list of fonts that are easy to read (Must check out)
The post How to add fonts to Pixlr Editor (Quick guide) appeared first on Design your way.
Source: https://ift.tt/3efHwWX


No comments:
Post a Comment