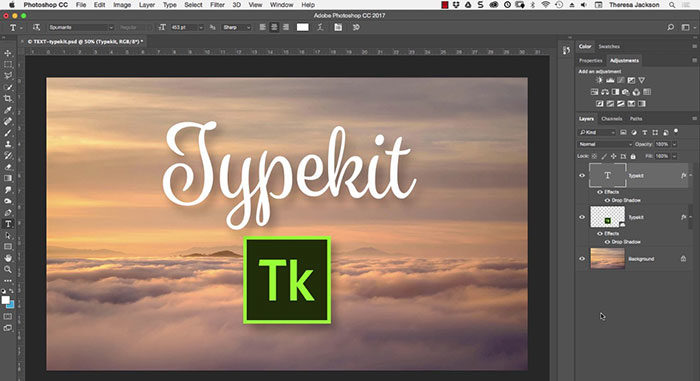
All people heard at least once about the powerful tool called Adobe Photoshop. It is used for a wide variety of purposes, by both professionals and amateurs. The software program gives users the chance to edit visuals in all ways they may think of. One of the most popular uses is to create assets with text on them since Photoshop lets you do that with just a few clicks.
The only problem that you may encounter is choosing the typeface you want to use in the project. Since Photoshop fonts by default are quite limited, people are often eager to learn how to add fonts to Photoshop from the internet or other sources.
You can create a font yourself if you want, but you will need to know how to install it after anyway. Stock fonts are never enough, so reading this article will definitely be useful, if not now – whenever you stumble upon a typeface that you fall in love with and want to use.
How To Add Fonts To Photoshop Using Typekit
Adobe Typekit, which was recently renamed Adobe Fonts, is a tool that comes included in the Adobe Creative Cloud Suite. The suite gives you access to a larger collection of fonts, both free and paid. Using the tool is very easy because you simply select the typeface you want to add and Typekit will do the job for you. It syncs the fonts automatically and you can use them right away.
Access Adobe Typekit
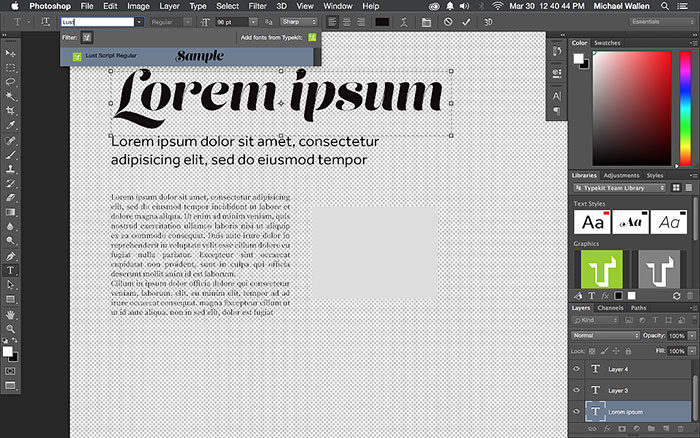
To access Adobe Typekit, you need to make sure that you have an active internet connection. Open Adobe Photoshop and, in the menu bar, click on Type and “Add Fonts from Typekit”. This option will open a web browser inside the program where you can choose and install the font you want. This is the first step in learning how to add fonts to Photoshop using Typekit.
Finding the font
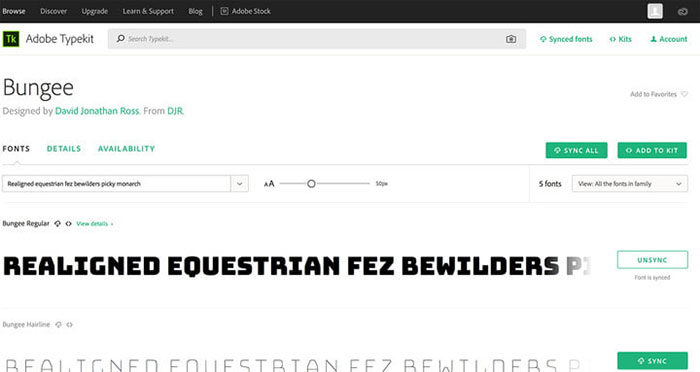
There are many fonts for Photoshop, but Typekit makes it a bit easy for you to find what you are looking for, because of the search & navigation system. When accessing Typekit directly from Photoshop, you’ll be redirected to the page where your Creative Cloud subscription is presented. You can access “My Library” to see your existent fonts, and you can use the search bar and filters to find the ones you are interested in.
Syncing the font
After finding the font (or fonts) that you want to install, make sure to get informed about its varieties. Fonts come in different versions (italic, bold, etc.) and these are presented in each font’s page. You can either download the entire family, containing all the versions, or just a version of it, by clicking on it individually.
Using the font
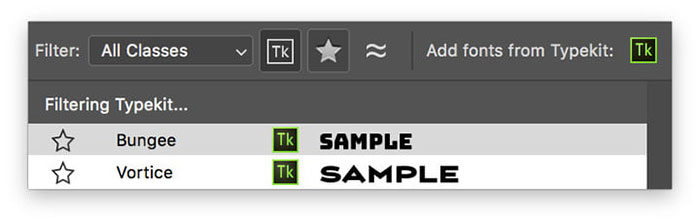
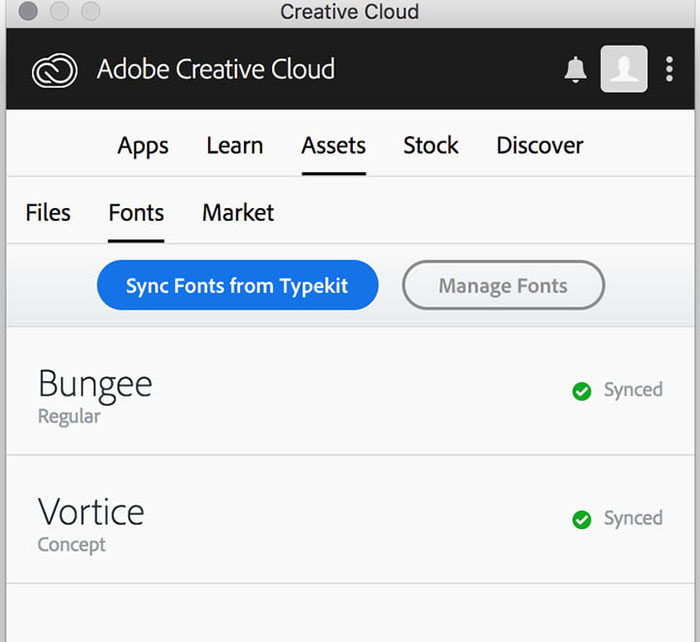
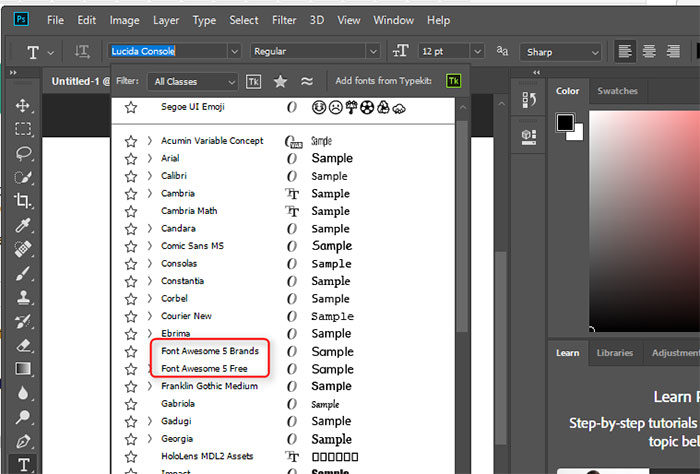
After clicking the font family / the typeface, you will have to wait for the fonts to finish syncing. This is the last part of how to add fonts to Photoshop using Adobe Typekit. The next step is going to the fonts drop-down menu again and checking if the fonts are listed there. You can click the “Tk” icon to see only the fonts you’ve installed through the tool.
How to Add Downloaded Fonts to Photoshop
Even though Typekit is very useful for syncing typefaces available in the Creative Cloud, people are more interested in how to add fonts to Photoshop from various sources. Photoshop isn’t accepting Typekit fonts only, which means you can add downloaded (or created) fonts too. Photoshop currently supports font files ending with .otf, .ttf, .pfb, or .pfm. Here’s a short guide on how to add fonts on each operating system:
On Windows
1. Find the font you want to install and download the needed files
A quick search on Google for “Photoshop fonts” or “free fonts” will lead you to hundreds of pages of results to choose from. You can download fonts from free, install them and start using them in minutes. You can buy fonts at computer stores as well if you need a particular, licensed one. Find the Photoshop fonts you want to use, organize them in a folder and move on to the next step.
2. Import the fonts
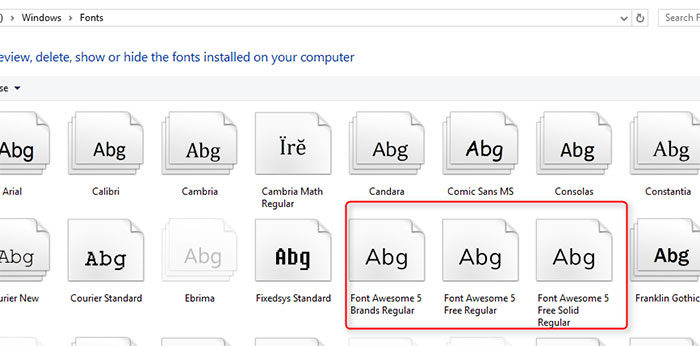
Go to the folder where your fonts are located, choose the print type you want and double-click it to install it. A window will pop-up, asking you to confirm the installation process for the font you’ve selected. If your fonts come in a .zip extension, you need to extract the file first and double-click it after.
If this option doesn’t work, you can also add fonts within the Control Panel in Windows from XP to the latest version. Go to the “Appearance and Personalization” section, click on “Fonts” and then on “Install New Fonts”. Select the typeface you want to install from the folder where they are stored and proceed the same for the rest.
On macOS
On macOS, the process on how to add fonts to Photoshop is slightly different, but maybe easier than in the case of Windows. You’ll need to start by closing all the applications that are currently running (especially the ones that actively use fonts).
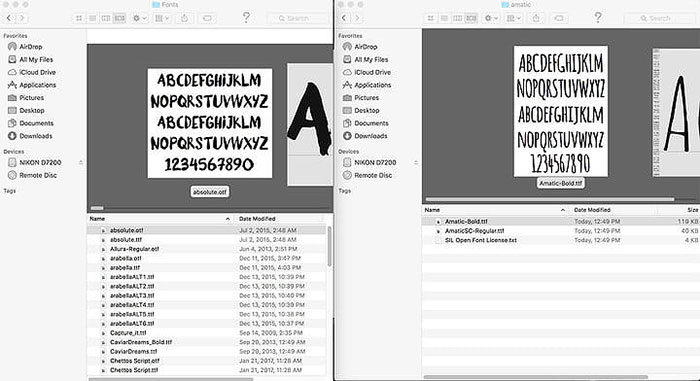
Then, the process is pretty similar to the previous one: you select the fonts that you want to install, download them (they will be stored in the Download folder unless you create a separate destination for them) and unzip the files if needed.
On macOS, you have a tool that’s called Font Book. This is where your fonts will go after double-clicking them. The fonts will be opened in the Font Book where you can preview and install each. To do that, double-click the files you are interested in and let the install manager do the job. Another option would be moving the fonts manually to “/Library/Fonts”.
If you have multiple users on your computer, make sure to change the default install location to the user that will be managing the fonts. Otherwise, set the location to “Computer”.
Learning How to Add Fonts to Photoshop Is Not Difficult At All
Once the fonts are in the folders, you’re good to go and you can open the apps to check whether they show up or not. The process is more straightforward with macOS, but it is not difficult with Windows either. Typefaces pretty much install themselves, so there’s not much to learn about how to add fonts to Photoshop. A few drags and drops later, your fonts are ready to embellish your designs.
If you enjoyed reading this article about how to add fonts to Photoshop, you should read these as well:
- 37 Photoshop textures that must be a part of your toolbox
- Photoshop 3D text tutorials you should check out
- Free Photoshop Actions For Photographers
The post How to Add Fonts to Photoshop In A Few Easy Steps? appeared first on Design your way.
Source: https://ift.tt/2FfAAtc


No comments:
Post a Comment