25 Best Illustrator Text Effects You Must Have In Your Collection

Friday, March 30, 2018

We know you were often in the situation of needing to enhance the looks of a logo or a text and you didn’t know how. The following article helps all those who want to learn how to apply some extremely interesting text effects using Adobe Illustrator.
In fact, in the last years, creating certain text effects has become a form of art in itself, which is used by more and more graphic designers in various fields.

As for Adobe Illustrator, it has become an extremely useful tool and is more than welcome for those who work as graphic designers or web designers, especially when they need to create certain effects for texts and logos.

The following article approaches exactly this situation and comes to your aid by presenting a compilation of 25 of the most interesting and appreciated  Illustrator text effects tutorials. We’re sure that after going through the next article, you’ll know how to apply interesting effects to your texts and logos such as blurring effects, retro effects, smoothing effect, bubbles, sticky, glossy or futuristic effects. You see them in a lot of places like billboards, ads, tv commercials, packaging and now you’ll learn how they’re made.

Some of the text-effect tutorials we’ve tried can be intimidating if you’re a beginner as they contain a lot of steps so we’ve come up with a list of 25 of the easiest to learn. All of them are explained through screenshots and easy to follow steps and another advantage is that all of them were produced by graphic designers with a lot of experience in creating this kind of learning materials.

So, whether you’re a beginner looking for inspiration or a professional searching new stuff or new tutorials to try with Adobe Illustrator, we’re sure you will love this article and find it more than helpful.

How to Build a Brick Letter

1 How to Build a Brick Letter

Although it looks complicated at first glance, creating a brick-like text in 3D is actually very simple. In order to build bricks letter, we’ll use 3D renders, some blends, and an art brush.
The steps of the tutorial are simple and easy to follow, and what you will learn here will help you create whole texts with this effect.

Neon 3D Text Effects

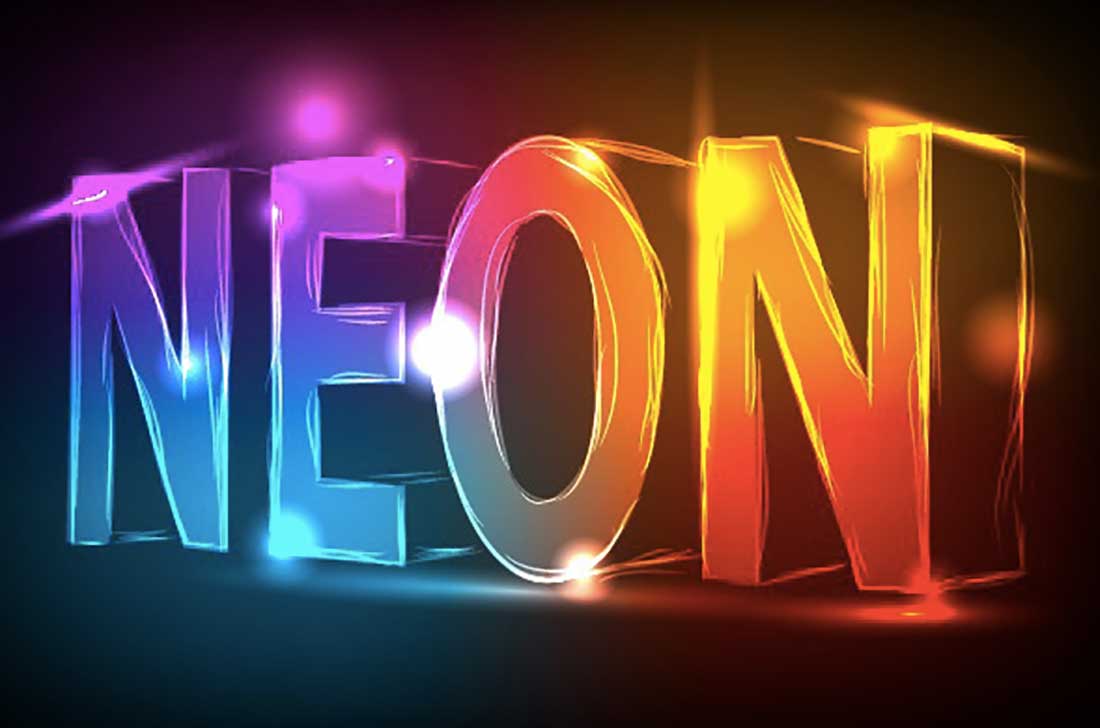
2 Neon 3D Text Effects

Have you ever wondered how neon texts are made in Illustrator? If yes, then this tutorial will show you in easy to follow steps how to create neon text effects by using the Gradient Mesh, 3D Modeling, some brushes and the transparency palette. Beginner or not, you’ll finish the tutorial in less than 15 minutes and start “typing” only in Neon!

How to Create Sparkly Text Effects

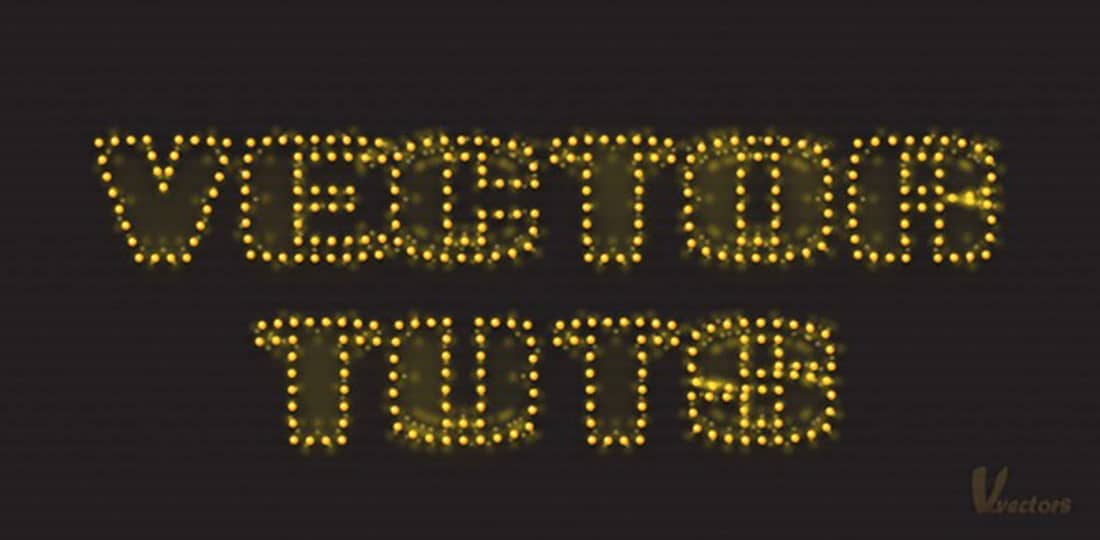
3 How to Create Sparkly Text Effects

This tutorial will show you how to create a brilliant text effect in a few simple steps. You will use the Aspect Panel a lot and all the work will be done using only one combined path. Some basic Illustrator effects and that’s it! And you’ll also learn how to setup the workspace for greater speed.

Tron Legacy Tutorial

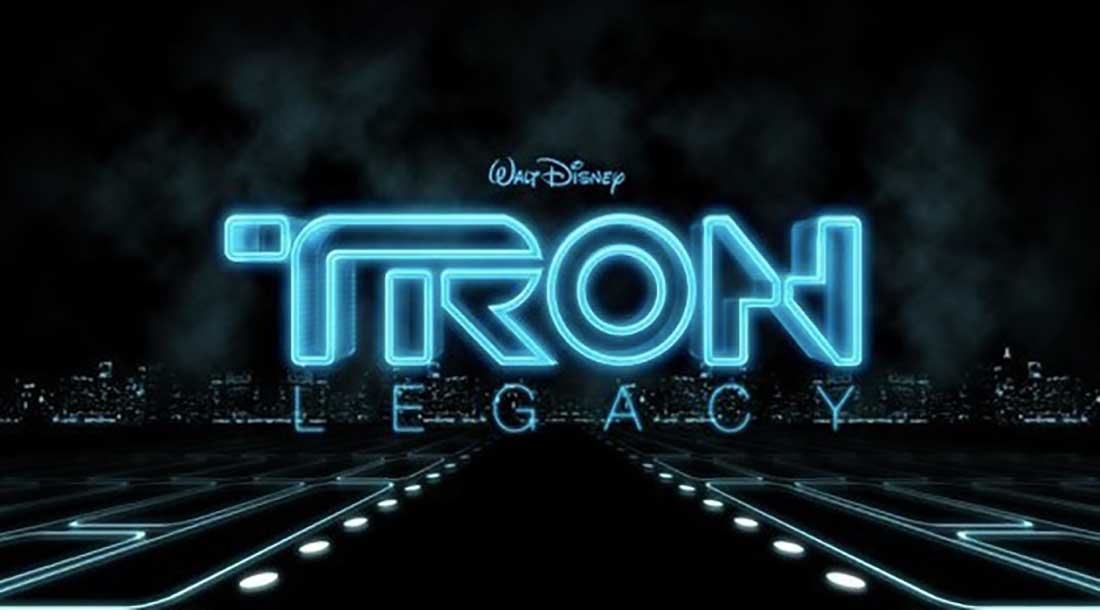
4 Tron Legacy Tutorial

The Tron Legacy Tutorial will show you how to create Tron Legacy style text effects. To achieve this effect, you just have to create a quick composition and add some elements and light effects. The time required for this is extremely short and the tutorial is dedicated to both beginners and advanced users.

Like a box of… Delicious Chocolate Text Effects

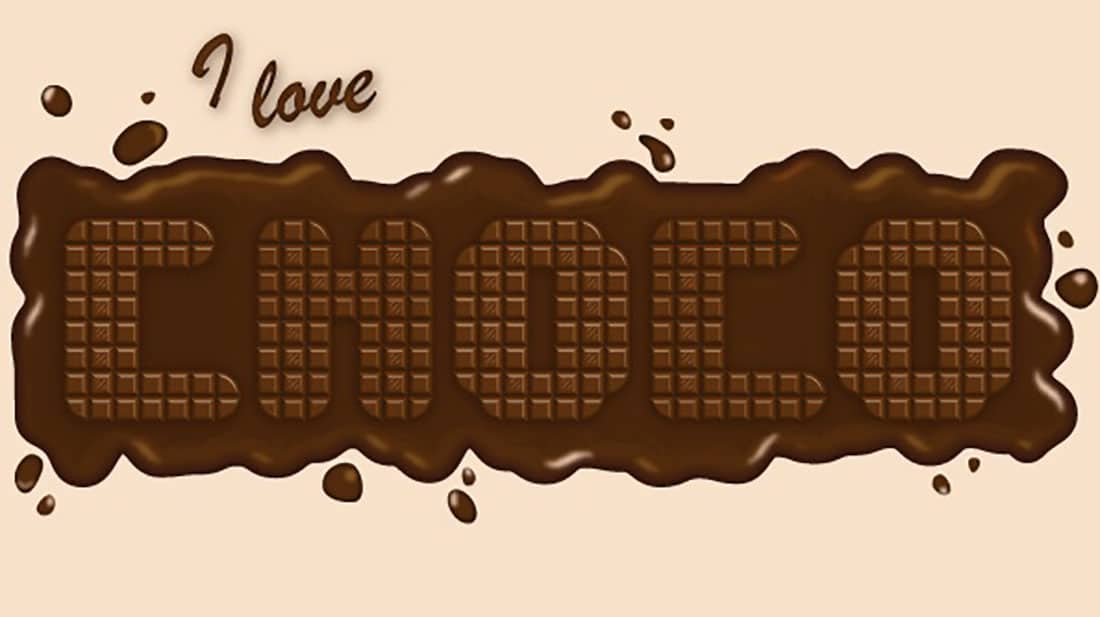
5 Like a box of Delicious Chocolate Text Effects

Now that we have opened your appetite, let’s show you how to can create a text with delicious chocolate effects. The tutorial is a short and easy-to-follow tutorial and involves using tools such as Blend Tool and effects such as Roughen and Chrome and various mixing modes. For the chocolate squares, you will use the 3D Extrude & Bevel effect. We hope you can focus on this.

Create a Furry Calligram

6 Create a Furry Calligram

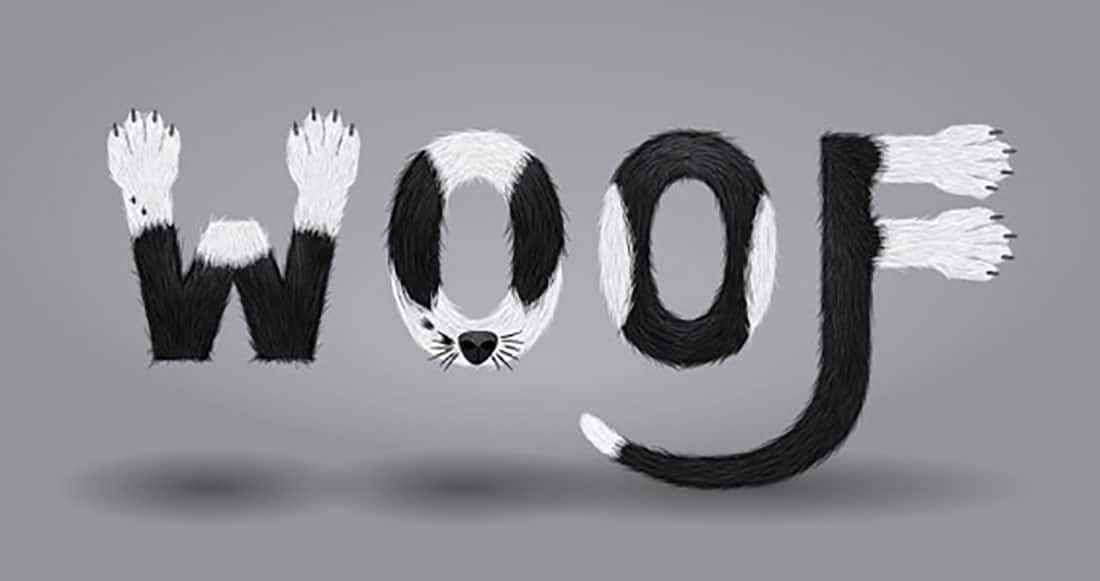
If you want to make a text with fur effects then you’re in the right place. The following tutorial will show you how to work with a text and how to create for it the effect of fur with a more dense and thicker hair like of a dog. Hence the word: “WOOF”. The font used for this text is Tahoma, the realization time is less than 15 minutes and the tutorial addresses both beginners and advanced users.

The Mummy Text Effects

7 The Mummy Text Effects

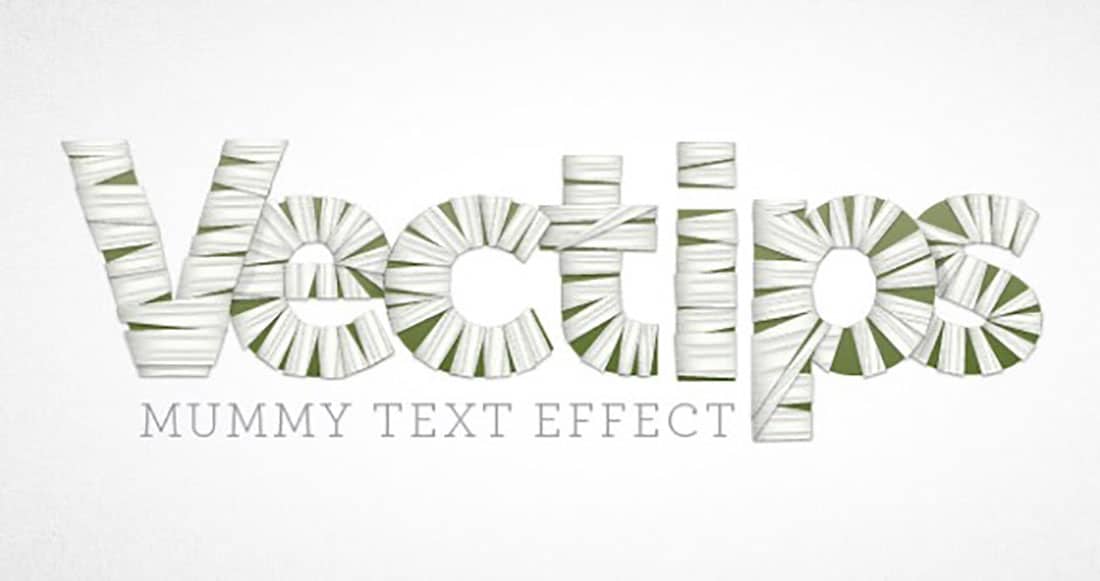
In this tutorial, you will learn how to make your texts look as though they were mummified. A tutorial just right for Halloween. For this, you will use gradient effects and the Aspect Panel. There are not many steps, but the tutorial is a bit more advanced.

How to Create Realistic Smoke Texts

8 How to Create Realistic Smoke Texts

In this tutorial, the artist explains how to create realistic smoke text effects, make it into a brush and use it for the type. Let’s light up our vector cigarettes and get smokin’!

Create a Bending 3D Text Effect

9 Create a Bending 3D Text Effect

The Bending effect is simple to create and for it, you’ll use the 3D tools, create color shifts with gradients and highlights and use the opacity Masks. Simple and short and dedicated both to beginners and advanced users.

How to create a Stylish Golden Text Effect

10 How to create a Stylish Golden Text Effect

This short tutorial will help you learn how to create golden effects for your texts. Although there are sixteen steps, you will rapidly cover the entire tutorial and learn the techniques and effects for creating stylish golden effects.

The Water Text Effect

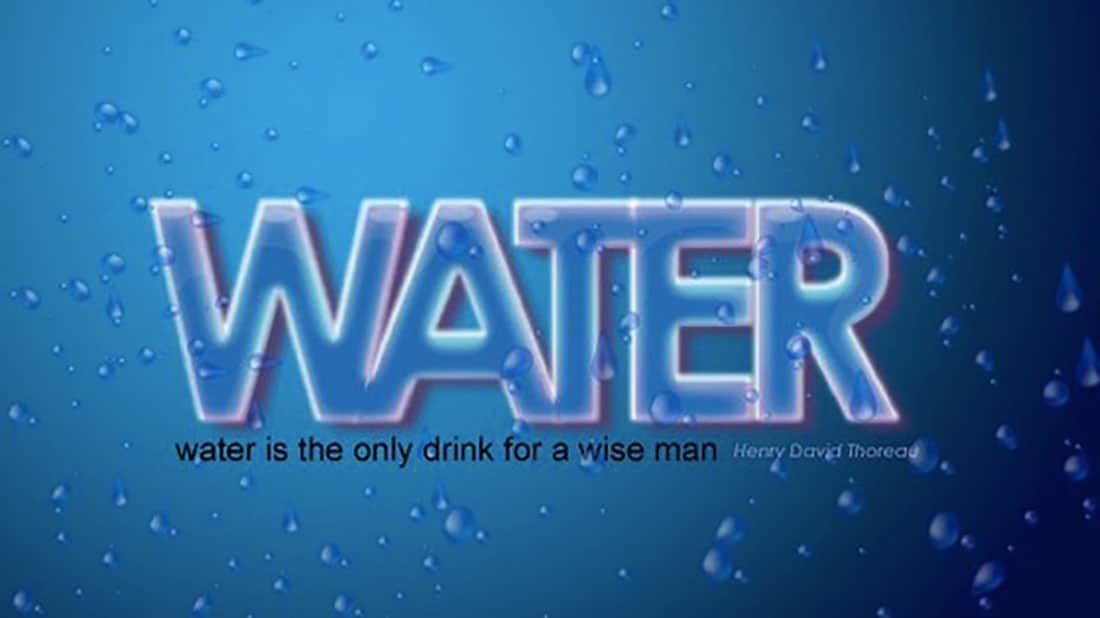
11 Create a cool water text effect

This tutorial will show you how to use the mesh tool for water droplets and how to disperse them. It’s an easy process which will result in a detailed effect that will make tour text look like water.

Golden Text with Diamonds

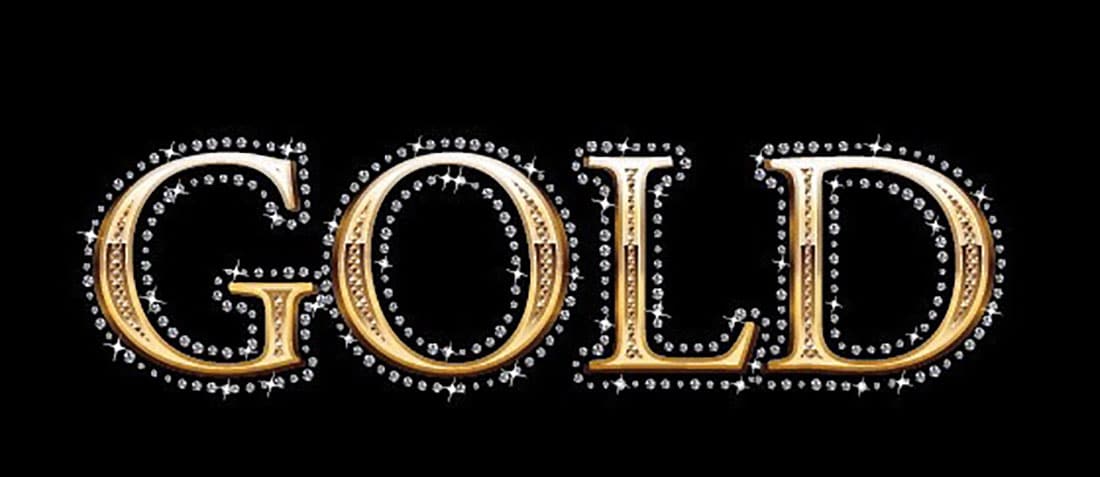
12 Golden Text with Diamonds

This is an intermediate difficulty tutorial that will teach you in detailed steps how to create a golden text style with diamonds. You will use the appearance palette and scatter brushes in order to create the effect, learn new techniques for the transform effect, offset path and seamless pattern on the appearance palette.

How to create the Flesh Ripping Zombie Effect

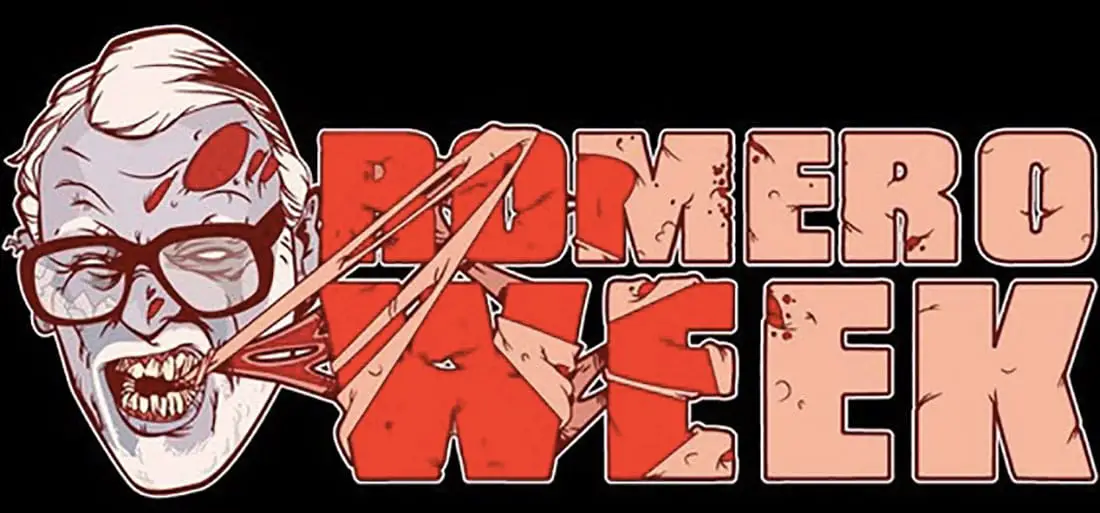
13 How to create the Flesh Ripping Zombie Effect

The following tutorial comes in a few simple steps and it’s easy to follow. For the ones passionate about this subject, we are sure it will be fun. You will learn how to do a very compelling Zombie Ripping Flesh effect in less than 30 minutes, regardless if you’re a beginner.

Eco-Friendly Text Effects

14 Eco-Friendly Text Effects

Eco is on everyone’s minds nowadays so why not try some Eco Effects? In the following short tutorial, you will learn how to create a green type treatment that will surely make your text look eco-friendly.

Jewelry Text Effect

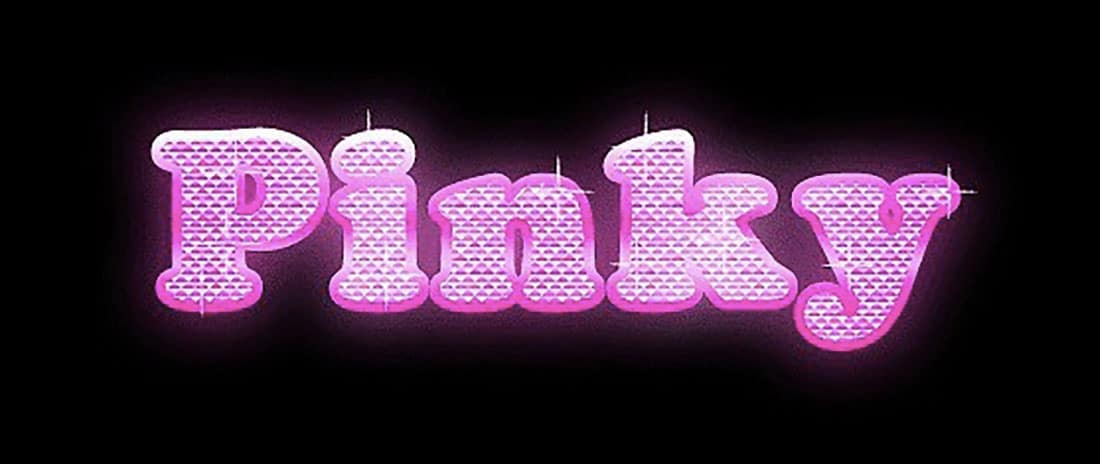
15 Jewelry Text Effect

In this tutorial, you will learn how to rapidly create a stylish and glowing text with the Jewelry effects. All you have to do is to build a texture and apply it to the text. Both for beginners and advanced users, we’re sure you’ll love this one.

The Blood Text Effect

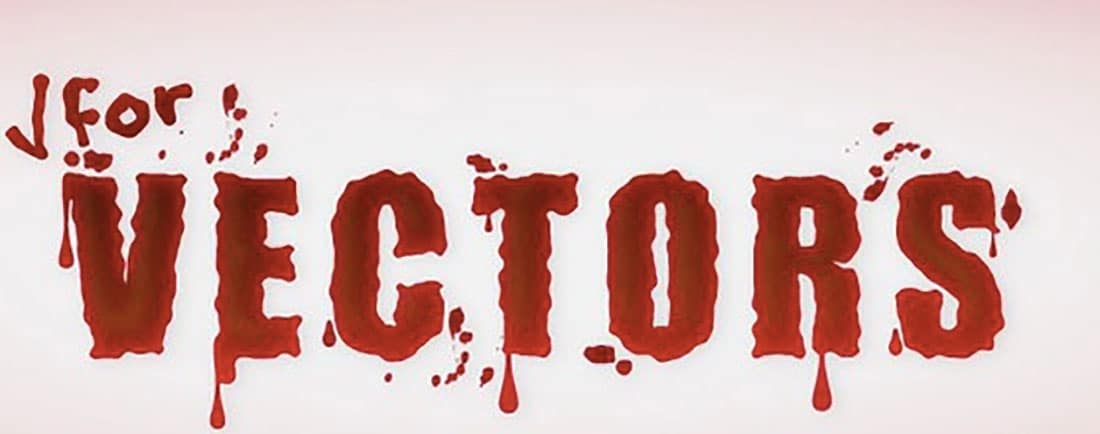
16 The Blood Text Effect

In just 10 simple to follow steps, you’ll learn this interesting effect. All you have to do is to create a simple text, use the Roughen and the Warp effects, gradients and some simple brushes. This is for intermediate difficulty and you can complete it in less than 40 minutes.

Old School Type Line Gradients

17 Old School Type Line Gradients

Are you looking for a coll but old looking effect? Then you’re in the right spot. The first step is to vectorize a drawing using the Pen tool, add a “line gradient” effect for the vintage feel and just add an effect. You can add a wooden effect to complete the look and that’s it. You can finish the tutorial in less than 30 minutes.

How to create a Wooden Text Effect

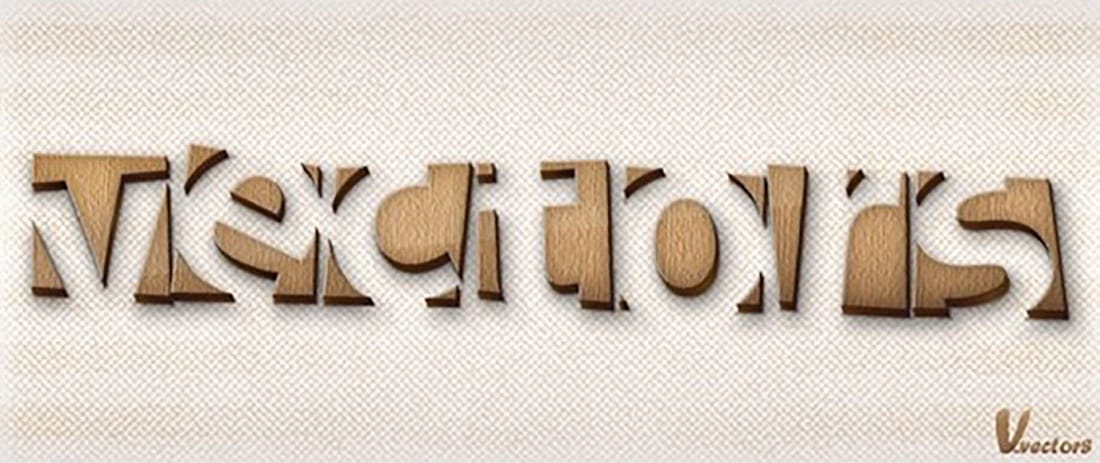
18 How to create a Wooden Text Effect

In the next tutorial, you will learn how to create a wooden text effect in a short way. The tutorial is intended for both beginners and advanced users and it’s easy to follow. All you have to do is use the 3D Extrude and Bevel Tool tools and then apply some intelligent gradients and layer effects. You can use this effect for both logos and texts.

Playful 3D Letter Design Effect

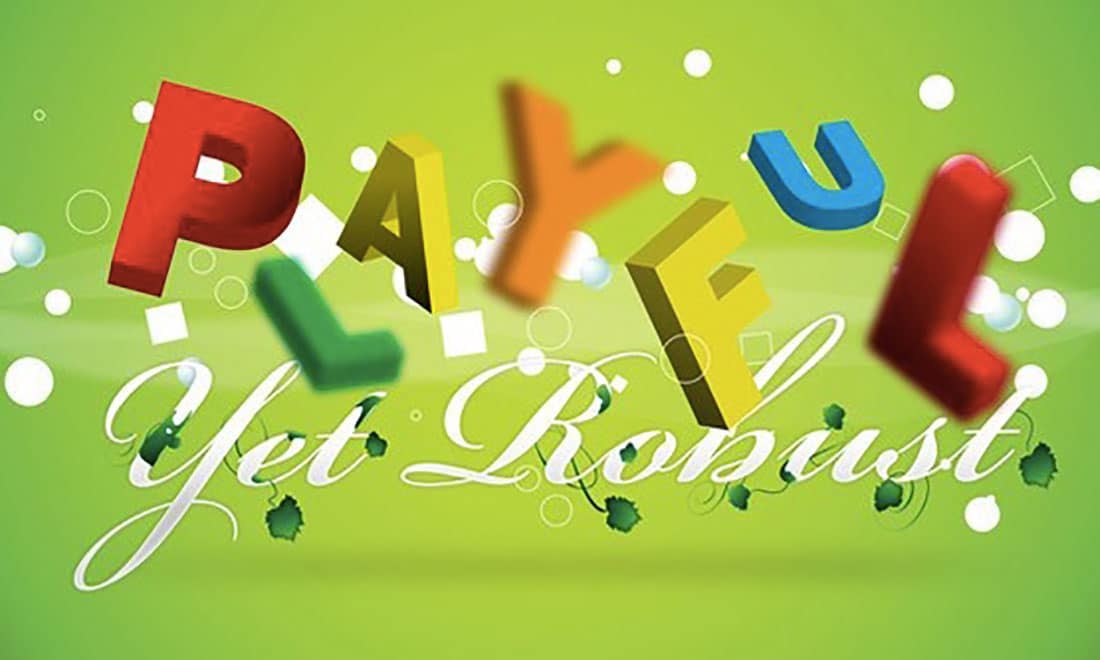
19 Playful 3D Letter Design Effect

If you want to do something fun, this tutorial is perfect. You will learn how to make a 3D text, use the depth of field for improved design, and how to add some effects to complete the playful layout.
The tutorial is addressed to both beginners and advanced users and can be completed in less than 15 minutes.

How to create a Vibrant 3D Pixel Type Treatment

20 How to create a Vibrant 3D Pixel Type Treatment

This effect looks like it’s taken from Super Mario. The tutorial is easy to follow and will teach you how to create the effect by using a free font, gradients, and Illustrator 3D filter. In the end, you will have easily created this playful type treatment which you can apply to any fonts you desire.

The Western Type Text Effect

21 The Western Type Text Effect

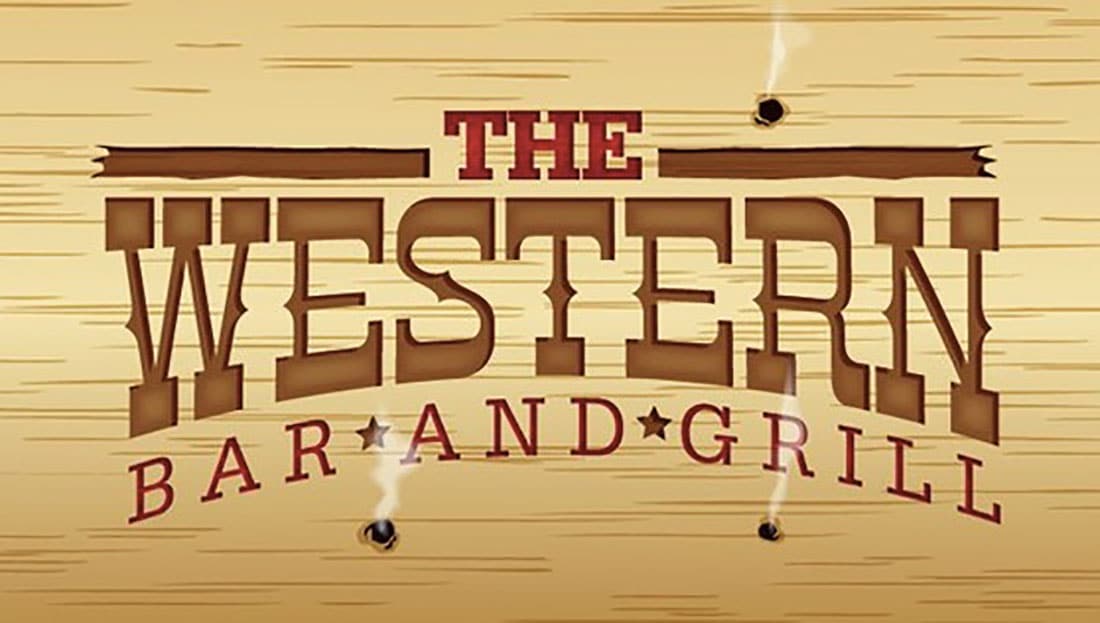
If you’re passionate about the text effects in those western “Wanted” posters, then this tutorial is the perfect choice for you. It’s easy to follow and has just a few steps which will show you how to create the western type treatment primarily using Illustrator’s Effects. The good part is that you can use these effects also for logos and other texts.

Create a Marker Text Effect

22 Create a Marker Text Effect

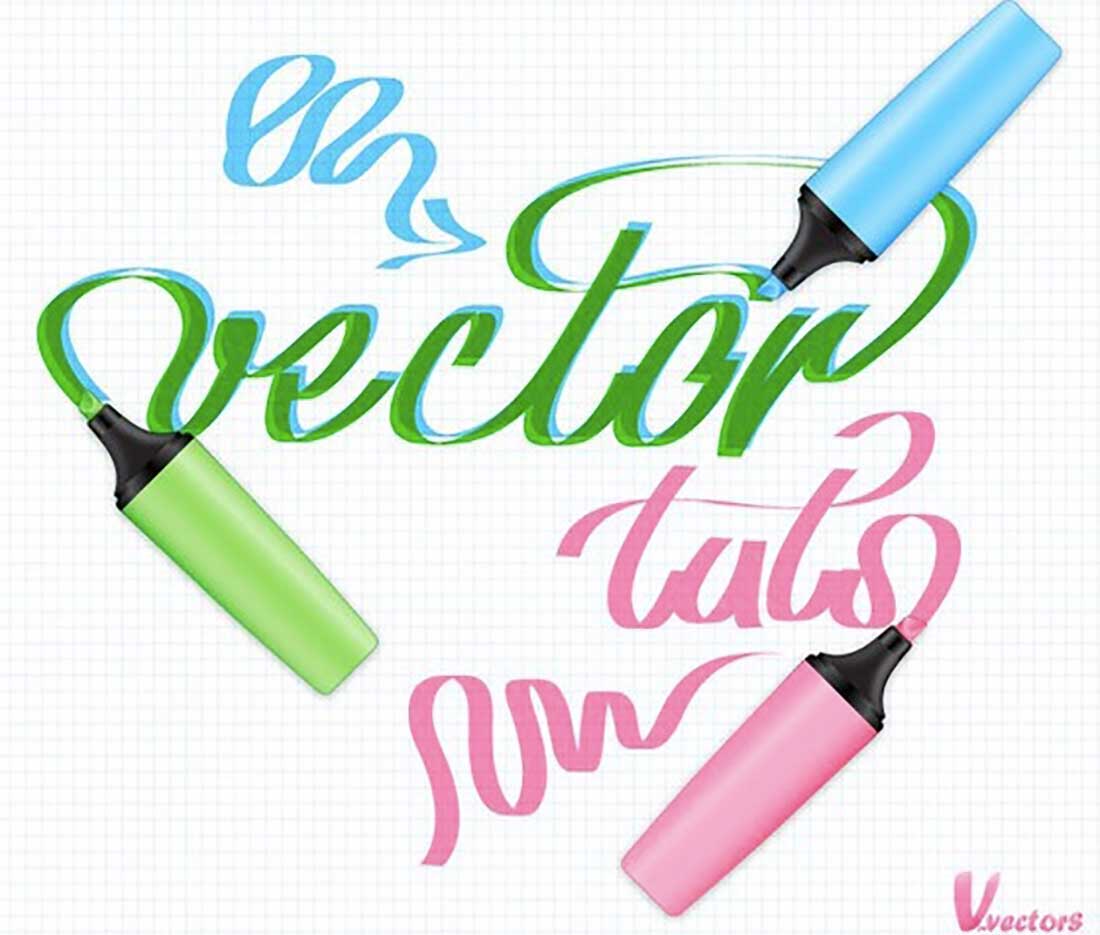
This tutorial is very easy to follow and will teach you how to use the intermediate vector shape building skills in order to create the markers. Also, to complete the effect, you’ll have to create specific layers and use a script to create the text effects. Let’s get started.

How to create a Fun 3D Plastic Text Effect

23 How to Create a Fun 3D Plastic Text Effect

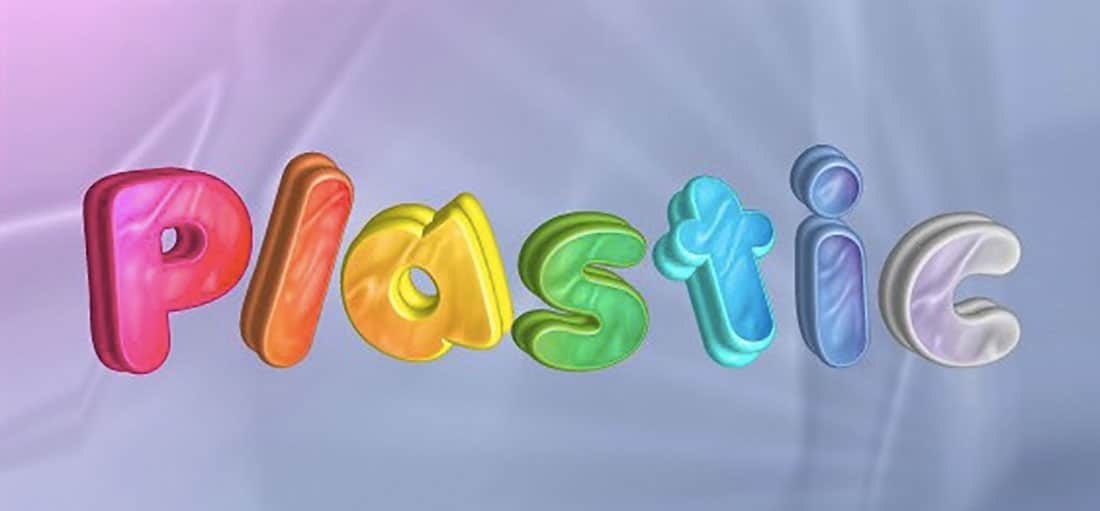
In the following tutorial, you will learn how to create a 3D letter-colored effect. In just a few simple steps, you will be presented with how to use the 3D Extrude & Bevel effect and how to apply a plastic look to letters. This last step can be saved and then used for other texts.

Create a simple folded paper text effect

24 Create a simple folded paper text effect

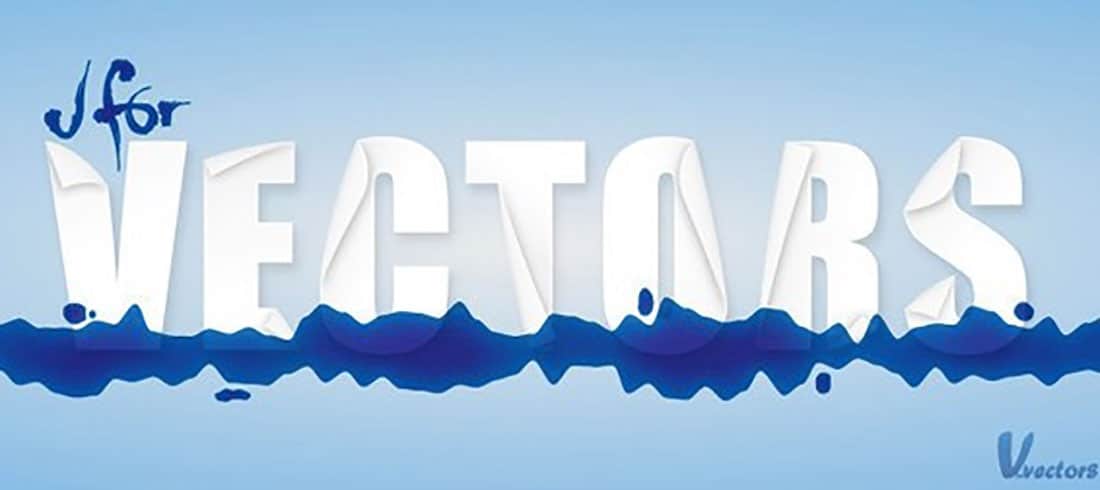
This tutorial is presented in 11 simple steps and can be done in less than 45 minutes. The goal is to create a bending paper effect that can then be quickly applied to other texts. For an improved final look of the text, you will also learn how to create and apply some ink blobs and stains from simple ellipses and brushes.

The Chalkboard Type Text Effect

25 The Chalkboard Type Text Effect

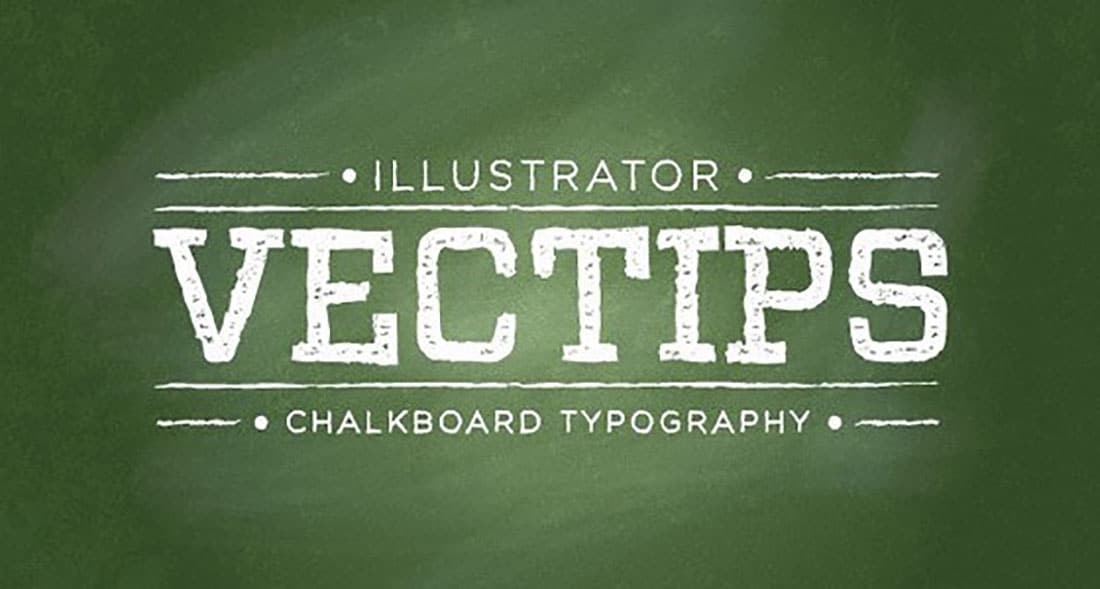
This Illustrator tutorial is very popular and it’s also extremely easy to follow. In just 15 minutes, you’ll learn how to create a chalkboard type text effect using tools such as gradients, a brush and some freebies from Vector Mill! The tutorial is quite simple and can be used for several projects. It can be used for school projects, education-related websites, presentations or billboards.

The post 25 Best Illustrator Text Effects You Must Have In Your Collection appeared first on Web Design Blog | Magazine for Designers.


via https://ift.tt/2J6Nyub

Design your way

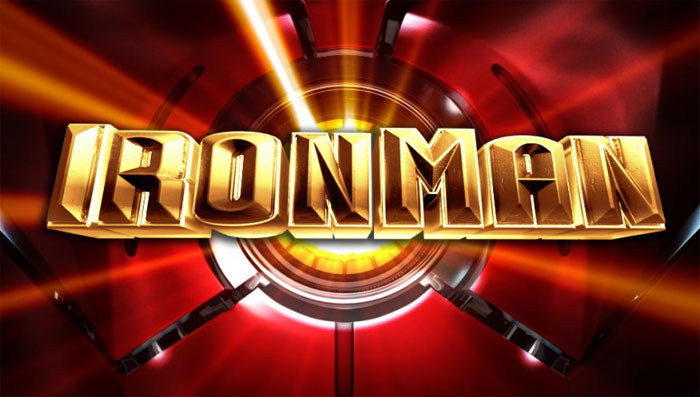
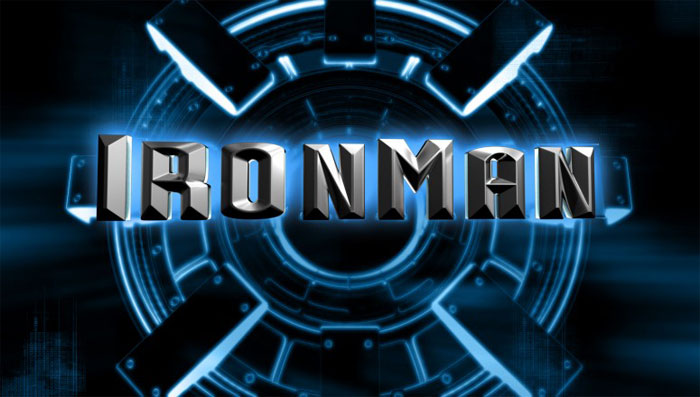
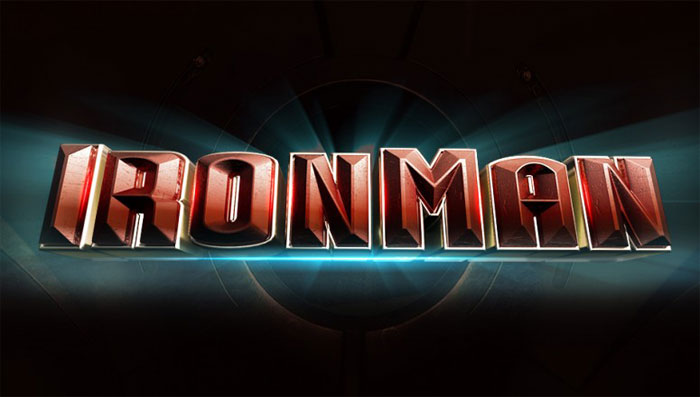
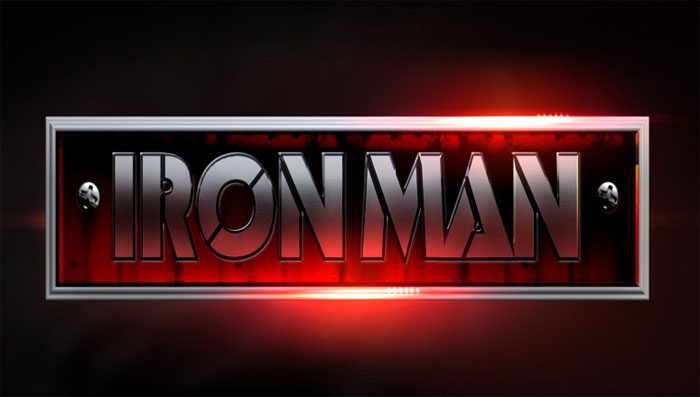
You saw the Iron Man logo everywhere in the past years. Yet, do you know how it ended up being this version we all know now?

Whenever you see a logo, regardless of whether it’s a movie poster, or a soda can, you’re looking at the result of a lot of hard work.

You’re looking at something that wasn’t achieved over night, with a designer, and a company, constantly going back and forth until they get to a final goal.

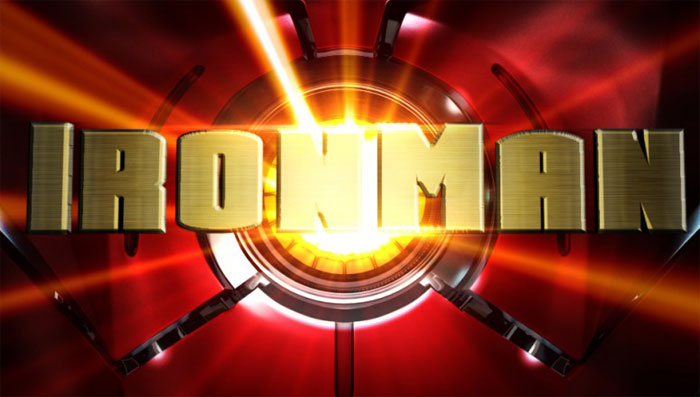
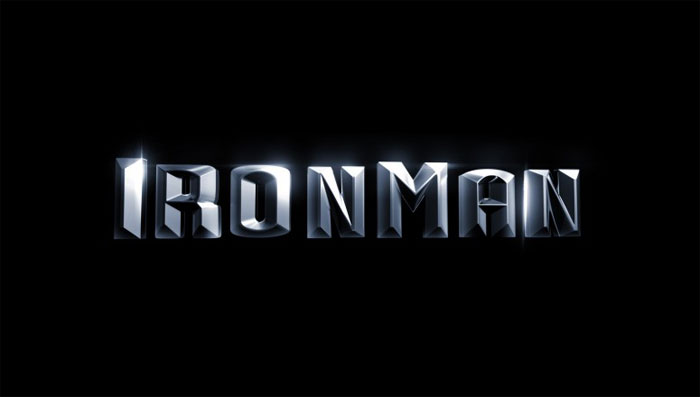
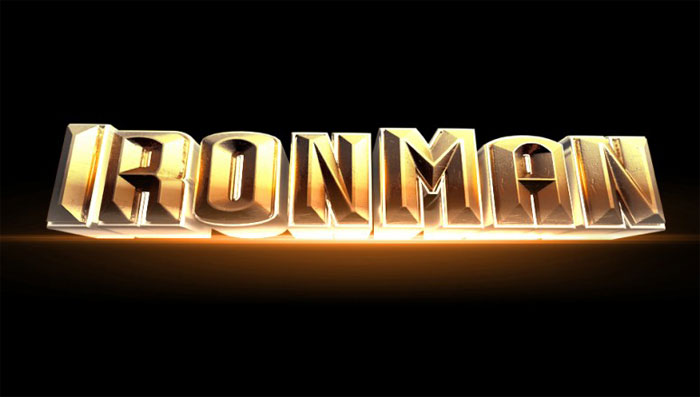
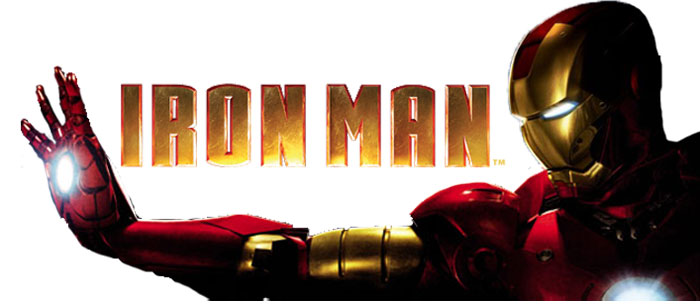
The official Iron Man logo, for example, isn’t the only one – there were dozens, but this one was the best one.

None of the other suggestions for the Iron Man movie logo were bad, to be honest, but the one that was selected to be the Iron Man superhero logo that would later on be known worldwide, was a level above everything else. All others were either too generic, or too cartoonish.

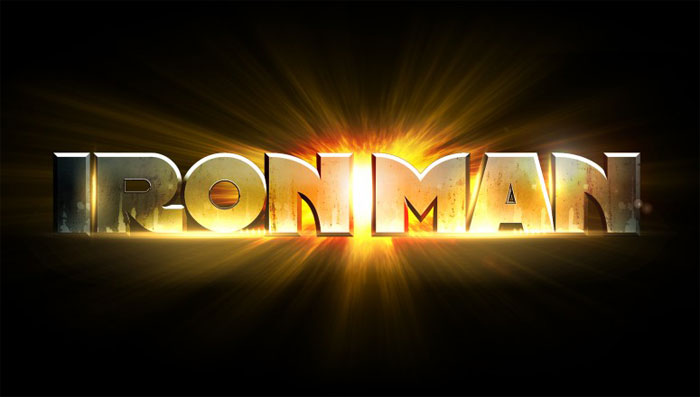
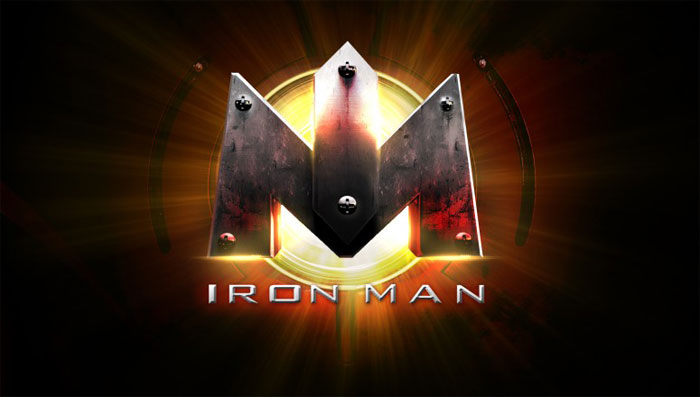
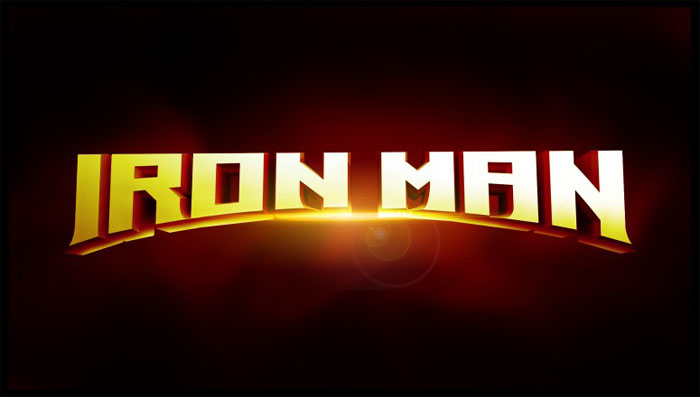
Rejected Iron Man logo designs

IM_FRAME_06_V1_FP-775x440 Iron Man Logo Designs: The Official And Rejected Versions IM_TITLE_V1_FP_07-775x440 Iron Man Logo Designs: The Official And Rejected Versions IM_TITLE_V1_FP_08-775x440 Iron Man Logo Designs: The Official And Rejected Versions IM_TITLE_V1_FP_08b-775x440 Iron Man Logo Designs: The Official And Rejected Versions IM_TITLE_V1_FP_09-775x440 Iron Man Logo Designs: The Official And Rejected Versions IM_TITLE_V1_FP_10-775x440 Iron Man Logo Designs: The Official And Rejected Versions IM_TITLE_V1_FP01-775x440 Iron Man Logo Designs: The Official And Rejected Versions IM_TITLE_V1_FP02-775x440 Iron Man Logo Designs: The Official And Rejected Versions IM_TITLE_V1_FP03-775x440 Iron Man Logo Designs: The Official And Rejected Versions IM_TITLE_V1_FP04-775x440-1 Iron Man Logo Designs: The Official And Rejected Versions

Iron man, the movie

dsfiles_img-5182-1316132694 Iron Man Logo Designs: The Official And Rejected Versions

Paramount Pictures and Marvel Studios bring us Iron Man, an action-packed story about a pretty wealthy philanthropist by the name of Tony Stark (played by Robert Downey Jr.), who makes a robotic suit to fight evil. He’s not only incredibly rich, but he’s also a genius inventor.

He is kidnapped and forced to build a diabolical weapon, but he instead opts to use his ingenuity and intelligence to make an indestructible armor suit that helps him escape his captors. Once he is free, he discovers a conspiracy that could very well destabilize the whole world, and puts his new suit to good use, on a mission to stop the villains.

In the movie, we also have Gwyneth Paltrow as his secretary, Virginia “Pepper” Potts, and Terence Howard as Jim “Rhodey” Rhodes, who is one of Stark’s colleagues with a military background which comes in handy with the formation of the suit. The director is Jon Favreau, and we have Avi Arad and Kevin Feige, both Marvel movie veterans, as producers.

The movie turned out to be excellent. In its first weekend, the story of this metal superhero kicked off the blockbuster summer season with a bang. This first solo production by Marvel netted $98.6 million, thus exceeding any expectations, and cementing the plans for a sequel.

Even though the audience was around 2/3 male, there was a surprising number of women that came to watch it. Downey said that even though they were going on talk shows that they weren’t really sure they would accept them a few minutes ago, they turned out to be geniuses.

The first four months of 2008 saw only “Dr. Seuss’ Horton Hears a Who!” crossing the $100 million threshold, whereas there were four movies with that success the previous year.

Favreau said that all that’s around are election debates, as well as bad news regarding economy, and people are looking to find something entertaining. The success may also have something to do with the films whose trailers were screened before Iron Man, such as “Indiana Jones and the Kingdom of the Crystal Skull”, as well as Marvel’s “The Incredible Hulk”.

Marvel is aiming to rival Pixar as a blockbuster-loaded studio, and the execs didn’t really waste any time when announcing plans for Iron Man 2, as well as three more films, Thor, The First Avenger: Captain America, as well as The Avengers. These are all movies that have actually done pretty well so far.

Considering that Thor, Captain America, The Hulk, and Iron Man were all members of the Avengers team over the years, this selection of projects gives us Marvel’s determination for crossing franchises, and having superheroes pop up in each other’s movies.

Downey appears as Stark in The Incredible Hulk, for example, albeit in a minimal role. There are also plenty of crossovers later on, with other movies by Marvel including the Avengers team.

The movie begins with Tony, demonstrating what he has built, which is a cluster bomb that can move mountains. On his way back to town, he is ambushed by a band of terrorists led by a warlord, who would like to command an empire from China, to the Mediterranean.

However, he needs Stark Industries’ rockets for this, so he locks Tony in a cave where he is to build one from the spare parts he is provided.

However, Tony creates a device that protects his damaged heart instead, and makes a suit of armor with guns and flamethrowers, as well as jet engines on the feet that allow him to fly. Therefore, he becomes Iron Man, the fearsome superhero who has a powerful new weapon which helps him escape.

The first 45 minutes are pretty violent and exciting. However, since Tony has been given a pretty new perspective on his profession, he decides that everything he does in the future will be dedicated to peace.

The company’s shares are dropping significantly, and Obadiah Stane, the senior executive of his company, gets pretty scared. He is a true comic-strip villain, just like Pepper Potts is a true Lois Lane figure, but Stark is a bit more complex, and substantial altogether.

The four writers who are credited actually set up a situation they don’t really know how to resolve. The moral confusion reigns are drowned by the special effects and titanic battles, which is a pity, since Iron Man promises to be something more original than most comic-strip adaptations.

Ending thoughts on the Iron Man logo

Even though a lot of logos don’t really make the cut, the Iron Man logo is something that is known worldwide today. Some of the initial versions were a derivative of previous superhero movies, while others just failed straight away. However, the Iron Man logo that made the cut, is incredible.

If you liked this article about the Iron Man logo, you should check out these as well:

The post Iron Man Logo Designs: The Official And Rejected Versions appeared first on Design your way.


Source: https://ift.tt/2pRQ7Yk

No More Excuses: How to Finally Start Your Business

Thursday, March 29, 2018

Owning a business can be empowering. Owning a company that you’ve built from scratch is more than empowering, it means taking full control of your professional life. While that sounds very appealing, most of the time it’s simply intimidating as having a unique and promising idea is not enough to build your dream business from the ground up. On top of constant market research, endless paperwork, and competitor observation, you have to find motivation to keep you going even through the hardest of times.

To avoid the struggle of having to go through all that hard work, we create excuses as to why is it that we’re not able to build a business on our own. Even in the light of the most promising ideas, there will always be the voice deep in your head giving you all the reasons why you can’t achieve your dream. To help you deal with those sometimes unreasonable excuses, here’s a list of ten tools that will eliminate all excuses and motivate you to finally bring that idea for a business to life.

1. The “I don’t have time for client communication” excuse

If you have an idea for an e-shop and your excuse is that you don’t have time for client communication – you have no excuse. Ecommerce marketing automation is designed to automate all your email marketing and client relationship management tasks. You can use Omnisend to create sign-up boxes for your website visitors, create landing pages for your products, send promotional emails, or handle order confirmations – all with only a few clicks.

2. The “I’m bad with numbers” excuse

The times were you had to be mathematically savvy to run a business have passed. Invoice tool will enable you to send invoices and get paid from anywhere, at any time. InvoiceNinja is based on automation, which means that you can create recurring and auto-bill invoices, collect deposits and partial payments with just a few clicks. Unlike other invoicing software, it also allows you to create personalized invoices with your brand’s logo on them.

3. The “I don’t have enough storage on your computer” excuse

Businesses are notorious for requiring large amounts of paperwork, legal documents or other intellectual property. Having space to store all of that information safely is essential. With pcloud.com conquering the cloud, your excuse of not having enough storage on your computer is gone out the window. Not only do you get 20Gb of free storage space for all your documents, but also multiple layers of security to protect all your data. On top of that, real-time team collaboration on shared files from multiple devices is also possible.

4. The “nobody cares about my silly ideas” excuse

Every new business, digital or not, needs to have a healthy social media following. Show the world that your ideas are interesting, get real Instagram followers, likes and comments on all your posts about your products or brand. Combin will provide you with the insights on your target audience, connect you with the right influencers, and help you increase your Instagram following organically. By creating a buzz around your brand on social media platforms, you will increase your websites traffic and grow a loyal customer base.

5. The “I’m not good with words” excuse

Writing is tough, no question there, but it certainly doesn’t have to be an excuse for your holding back on crafting the future in business. If you want to be in the writing business, word counter tool is perfect for you. It will help you keep your paragraphs, words and sentences counted, your social media scribblings neat, tidy and of the required length. This hassle-free tool will show you all of the statistics in real-time, as you are writing.

6. The “I’m not creative enough” excuse

With focused, you don’t have to have an eye for design or color. Focused Collection is designed to help you choose the right design and imagery for all your presentations, blog and social media posts, so no more excuses if you think you lack the visual creativity. Focused collection is dedicated to pairing the right artists with the right kind of businesses by providing a wide range of images that will fulfill any requirements.

7. The “I don’t want to lose time with my family” excuse

Personal time and time with your family and loved ones is extremely important. Not only you are benefiting from the time spent with your closest family and friends, but your business is too. Cloud workflow automation will let you get out of the office more often than you think is appropriate. Integromat will help you automate time-consuming day-to-day tasks by connecting multiple apps and platforms, transferring and transforming data 24/7. It works, so you don’t have to.

8. No more “I forget the password to my own computer, don’t trust me to remember this” excuse

WordPress security plugin lets you forget the password and login details to often the most important thing in your business – your WordPress. With Magic Password, you won’t even have to know what your password (or username) is, as everything is done with your paired phone. It also protects you from brute-force attacks and keyloggers.

9. The “I don’t have any marketing knowledge” excuse

Maxtraffic is perfect for increasing your website’s traffic, generating email list and keeping in touch with your existing clients. So no more “I don’t have any marketing knowledge” excuse. Web push notifications will help you grow your email list by reminding your website visitors to sign up for your newsletter. It will help you increase your sales by reaching out to your customers even when they aren’t on your website, and it will help you reach international audiences with targeting and personalized messaging.

10. “I have no organizational skills” excuse

Salesmate will keep you organized even at the busiest times of your business. With this tool, you will be able to easily track and automate your sales activities, provide a personalized experience for your every customer, and receive powerful sales insights for better optimization and performance. Make notes on every client, create follow up tasks and track the progress of your sales team all on one platform.

These ten digital tools will help you create a profitable online business, so stop coming up with silly excuse to stop you from going out there and getting what you’ve always wanted.

The post No More Excuses: How to Finally Start Your Business appeared first on Line25.


Source: https://ift.tt/2pQuPdt
 

The Cash Box Blueprint

Most Reading