What is tilt shift photography?
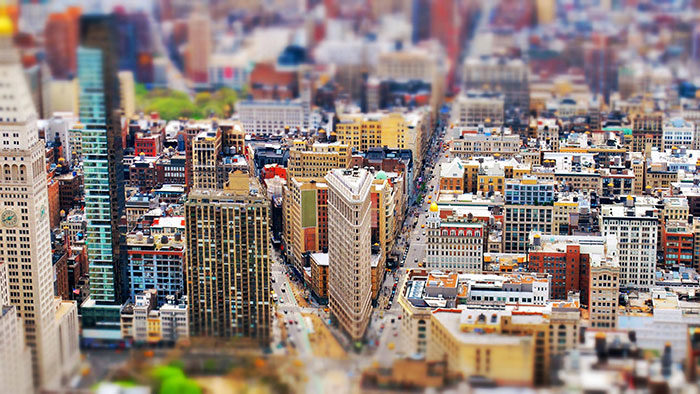
Tilt shift photography is an increasingly popular photography technique that makes real-world scenes look like miniature scenes similar to what you find in a railroad model or a miniature holiday scene.
Tilt shift photos take something big and make it small. Imagine making the New Year’s Eve celebration at Time Square look like a scale model of the event. That what tilt shift photography does.
It’s a charming effect that’s most easily achieved through the use of software.
This will be several thousand dollars less than the use of optical techniques.
A tilt shift lens will cost you quite a bit, while using the right techniques on a computer will use programs you probably already have, like Photoshop. You can even find iOS apps to help you achieve a tilt shift effect.
Of course, if you’re going to create tilt shift pictures, you want to do them well.
While software may be doing most of the heavy lifting in the creation of a tilt shift photo, pulling off the tilt shift effect can only be really accomplished by using the right photos.
Tilt shift photography is a combination of optical and software techniques that come together to amazing effect.
How to Do Tilt Shift Photography
The Basics
A tilt shift lens helps a photographer control the plane of focus. These pricey lenses are typically 35mm. They blur out the unimportant parts of the scene and focus on whatever you’re trying to highlight.
You see these techniques used in a lot of different kinds of photography: architectural photography, panoramic photography, food photography, and modern portrait photography.

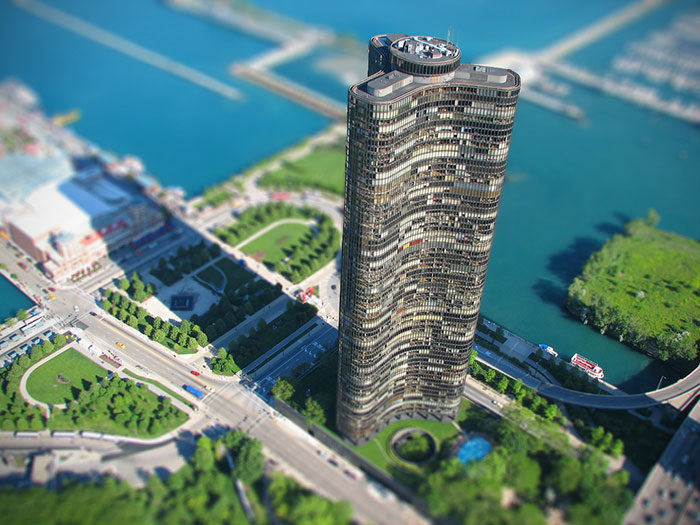
Using a tilt shift lens causes the primary subject of the photo to pop. Tilt shift lenses are also used to correct converging vertical line, avoid reflections and obstructions, achieving a sideways tilt, and increasing depth of field.
These lenses are specialized tools that can be used to create a lot of interesting effects, and if you can afford one, it will give you a lot of interesting options for your photos.
The Lensbaby Composer Pro with Edge 80 Optic is a more affordable option if you’re looking for a tilt shift lens but can’t afford a real one right now.

If you’re not going to shell out for a tilt shift lens, you can still accomplish the same effect with some careful photography choices.
You’ll need to change the angle of your lens relative to the focal plane. You’re also selectively focusing on the subject of your photo while blurring the shot.
Take your tilt shift photo from above but not directly above. The tilt shift effect is supposed to mimic the way people take photos of miniatures.
Someone taking a picture of a model railroad scene would probably not be on the same level as the subject of the photo.
However, direct overhead shots won’t get a decent depth of field, which you’ll need to accomplish the tilt shift effect well.
Try to use images of simple scenes for tilt shift photography. Miniature scenes are typically very simple so that they can more accurately depict the real world in good detail. The rush hour crowd on a busy city sidewalk, for instance, is not a common model scene.
Make sure you take sharp photos with good lighting. Tilt shift photography relies enough on blurring that you don’t want any to show up unintentionally.

People in your tilt shift photo should be small and obscure, as they would be in a miniature scene. The models of people you see in model railroads, for instance, have very few details and are not very big.
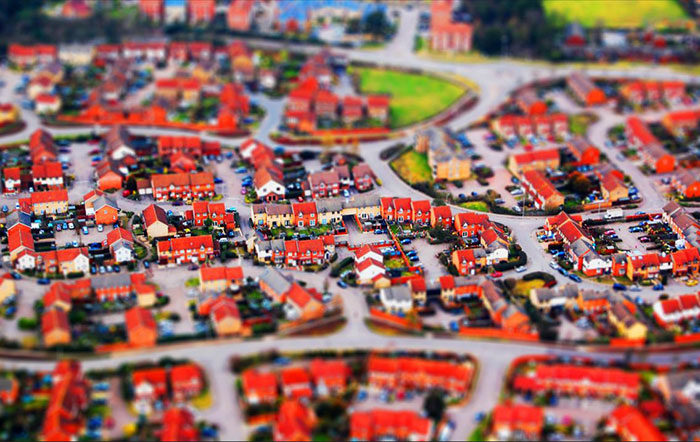
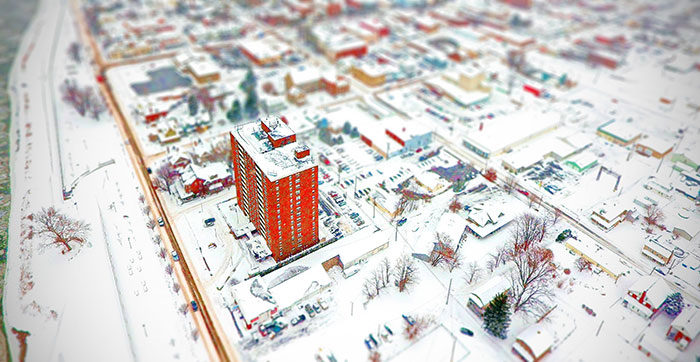
Try to avoid wide or boring shots. Tilt shift pictures should have interesting subjects. Aerial images of neighborhoods are interesting, with their different yards and colors, but the image of a low office building will be dull.
Subjects for Tilt Photography
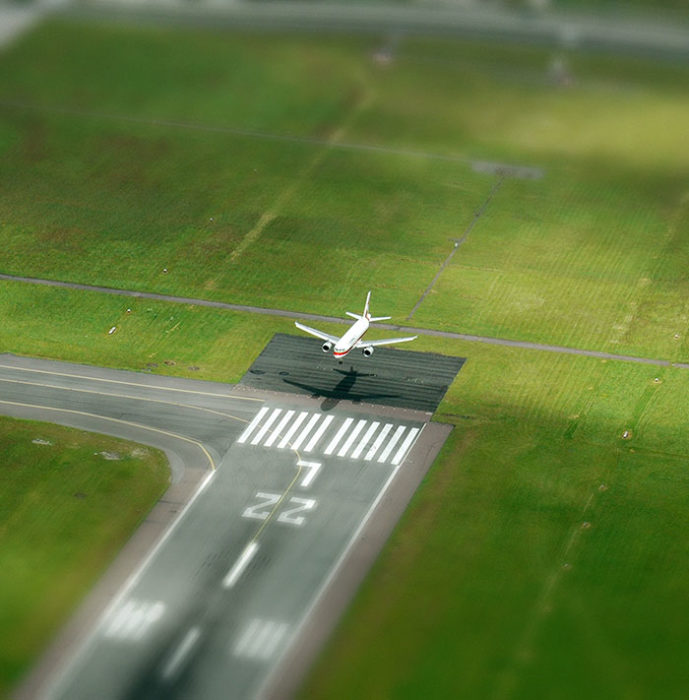
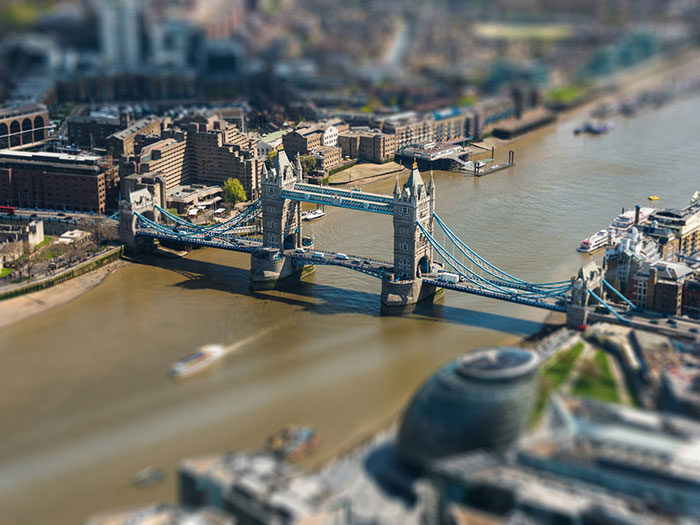
Your ideal scene is interesting but not too busy. Try wide shots of cities, roads, and valleys. People should be in the back of the shot. You don’t want small details like facial expressions showing up in the tilt shift photo. This will also make them look smaller.
Keep a Sharp Focus Point

Make sure that you have a sharp focal point since the top and bottom of the shot will be blurred when you process the tilt shift photo digitally.
Digital Processing for Tilt Shift Photos

Whether you’ve used a tilt shift lens or taken a photo using tilt shift techniques, once you upload it into your image processing program, there are some things you need to do to really make the tilt shift effect work.
Photoshop is a great program to use for this, since it’s fairly expensive, easy to use, and you probably already have it.

The first and most important thing you should do is find the point of interest in your image. Create a mask and then use the gradient tool on that mask to get everything in focus the way you need.
Decide on how the blue gradient should be placed. Apply the Lens Blur filter. You’re going to have to play with the settings until its good. Once it is, though, you’ll start seeing that tilt shift effect.

Your tilt shift photo isn’t done yet, however. Adjust the master saturation level to around 30 percent.
This will make the colors you want to pop stand out more. You want to mimic the colors used in miniature scenes, which are usually bold and saturated.
The last step is to use the Curves tool to enhance the contrast in the image’s high tonal highlight.
Feel free to make tweaks and adjustments to get the tilt shift photo looking just right, but the process above should achieve the tilt shift effect in Photoshop.
You’ll be surprised by how well this simple process works. Using a tilt shift lens will make for a better overall tilt shift effect, but the right, carefully composed photo will look pretty good after you digitally process it.
Ending thoughts on tilt shift photography
The basics of how to tilt shift your photos are very simple. The effect, however, is fascinating. It’s both abstract and realistic. Tilt shift photography is a great way to expand your photography skills.
If you liked this article about tilt shift photography, you should check these as well:
- Amazing Photography Shots Of Our World (44 Amazing Pictures)
- 52 Great Examples Of Urban (Street) Photography
- Photography Cheat Sheet Examples: The Best For Photographers
The post Tilt Shift Photography: How to Take Tilt Shift Photos appeared first on Design your way.
Source: http://ift.tt/2FKA85z


No comments:
Post a Comment