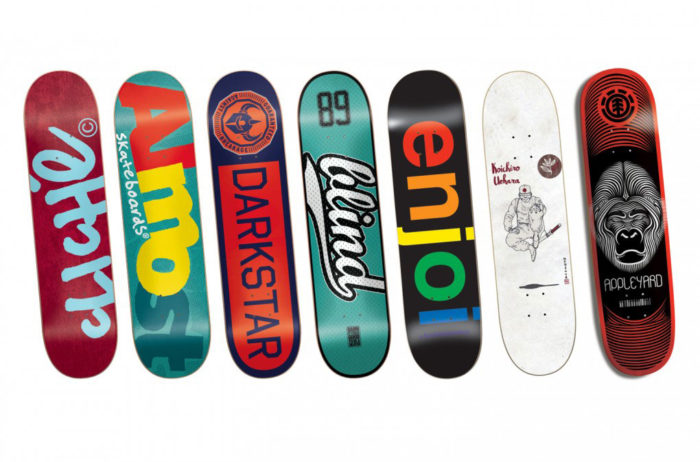
Are you a fan of skateboarding? Do you love those crazy skateboard designs of the other skaters?
If so, then chances are you know that customizing one can be quite expensive, especially if it involves multiple skateboard decks.
If we seek to plant our personality in our skateboards, then follow some of the recommendations that we leave you below, with options for novices and art professionals.
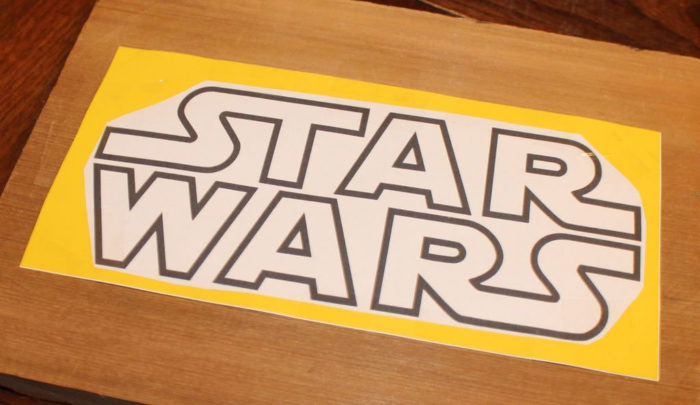
Stickers are a quick and easy option for skateboard designs
If we want to decorate quickly and without needing skill with the brush, our best option are the stickers. There is a wide range specially designed to adhere to skateboard decks.
The best thing is that besides saving a lot of time, we can get stickers with almost any subject we want, so we will not be as limited as many people would believe.
If at any time these begin to wear out, it will be enough to replace them, or if we seek to renew ourselves, we can remove them.
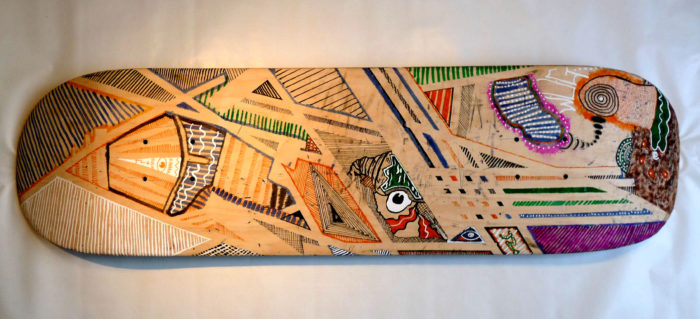
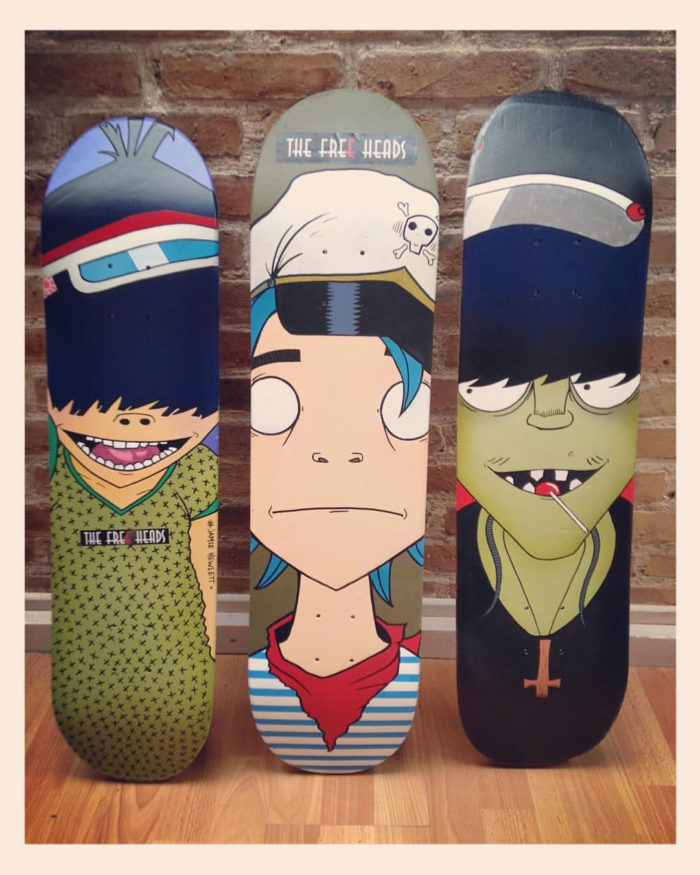
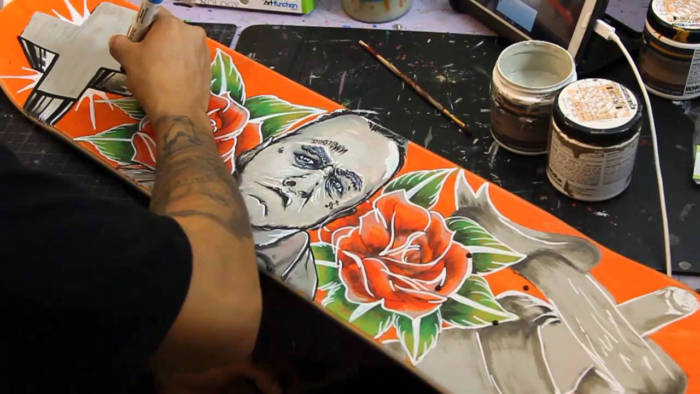
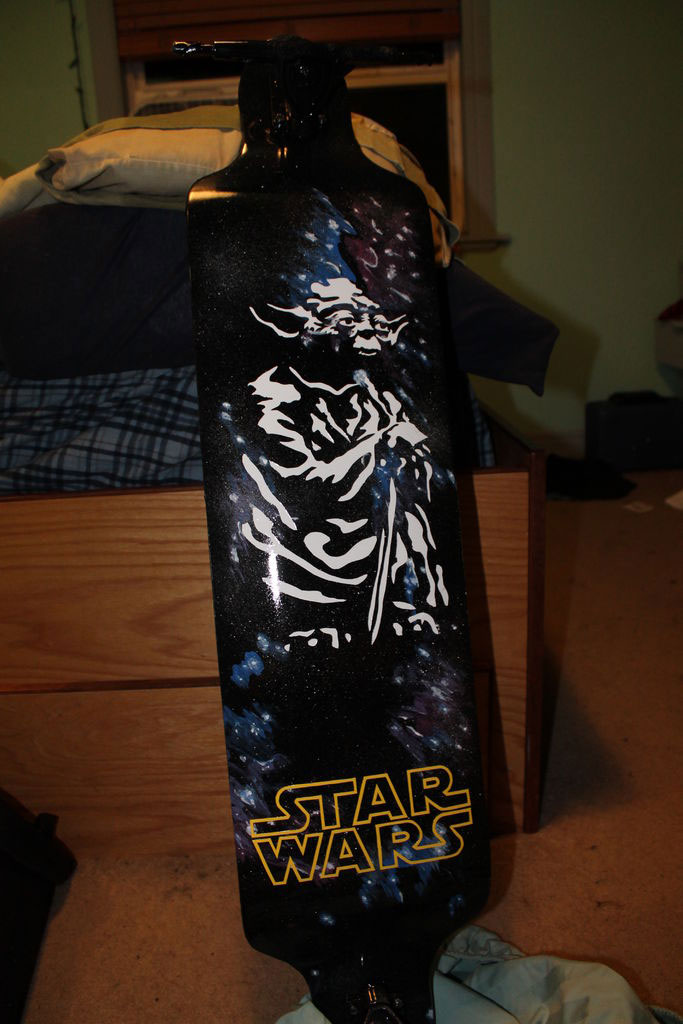
Get creative with the use of paints
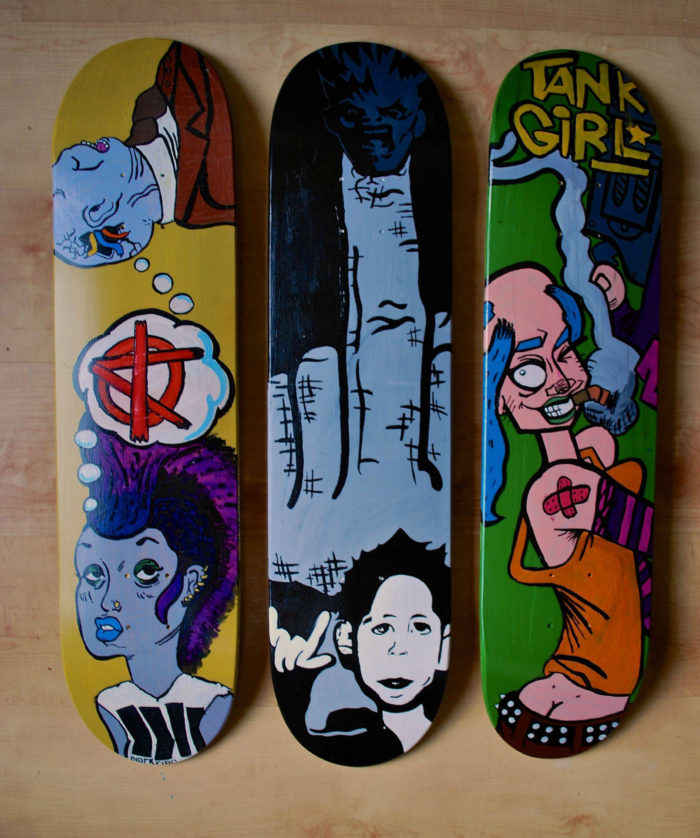
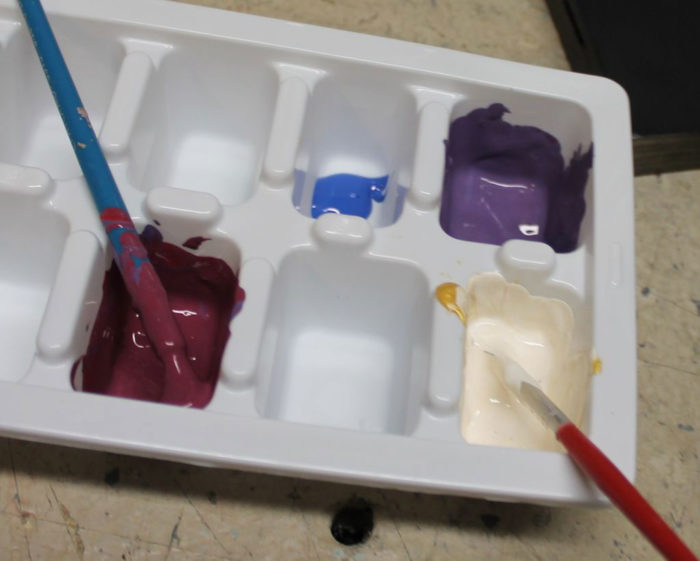
The best skateboard designs are made by hand with the use of paints. Among the pros of using them, we have that almost any type and brand will serve us to paint the deck. Of course, we have to consider that, unlike Stickers, the painting will be captured, and so it can splinter or erased.
Among the most creative and useful options for paintings are:
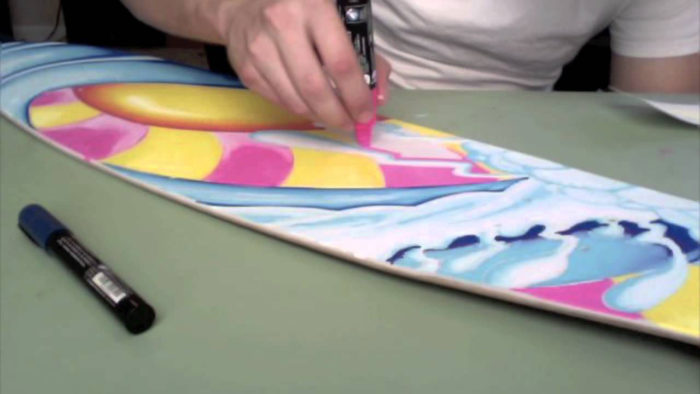
Paint Pens for fine lines: Whether we use them for writing or for drawing, Paint pens are ideal choices. Their wide range of options in both colors and thicknesses will allow you to create designs in an orderly manner.
If, on the other hand, your thing is not drawing, try to take a Paint Pen with you to skating events and try to get the signature of a professional. You will be the envy of your friends!
Aerosol paint: this may be the most traditional of the options. For its properties, this painting is ideal for almost any type of surface. In addition, the thickness of the stroke will depend only on the distance at which we paint, which gives us more freedom when drawing.
Another spray option is through an airbrush, although this tends to be more expensive, however, it usually provides cleaner and more professional results.
Traditional paintings: with these, we refer to those based on oil or enamel, usually used to paint pictures or fabrics. Try to avoid easy dissolving ones, such as water-based paints.
Our patience should be considerable with these, since it may be more difficult to capture it on skateboard decks (can be absorbed by the wood), but with enough layers, we will get the most artistic finish among the options.
Markers can always help you: probably the easiest and most accessible of all painting options are markers. It is very likely that we have a handful of these in our home.
However, this comfort comes with a price, and it is that these do not last long. The best option is to use permanent markers to guarantee an additional lifetime.
Finally, an additional recommendation if we decide to use paints of any kind is to have on hand a varied set of templates that help us with the design.
Go a step further by carving the skateboard
A more extreme way to personalize your deck is by carving it. Focusing on the upper half, and by using an artisan knife, we can slightly carve the cover to create letters or small designs.
This method is a bit more dangerous because we must be careful not to remove much material or to do so at key points that may compromise the integrity of the skate.
In the same way, you can use templates to help you with the carving process, just be careful not to cut them, or use strong enough ones.
Now, we have to take care of our work
With our custom skateboard, all that remains is to keep it so that we can proudly show our work. In the case of stickers, it is not so important, as these are factory protected.
However, when it comes to paints, it is best to apply an additional protective layer. However, we must be careful not to stain the wheels or the grip tape or we could damage the skate.
Steps to customize your skate decks
Fundamental preparation
First, we make it clear that everything you do here is at your own risk, this guide only seeks to give you the general steps to perform the customization process, but the final result will depend entirely on you.
If we are going to do any type of design work on our skate, we should prepare ourselves as if it were a carpentry job. It’s practically a carpentry job.
Our work area should be protected with blankets where paint can splash. In addition, you must do it in places with good ventilation or in the open air, since both the paints and the sanding processes will release particles that can become toxic or cause allergies.
Prepare your clothes with garments that can get dirty. You should use at least gloves and a mask for dust.
Ready the workspace and our wear, the next thing is to prepare the deck for the customization work.
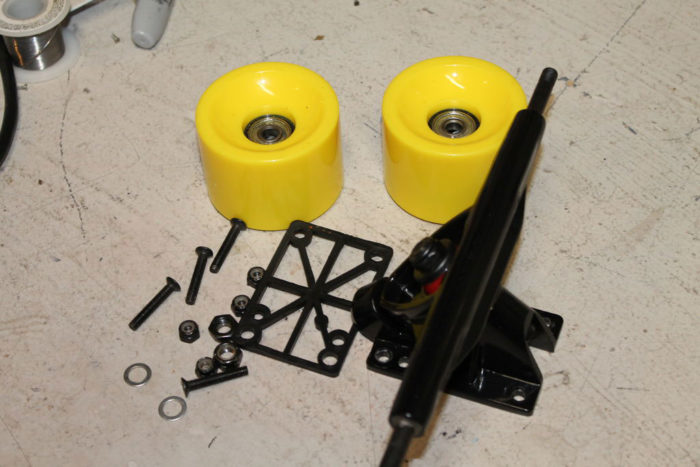
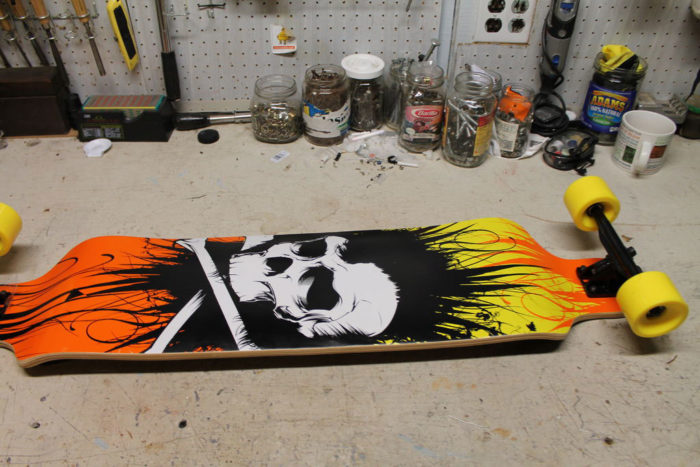
Remove the wheels from the skate even if you are not going to paint them, as they can be annoying when working, and we could damage them by accident.
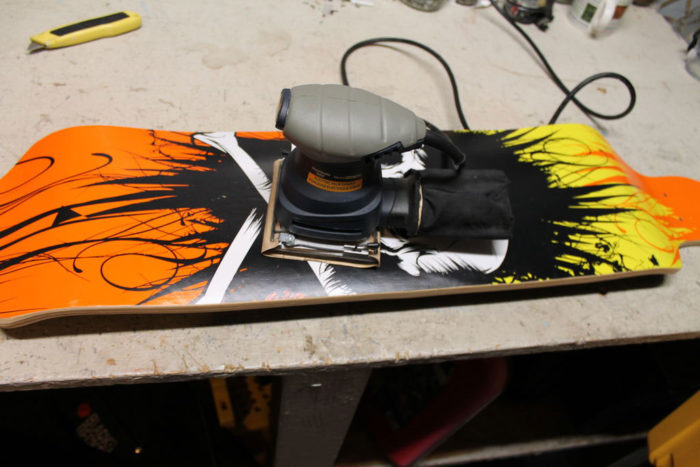
Now you must sand the current design of the deck. The first layer that we will remove is recommended to be done with the use of an electric sander, and with 40-grit sandpaper to eliminate all traces of paint and texture.
This first layer will take approximately 5 to 20 minutes to remove it. We need to maintain a constant pulse so as not to create imperfections that compromise the design.
After the hardest sanding, we will use 150-grit sandpaper to smooth the finish.
If during any part of the process a crack is created, or if for some reason it already existed, we must repair it before continuing. For this task, we will need a special carpentry paste that will allow us to fill openings in the wood.
The application of this paste should be done in abundance, without fear of overflowing a bit of the crack, since after drying (usually takes 24 hours) we must remove the excess.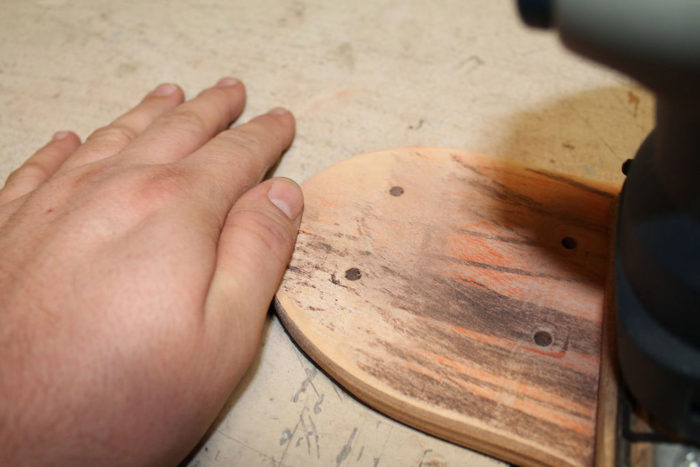
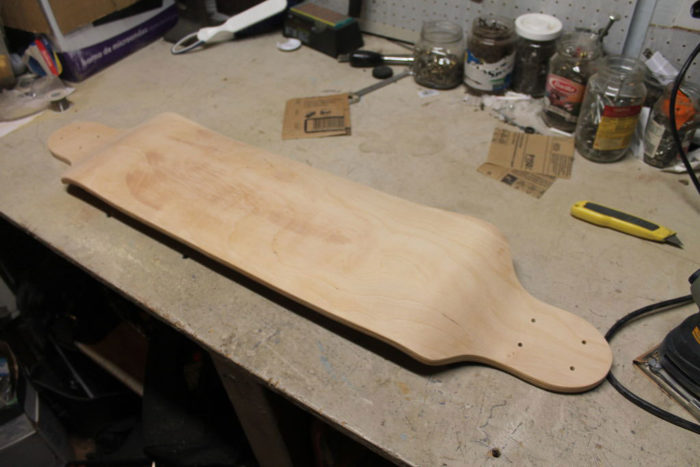
Both after sanding and at the end of removing the excess pulp, it is advisable to wash our board with a grease or wax remover, and if we do not have this, we can use soap and water. The dust generated by the sanding process can adhere to our board and will damage our design.
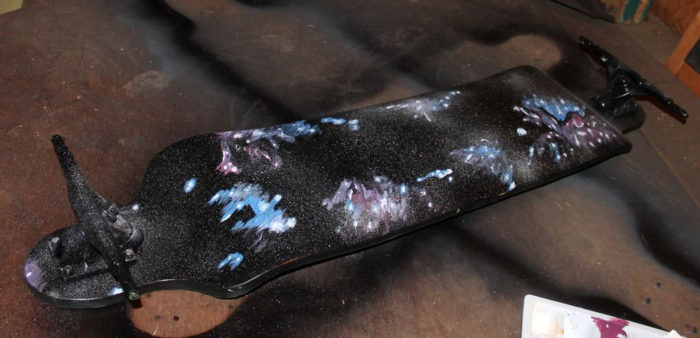
Creating the canvas
Now we have in front of us an insipid table without any design. We still cannot start to paint our skateboard designs. We must prepare the canvas so that the painting looks good.
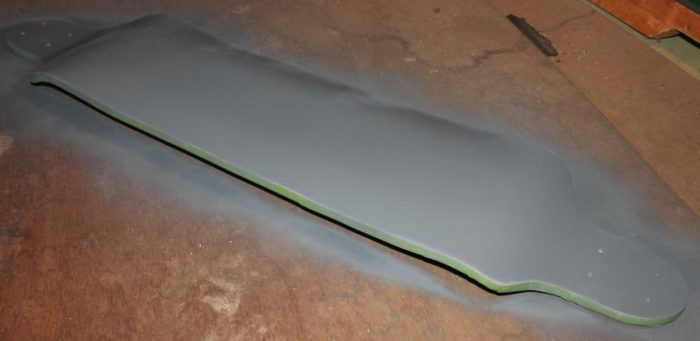
For this, we will apply a base layer in which later we will proceed to paint our design.
Each primer layer should be delicately painted, with light ink strokes. The brush should not drip. You will have to wait up to 20 minutes for it to dry, and then apply another layer, until we have a ready canvas (usually requiring 3 to 5 layers). Once we finish, the skate should be left to dry completely, and this is a process of several hours.
Additionally, between layer and layer we can lightly sand the board with 800/1000-grit sandpaper, but without overdoing it because we could remove the primer.
Our primer layer is not ready yet. Now that it is dry, we must apply a tack coat for the purpose of facilitating the adhesion of the paint to our skateboard. A lacquer thinner will work perfectly for this job.
The application of this layer should be delicate, using absorbent paper or a rag that does not leave residues on the table. As soon as it gets dirty, we will have to clean or replace our tool.
Have the design you want ready to draw

Prepare the final design in advance. Look at some skateboard decks to get inspiration. You will need to know what you are going to do to have the materials prepared.
There are multiple options when setting up our skateboard designs. We can use templates or tape so that we do not lose the line. If you are more confident in your ability, you can delineate the design with a marker, but that is a step that comes later. For now, just have what you want to do ready to know what colors you will need and how you are going to create it.
It’s time to paint
With our priming coat ready, and with all the materials on hand, it’s time to paint our deck.
If we use spray paint, we must shake it first. Depending on the type of liquid paint we use, we will need to prepare it.
The first thing is that we paint the background color. As with the protective layer, we must apply 3 to 5 light coats. In the same way, we can smoothly sand between layers of paint.
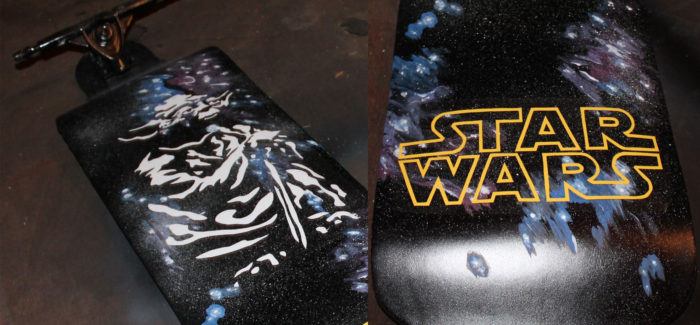
Finished our base painting (with gradients and additional if we wish), we proceed to place the templates or tapes we have prepared for the deck design, or we can draw them with a marker.
Do not worry if the marker lines are not exact, you can cover it later with the use of paint. If we use templates, we must apply enough pressure on them so that when passing the paint it does not enter in the possible openings that remain.
It’s time to finalize and clean
Finally, already finished with our painting work in our skateboard decks, it is time to clean and protect the finish with protective layers as we did in step 2. However, in this case, we will do it by this order of layers: first a soft layer, then a medium layer and finally we will use a thick layer.
If the process was applied correctly, we will end up with a brilliant finish.
Dare to innovate
The skateboard is an extension of the skater’s body. It is a part of him/her that must represent his/her personality.
No matter what artistic decision you make, in the end, the result should be what you were looking for. However, you should know that there are economic ways to do it.
If you decide to venture into this experience, we recommend that you use high-quality materials and that you do everything gradually. Do not speed up the process so as not to damage your board.
Over time, you will be able to do a lot of skateboard designs for multiple skateboard decks, and you can even help your friends with their customization jobs.
If you enjoyed reading this article about skateboard decks and skateboard designs, you should read these as well:
- World map vector graphics you can download with a few clicks
- Mug mockup examples to use for presenting your designs
- Stationery design: best practices and great looking examples
The post Creating skateboard designs: Tips to get decks like these appeared first on Design your way.
Source: http://bit.ly/2InhmV7


No comments:
Post a Comment