LESS and Sass are the two preprocessors that everyone is talking about these days and people are even starting disputes over them in the so called LESS vs Sass battle. If you are new to this discussion, I’m going to try and inform you what the big fuss is around these two and I’ll start today by writing about LESS.
Even if you didn’t think it was possible, a moment comes when CSS shows its limitations, especially the really annoying part when you find yourself repeating the same code lines over and over again, wasting time doing so. When working on a small project, this doesn’t bother you much and you aren’t even that disturbed when the client asks you to change the font size for every paragraph because there are probably just a few lines, but when you are working on a big project with a huge CSS file, things get complicated.
CSS processing is a method of extending the features of CSS by writing your style sheets in a new language, then compiling it to plain CSS so it can be read by browsers. It may sound difficult in theory, but it makes coding really easy.
How it works
First of all, you have to download less.js from the LESS website. After that, include it in your HTML along with a .less stylesheet which is the same as a .css one. What the .js file does is transforming your LESS code in CSS so that the browsers can read it. Make sure you include the .less file first and then the .js if you want something to actually happen.
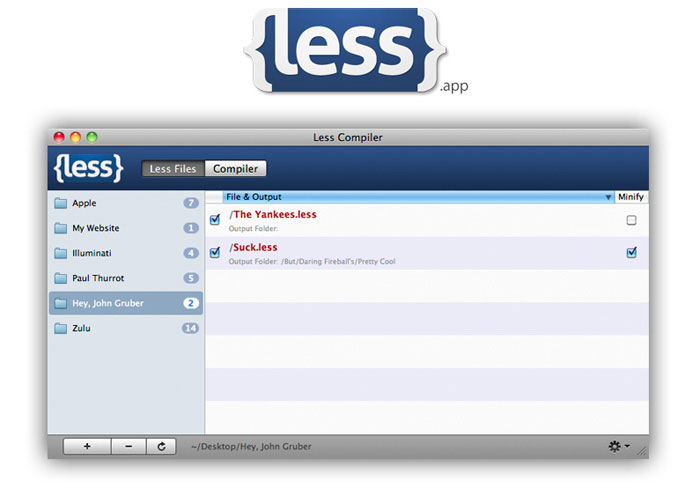
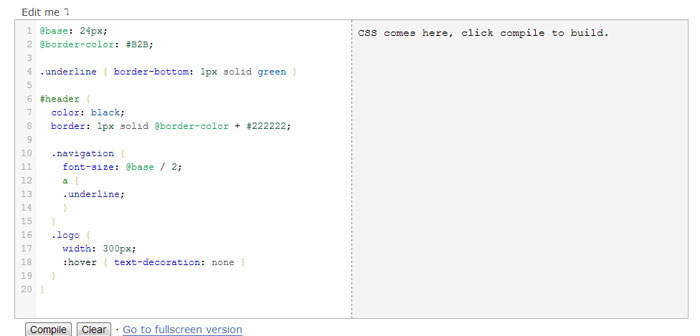
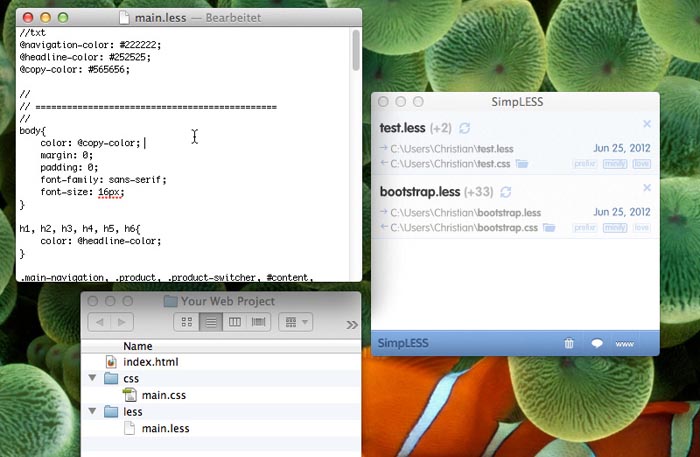
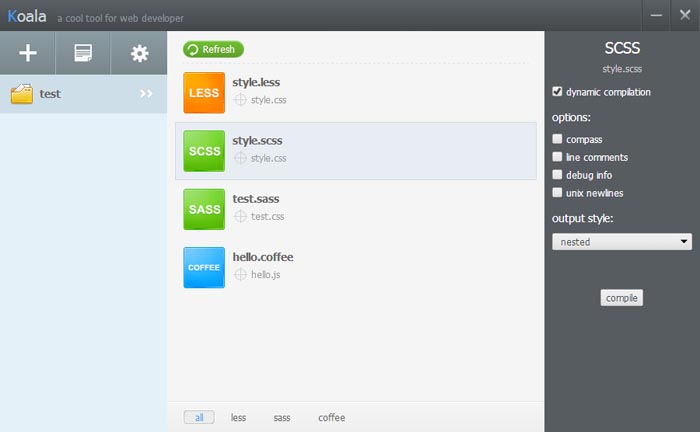
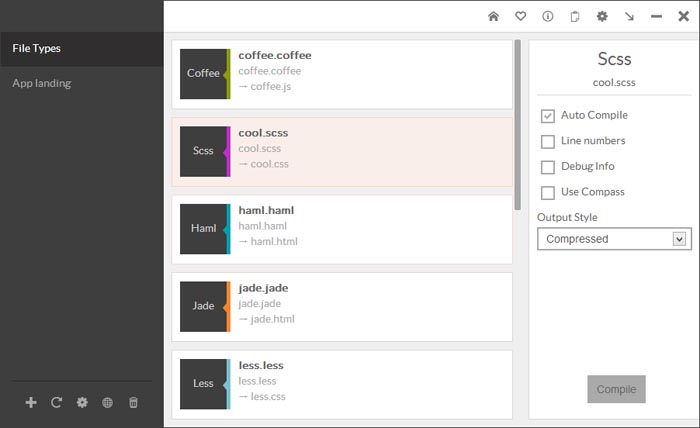
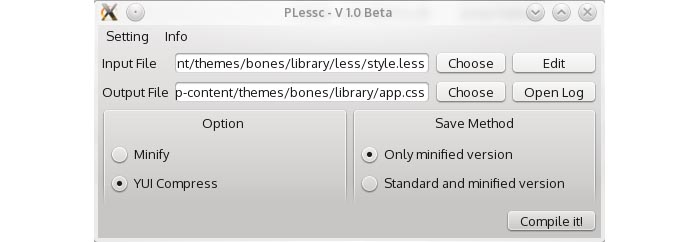
What you have to remember is that less.js is for testing purposes so that it will make the development easier. When you actually put the site online you will have to transform the .less code into .css code. To do that, you can use one of the following apps:
Nesting
Instead of creating long selector names to specify inheritance, with LESS you can just nest selectors inside other selectors. This way you are avoiding the creation of long selectors that repeat the same lines of code, makes inheritance clear and style sheets shorter.
/* LESS */

#header {
  h1 {
    font-size: 26px;
    font-weight: bold;
  }
  p { font-size: 12px;
    a { text-decoration: none;
      &:hover { border-width: 1px }
    }
  }
}

/* Compiled CSS */

#header h1 {
  font-size: 26px;
  font-weight: bold;
}
#header p {
  font-size: 12px;
}
#header p a {
  text-decoration: none;
}
#header p a:hover {
  border-width: 1px;
}
Mixins: what they are
The most interesting thing about LESS is represented by mixins. They allow you to embed the properties of a class into another class just by including the class name as one of its properties.
/* LESS */

.rounded-corners (@radius: 5px) {
  -webkit-border-radius: @radius;
  -moz-border-radius: @radius;
  -ms-border-radius: @radius;
  -o-border-radius: @radius;
  border-radius: @radius;
}

#header {
  .rounded-corners;
}
#footer {
  .rounded-corners(10px);
}
/* Compiled CSS */

#header {
  -webkit-border-radius: 5px;
  -moz-border-radius: 5px;
  -ms-border-radius: 5px;
  -o-border-radius: 5px;
  border-radius: 5px;
}
#footer {
  -webkit-border-radius: 10px;
  -moz-border-radius: 10px;
  -ms-border-radius: 10px;
  -o-border-radius: 10px;
  border-radius: 10px;
}
Having understood what they are and how they are used, here is a set of CSS3 LESS mixins:
.text-shadow (@string: 0 1px 3px rgba(0, 0, 0, 0.25)) {
        text-shadow: @string;
}
.box-shadow (@string) {
        -webkit-box-shadow: @string;
        -moz-box-shadow:    @string;
        box-shadow:         @string;
}
.drop-shadow (@x: 0, @y: 1px, @blur: 2px, @spread: 0, @alpha: 0.25) {
        -webkit-box-shadow:     @x @y @blur @spread rgba(0, 0, 0, @alpha);
        -moz-box-shadow:        @x @y @blur @spread rgba(0, 0, 0, @alpha);
        box-shadow:             @x @y @blur @spread rgba(0, 0, 0, @alpha);
}
.inner-shadow (@x: 0, @y: 1px, @blur: 2px, @spread: 0, @alpha: 0.25) {
        -webkit-box-shadow: inset @x @y @blur @spread rgba(0, 0, 0, @alpha);
        -moz-box-shadow:    inset @x @y @blur @spread rgba(0, 0, 0, @alpha);
        box-shadow:         inset @x @y @blur @spread rgba(0, 0, 0, @alpha);
}

.box-sizing (@type: border-box) {
        -webkit-box-sizing: @type;
        -moz-box-sizing:    @type;
        box-sizing:         @type;
}

.border-radius (@radius: 5px) {
        -webkit-border-radius: @radius;
        -moz-border-radius:    @radius;
        border-radius:         @radius;

        -moz-background-clip:    padding;
        -webkit-background-clip: padding-box;
        background-clip:         padding-box;
}
.border-radiuses (@topright: 0, @bottomright: 0, @bottomleft: 0, @topleft: 0) {
        -webkit-border-top-right-radius:    @topright;
        -webkit-border-bottom-right-radius: @bottomright;
        -webkit-border-bottom-left-radius:  @bottomleft;
        -webkit-border-top-left-radius:     @topleft;

        -moz-border-radius-topright:        @topright;
        -moz-border-radius-bottomright:     @bottomright;
        -moz-border-radius-bottomleft:      @bottomleft;
        -moz-border-radius-topleft:         @topleft;

        border-top-right-radius:            @topright;
        border-bottom-right-radius:         @bottomright;
        border-bottom-left-radius:          @bottomleft;
        border-top-left-radius:             @topleft;

        -moz-background-clip:    padding;
        -webkit-background-clip: padding-box;
        background-clip:         padding-box;
}

.opacity (@opacity: 0.5) {
        -webkit-opacity:        @opacity;
        -moz-opacity:           @opacity;
        opacity:                @opacity;
}

.gradient (@startColor: #eee, @endColor: white) {
        background-color: @startColor;
        background: -webkit-gradient(linear, left top, left bottom, from(@startColor), to(@endColor));
        background: -webkit-linear-gradient(top, @startColor, @endColor);
        background: -moz-linear-gradient(top, @startColor, @endColor);
        background: -ms-linear-gradient(top, @startColor, @endColor);
        background: -o-linear-gradient(top, @startColor, @endColor);
}
.horizontal-gradient (@startColor: #eee, @endColor: white) {
        background-color: @startColor;
        background-image: -webkit-gradient(linear, left top, right top, from(@startColor), to(@endColor));
        background-image: -webkit-linear-gradient(left, @startColor, @endColor);
        background-image: -moz-linear-gradient(left, @startColor, @endColor);
        background-image: -ms-linear-gradient(left, @startColor, @endColor);
        background-image: -o-linear-gradient(left, @startColor, @endColor);
}

.animation (@name, @duration: 300ms, @delay: 0, @ease: ease) {
        -webkit-animation: @name @duration @delay @ease;
        -moz-animation:    @name @duration @delay @ease;
        -ms-animation:     @name @duration @delay @ease;
}

.transition (@transition) {
        -webkit-transition: @transition;
        -moz-transition:    @transition;
        -ms-transition:     @transition;
        -o-transition:      @transition;
}
.transform(@string){
        -webkit-transform: @string;
        -moz-transform:          @string;
        -ms-transform:           @string;
        -o-transform:            @string;
}
.scale (@factor) {
        -webkit-transform: scale(@factor);
        -moz-transform:          scale(@factor);
        -ms-transform:           scale(@factor);
        -o-transform:            scale(@factor);
}
.rotate (@deg) {
        -webkit-transform: rotate(@deg);
        -moz-transform:          rotate(@deg);
        -ms-transform:           rotate(@deg);
        -o-transform:            rotate(@deg);
}
.skew (@deg, @deg2) {
        -webkit-transform:       skew(@deg, @deg2);
        -moz-transform:          skew(@deg, @deg2);
        -ms-transform:           skew(@deg, @deg2);
        -o-transform:            skew(@deg, @deg2);
}
.translate (@x, @y:0) {
        -webkit-transform:       translate(@x, @y);
        -moz-transform:          translate(@x, @y);
        -ms-transform:           translate(@x, @y);
        -o-transform:            translate(@x, @y);
}
.translate3d (@x, @y: 0, @z: 0) {
        -webkit-transform:       translate3d(@x, @y, @z);
        -moz-transform:          translate3d(@x, @y, @z);
        -ms-transform:           translate3d(@x, @y, @z);
        -o-transform:            translate3d(@x, @y, @z);
}
.perspective (@value: 1000) {
        -webkit-perspective:    @value;
        -moz-perspective:       @value;
        -ms-perspective:        @value;
        perspective:            @value;
}
.transform-origin (@x:center, @y:center) {
        -webkit-transform-origin: @x @y;
        -moz-transform-origin:    @x @y;
        -ms-transform-origin:     @x @y;
        -o-transform-origin:      @x @y;
}
Making it easier
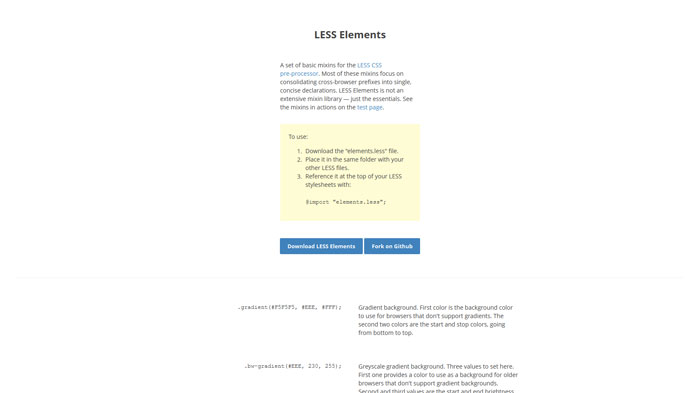
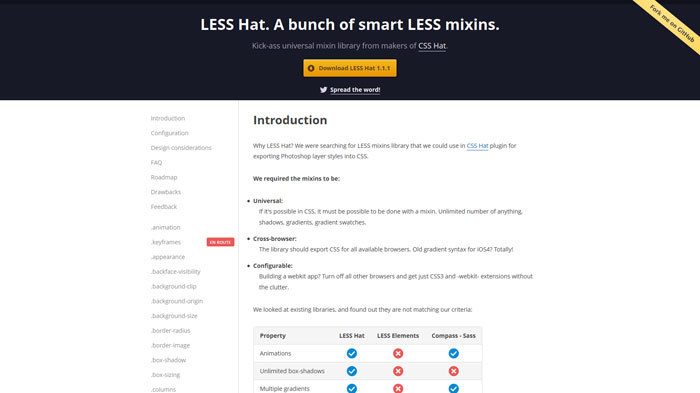
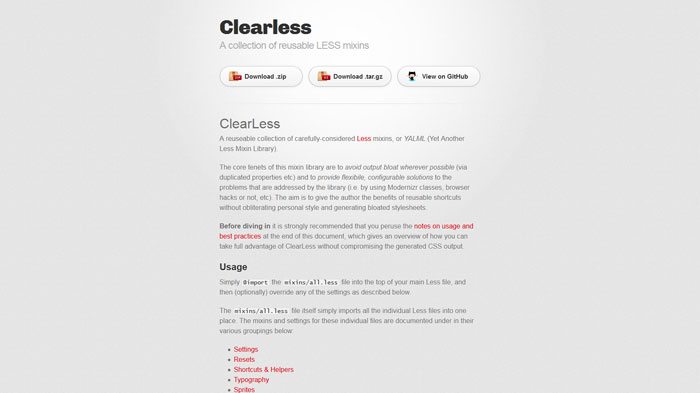
The only way of making it easier than it already is so far is by using Mixing libraries. A few developers took it to the next level and created these mixin libraries.
Source: http://feedproxy.google.com/~r/DesignResourceBox/~3/E7kvGIcLizE/






No comments:
Post a Comment