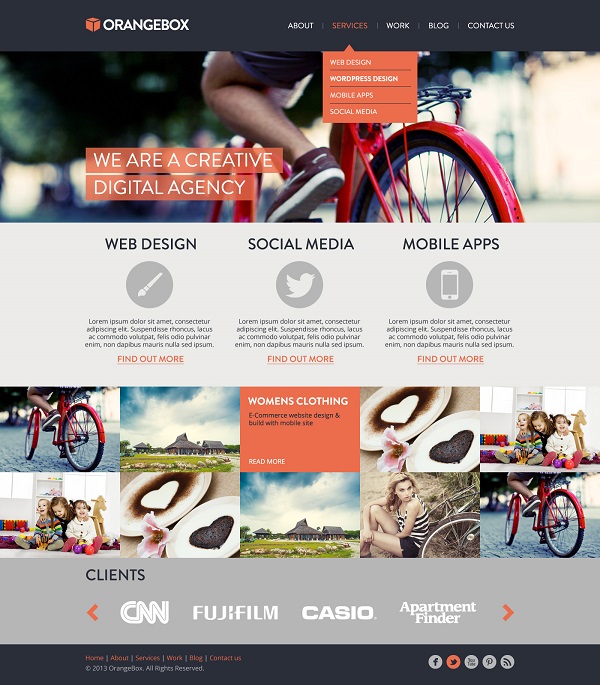
Today’s you will be reading the OrangeBox Template Tutorial. Below you can download the OrangeBox Template PSD, which looks like this:
Download PSD
Here is the tutorial on how to make a template like the OrangeBox:
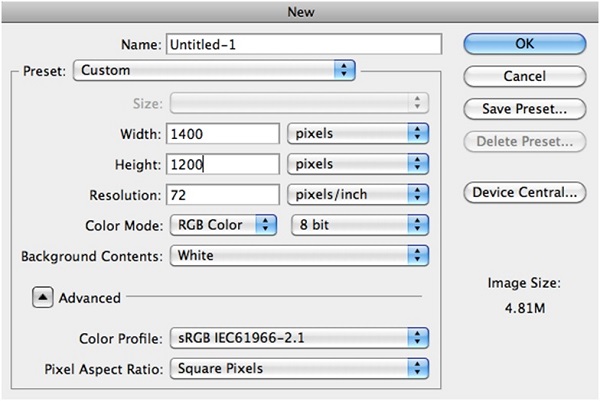
1. Open a new file (file > new) 1400 x 1600 pixels
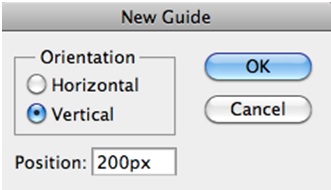
2. Create 2 vertical guides (view > new guide) 1 at 200px & 1 at 1200px. This is the centre and guides of your design.
3. Using the rectangle marque tool change the style to fixed size at 1400 x 120 pixels.

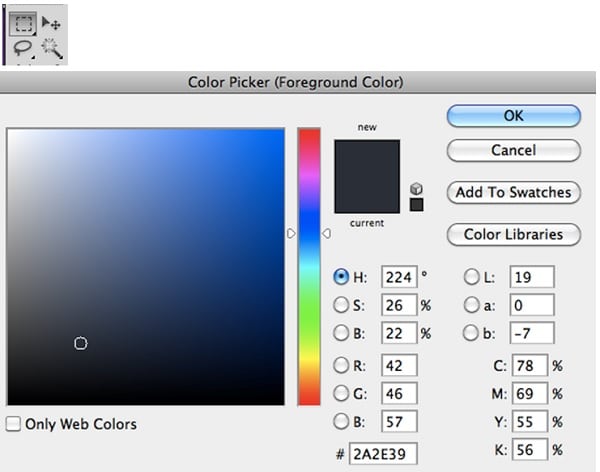
4. Fill using paint bucket tool the margue box with colour #2A2E39

5. Add your logo to the left guide in the new header.
6. Add your navigation to the right of the page using the type tool.

7. Create a 200 x 200 box using the rectangle marque tool and postion under a navigation as a drop down.
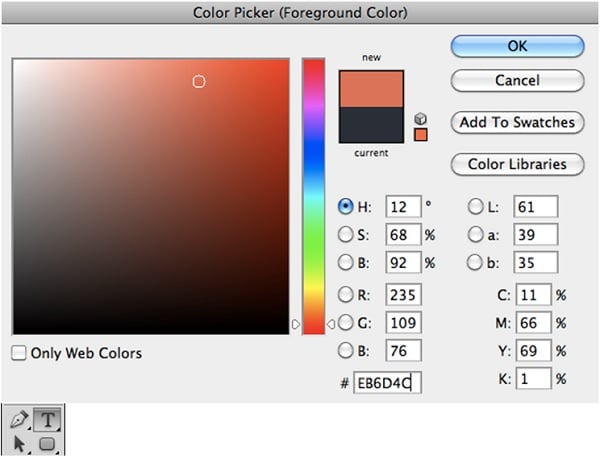
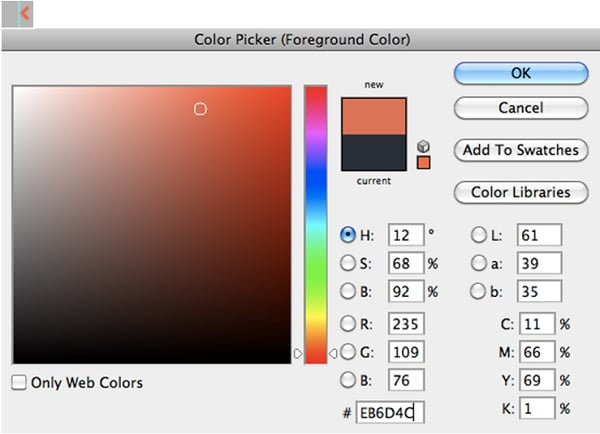
8. Fill the box with colour #EB6D4C then add your sub navigation with type tool.
9. Add your main banner image sized 1400 x 400 and position under the header.
10. Create a box using the marque tool, position over the banner and fill with colour #EB6D4C.

11. To make the intro box transparent change the opacity of the layer to 80% on your layers palette.

12. Add your intro text into the transparent box.
13. Create 4 new vertical guides at 500px, 550px, 850px & 900px. These are splits for your 3 services content.
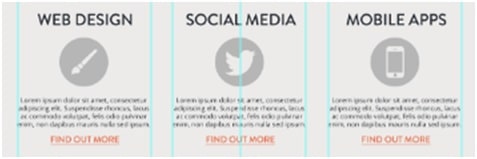
14. Add a title, icon and text in between each of the 3 guides.
15. Add 5 portfolio images sized 250 x 220 and line up horizontally across the page, do the same again underneath to give you 10 portfolio images.

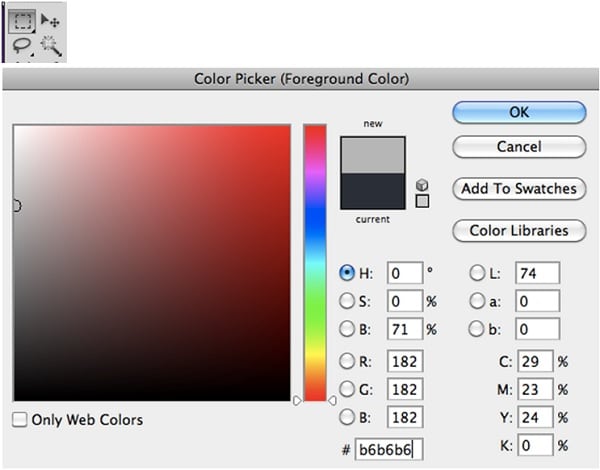
16. Using the marque tool add a 1400 x 200 box and fill with colour #B6B6B6 then position under your portfolio images.
17. Add your clients title with type tool and position to the left.

18. Add your left & right arrow icons and colour overlay (layer > layer style >colour overlay) with #EB6D4C.
19. Add your client logos to fit inbetween the arrows and colour overlay (layer > layer style >colour overlay) them with #FFFFFF.
![]()
20. Using the marque tool add a 1400 x 100 box and fill with colour #2A2E39 then position under the grey clients background box.
21. Add your footer links and copyright using type tool to the left.

22. Add your social media icons to the right and colour overlay #B6B6B6 if necessary.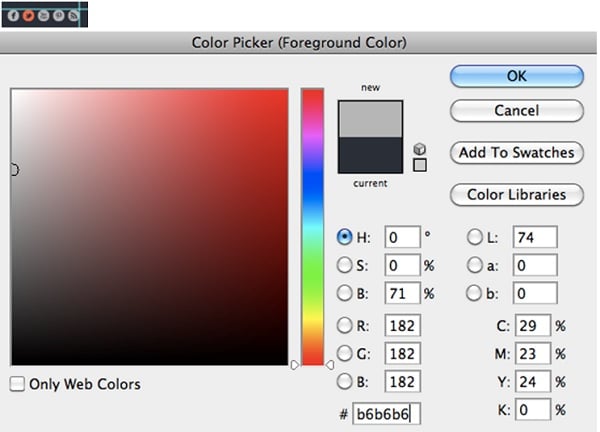
Download PSD
This tutorial and PSD are brought to you by Design Vibe.
via http://feedproxy.google.com/~r/LearnWebdesign/~3/0SSkAIT1huE/orangebox-template-tutorial-psd


No comments:
Post a Comment